 Many years ago my boyfriend suggested that I make some peanut butter cookies. I love peanut butter, but I have never loved peanut butter cookies. They always seem kind of dry and hard and don’t really taste like peanut butter to me. I tried a recipe that looked promising and that had good reviews.
It was apparently not the one.
Terry’s response after tasting one was, “You should get my mom’s recipe.”
 I got Terry’s mom’s recipe soon after, and I have never gone searching for another. (Well, except these gluten-free peanut butter cookies because I do have to have something for the gluten-free people in my life.)
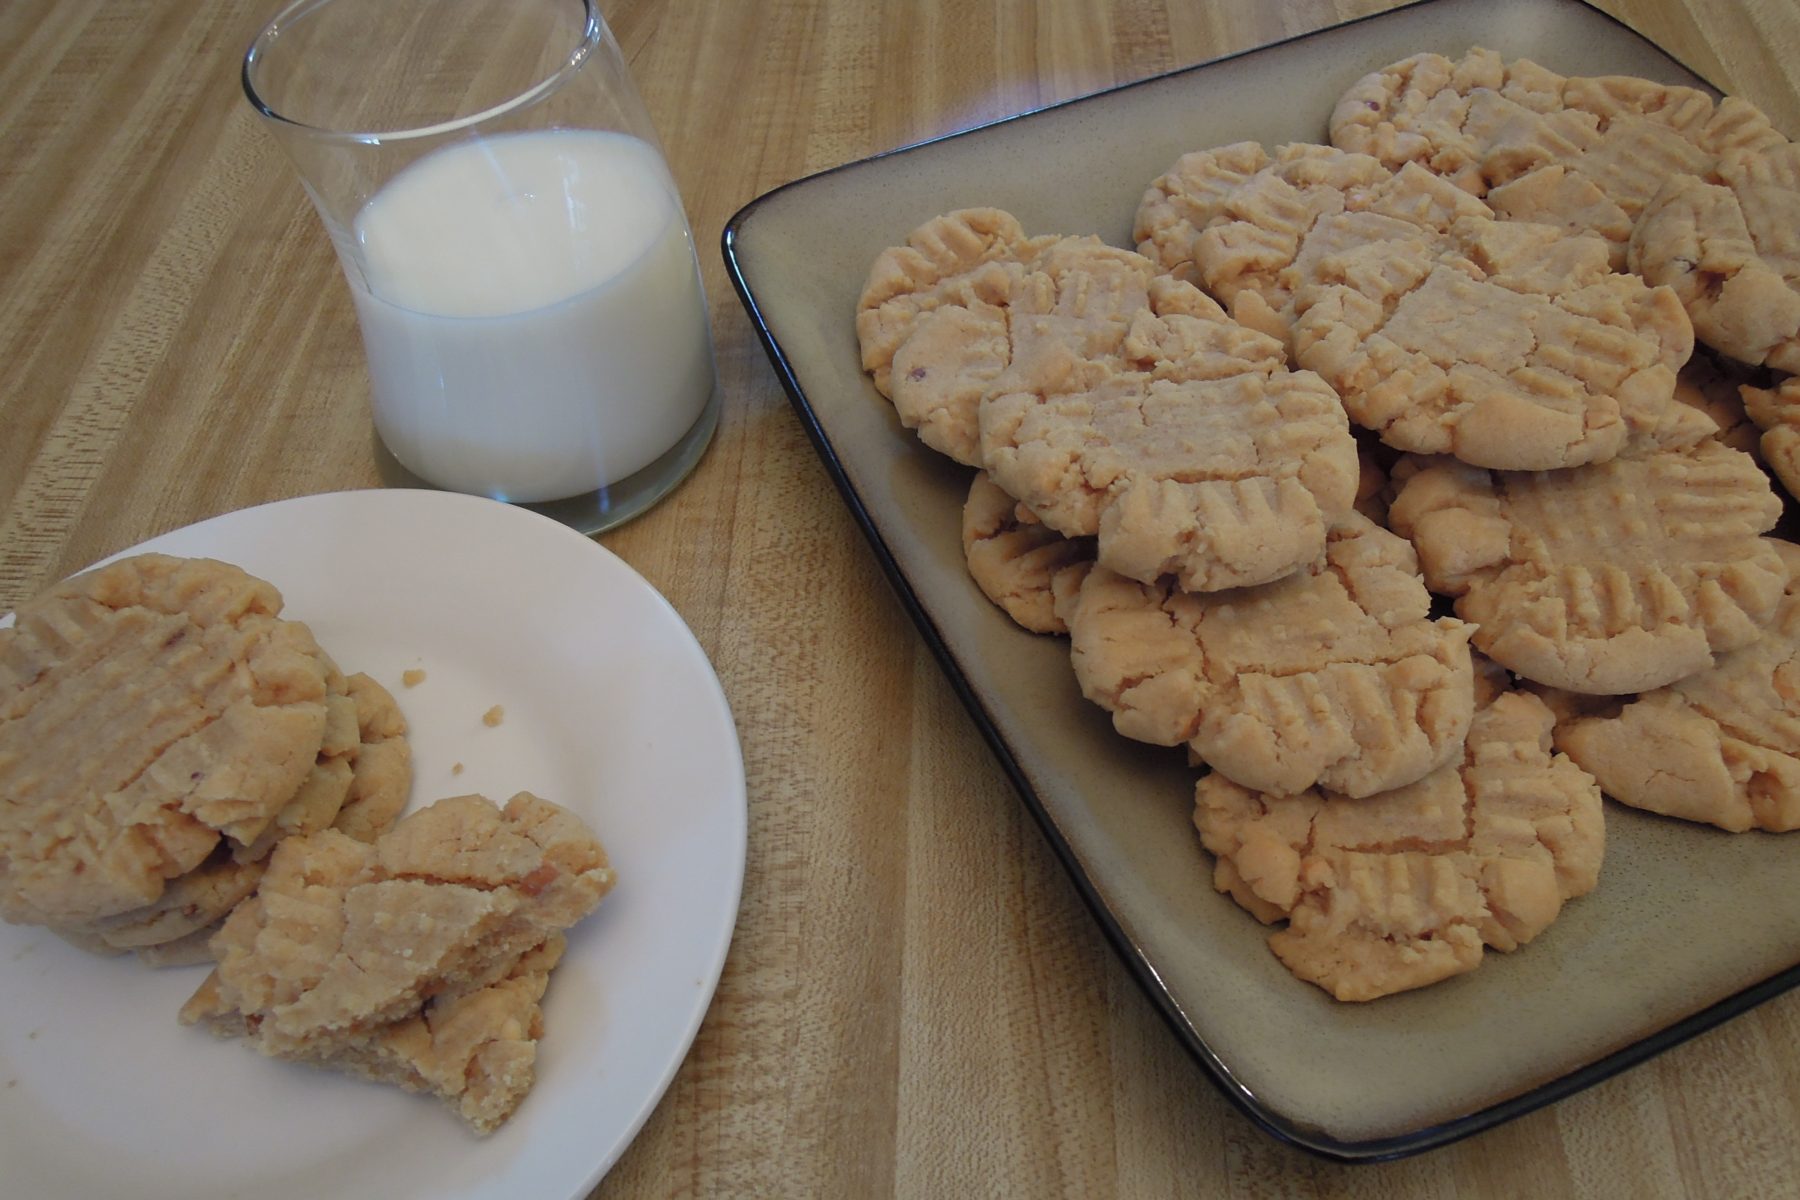
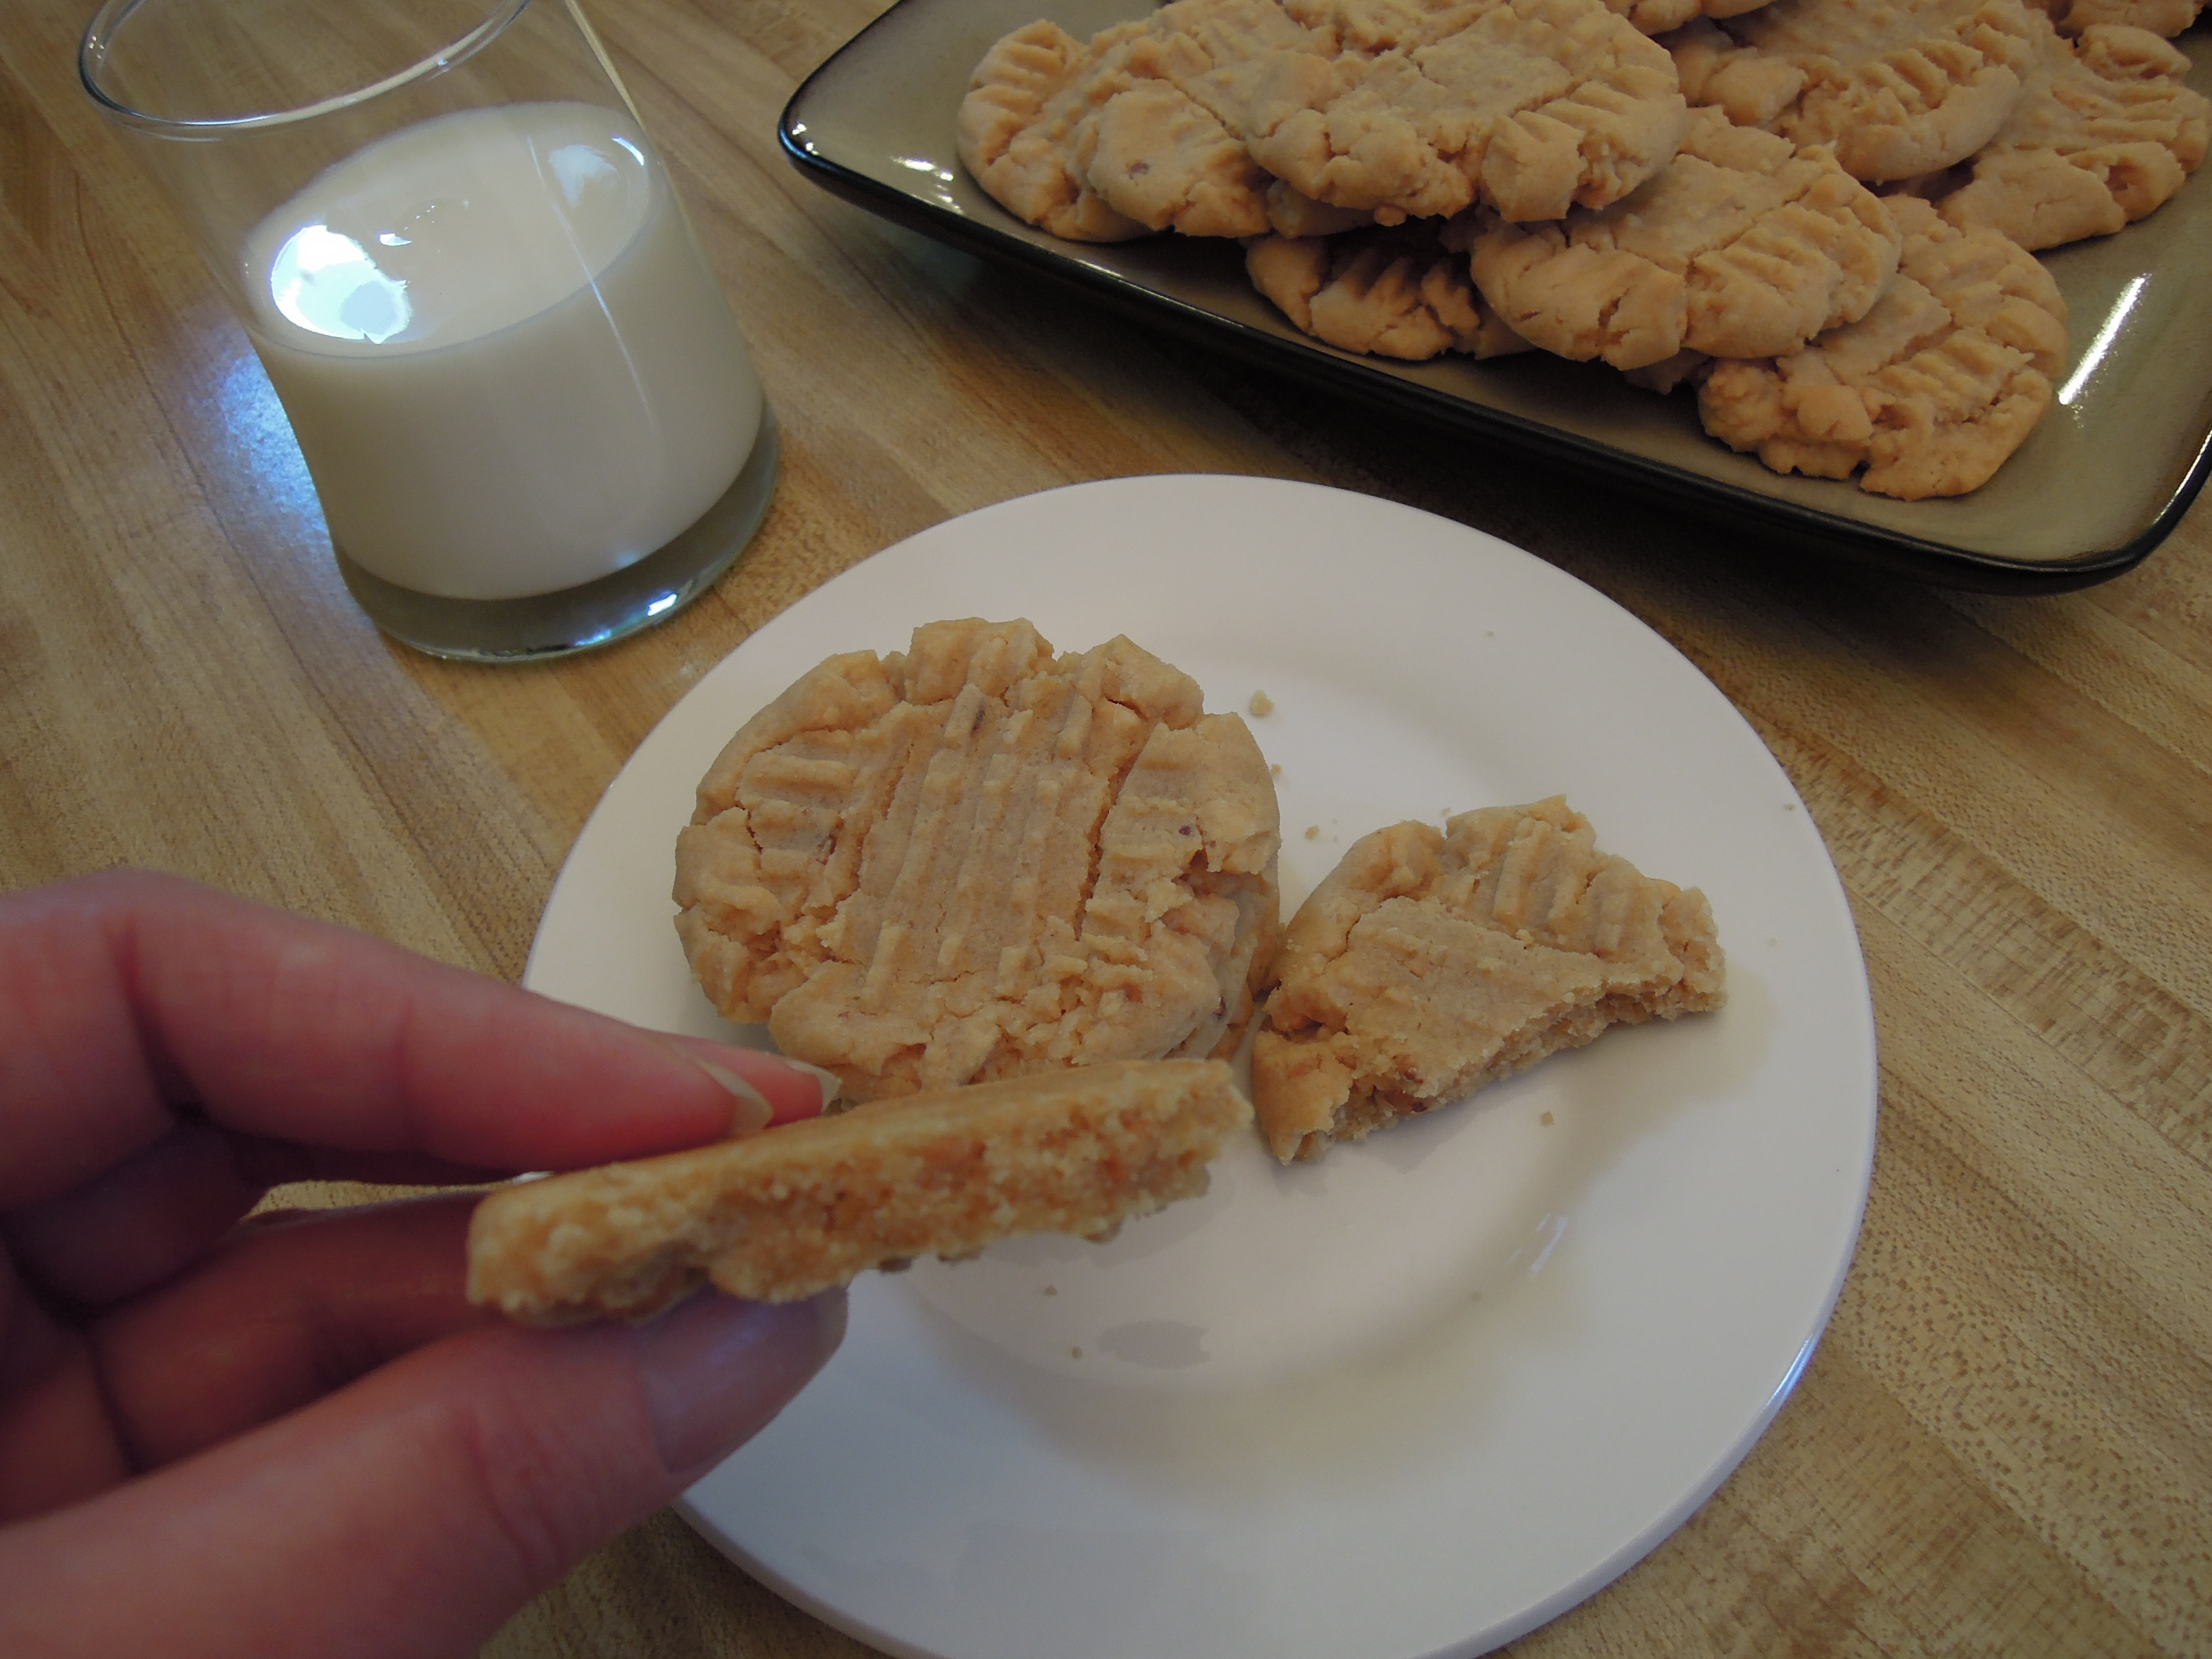
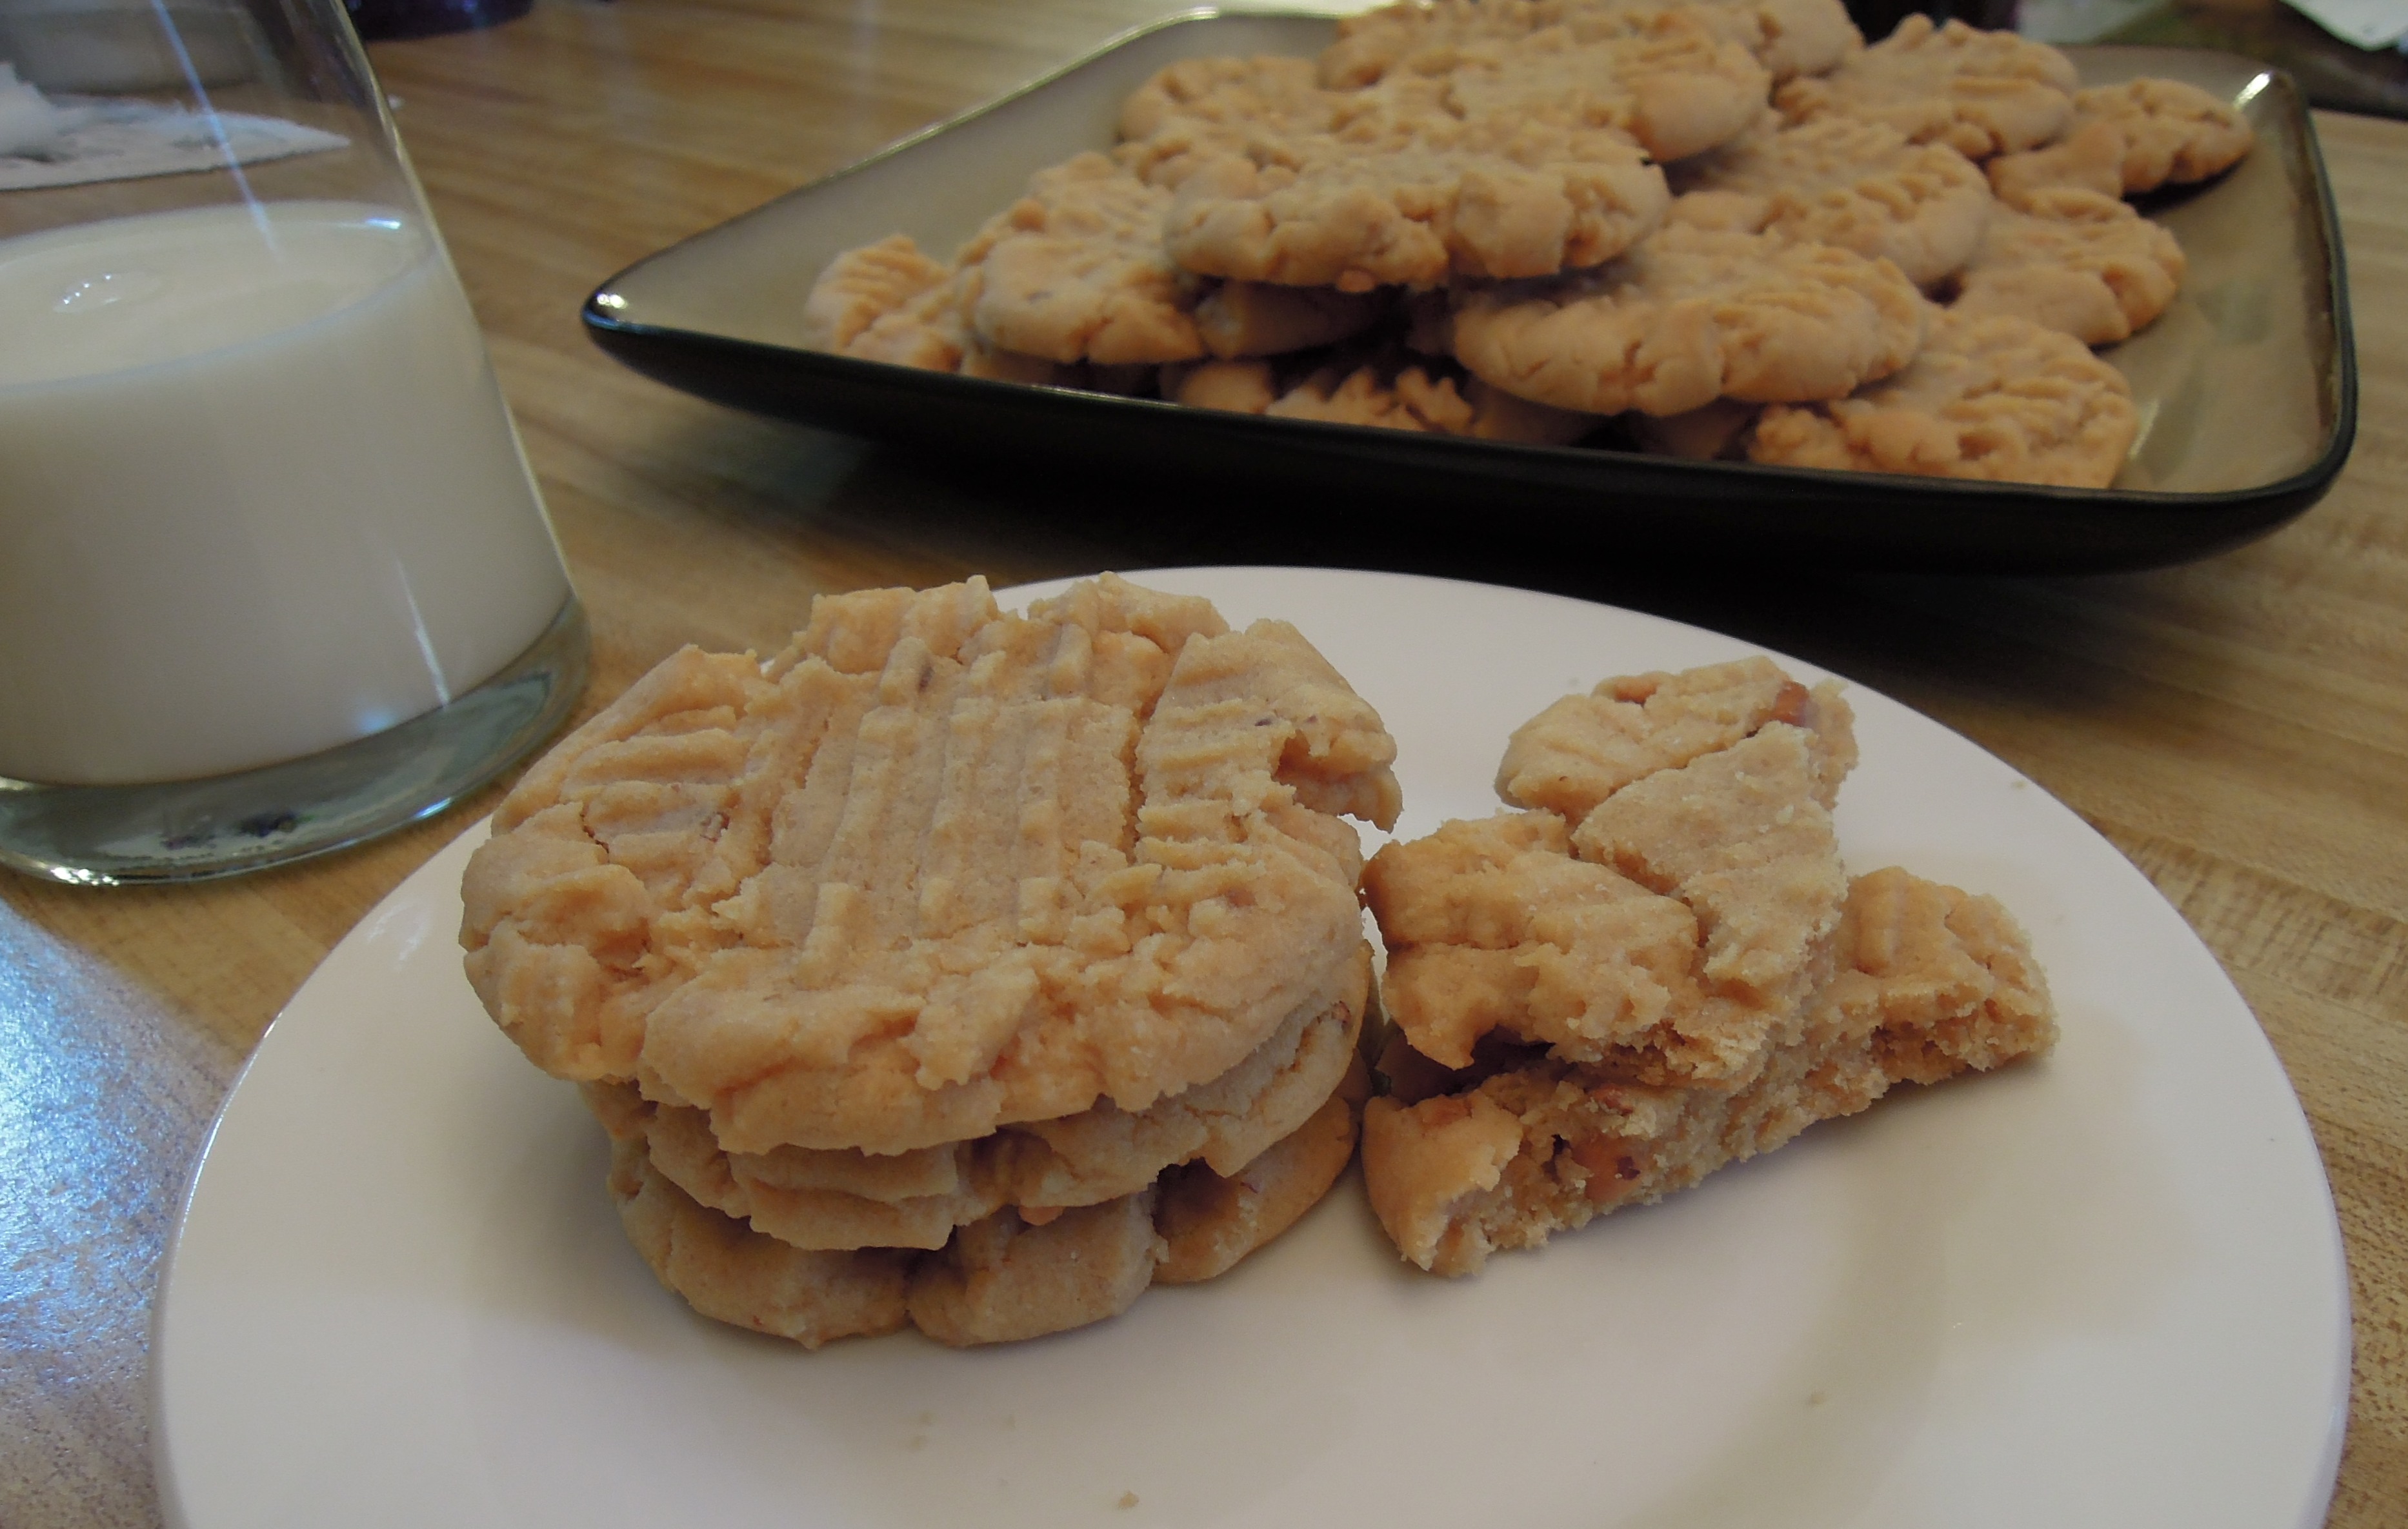
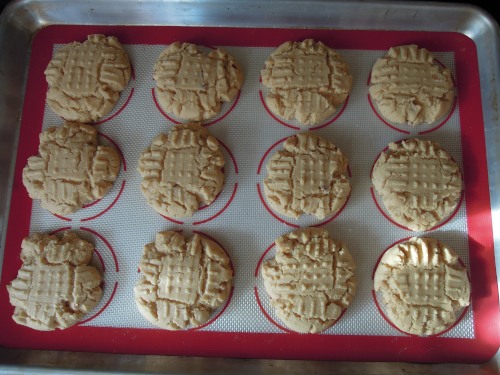
These cookies are soft and chewy in the middle with the slightest crunch on the outside and they have good peanut butter flavor. While the cookies were cooling on the counter I had to run an errand, and when I returned home I was greeted with the strong smell of peanut butter as soon as I opened the front door. They are definitely peanut butter-y.
Grab a glass of milk and enjoy a peanut butter cookie soon. And if you can’t have flour, the no flour peanut butter cookies are almost as good. 🙂

Classic Peanut Butter Cookies
Yield: I got 36 cookies using a scoop that holds 1 and 1/2 Tablespoons of dough.
Ingredients:
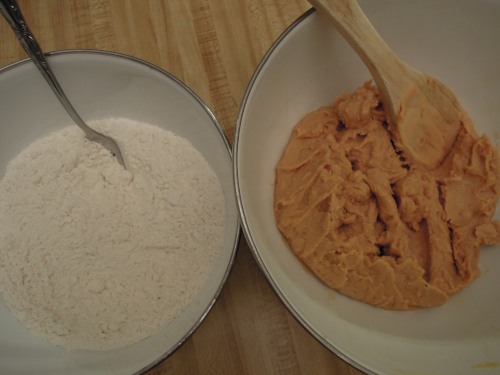
- 2 cups all-purpose flour
- 1 teaspoon baking powder
- 1 and 1/2 teaspoons baking soda
- 1/2 teaspoon salt
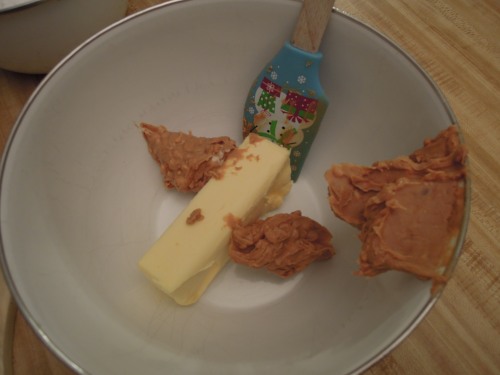
- 1 cup shortening (I use butter flavor)
- 1 cup peanut butter (I use crunchy)
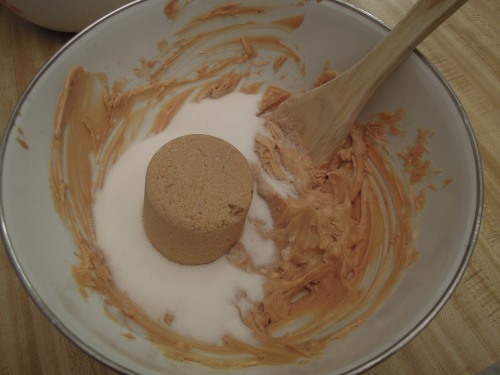
- 1 cup white sugar
- 1 cup brown sugar
- 2 eggs, well beaten
Directions:
- In a small bowl, combine flour, baking powder, baking soda, and salt.
- In a medium to large bowl, cream shortening and peanut butter until fully combined. Add the sugars and cream thoroughly. Add the well beaten eggs. (The recipe actually says to add the sugar gradually, but you can see below in the picture that I missed that part, and the cookies were just fine.)
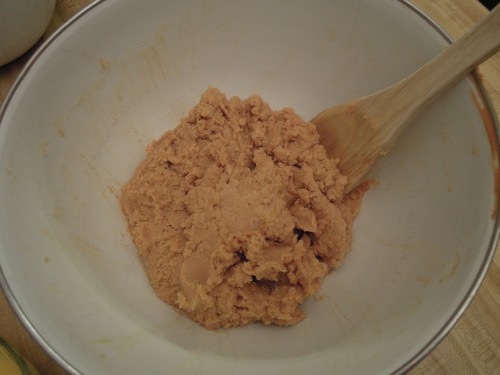
- Add the dry ingredients to the peanut butter mixture and combine fully. Cover and chill for a few hours or overnight.
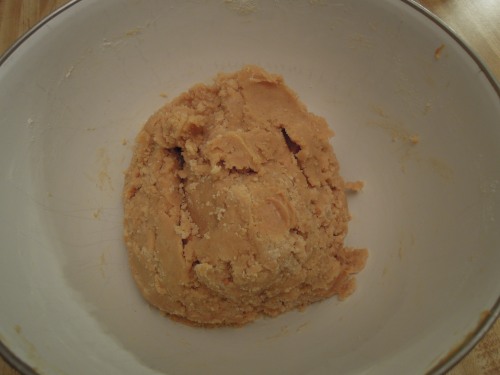
The dough should be dry enough that it cleans the bowl and can be formed into a ball. - When ready to bake, remove dough from refrigerator and preheat oven to 375 degrees.
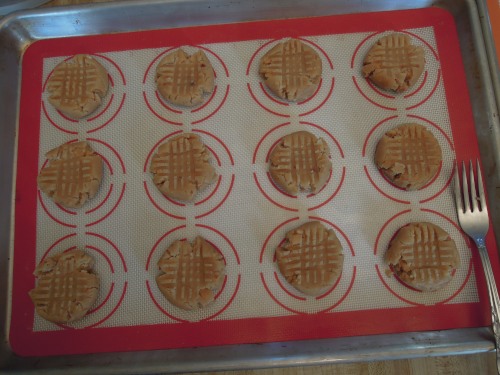
- Form dough into balls and then place apart on a baking sheet (I line my pans with parchment paper or silicon mats). Flatten with a fork. (Make the traditional criss-cross pattern if desired.) (Tip: I used a cookie scoop to get evenly sized cookies; my scoop holds 1 and 1/2 tablespoons.)
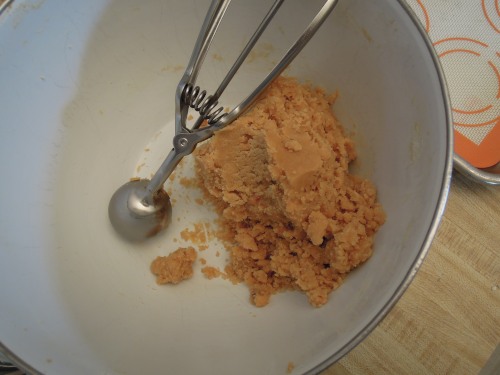
The dough may be a tiny bit crumbly, but should hold together fine when pressed into a scoop or made into a ball. 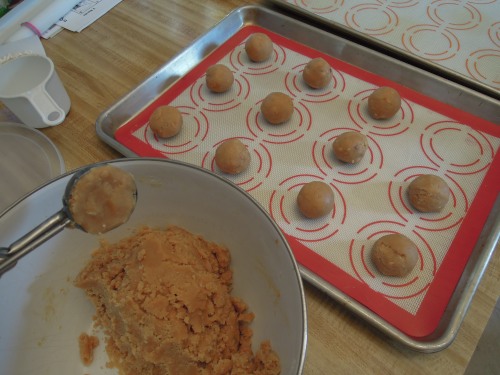

- Bake for 8-10 minutes. I leave the baked cookies on the pan to cool for several minutes and then remove them to cool longer on the counter. Store in a covered container or freeze for future use.
Source: Terry’s mom Marlene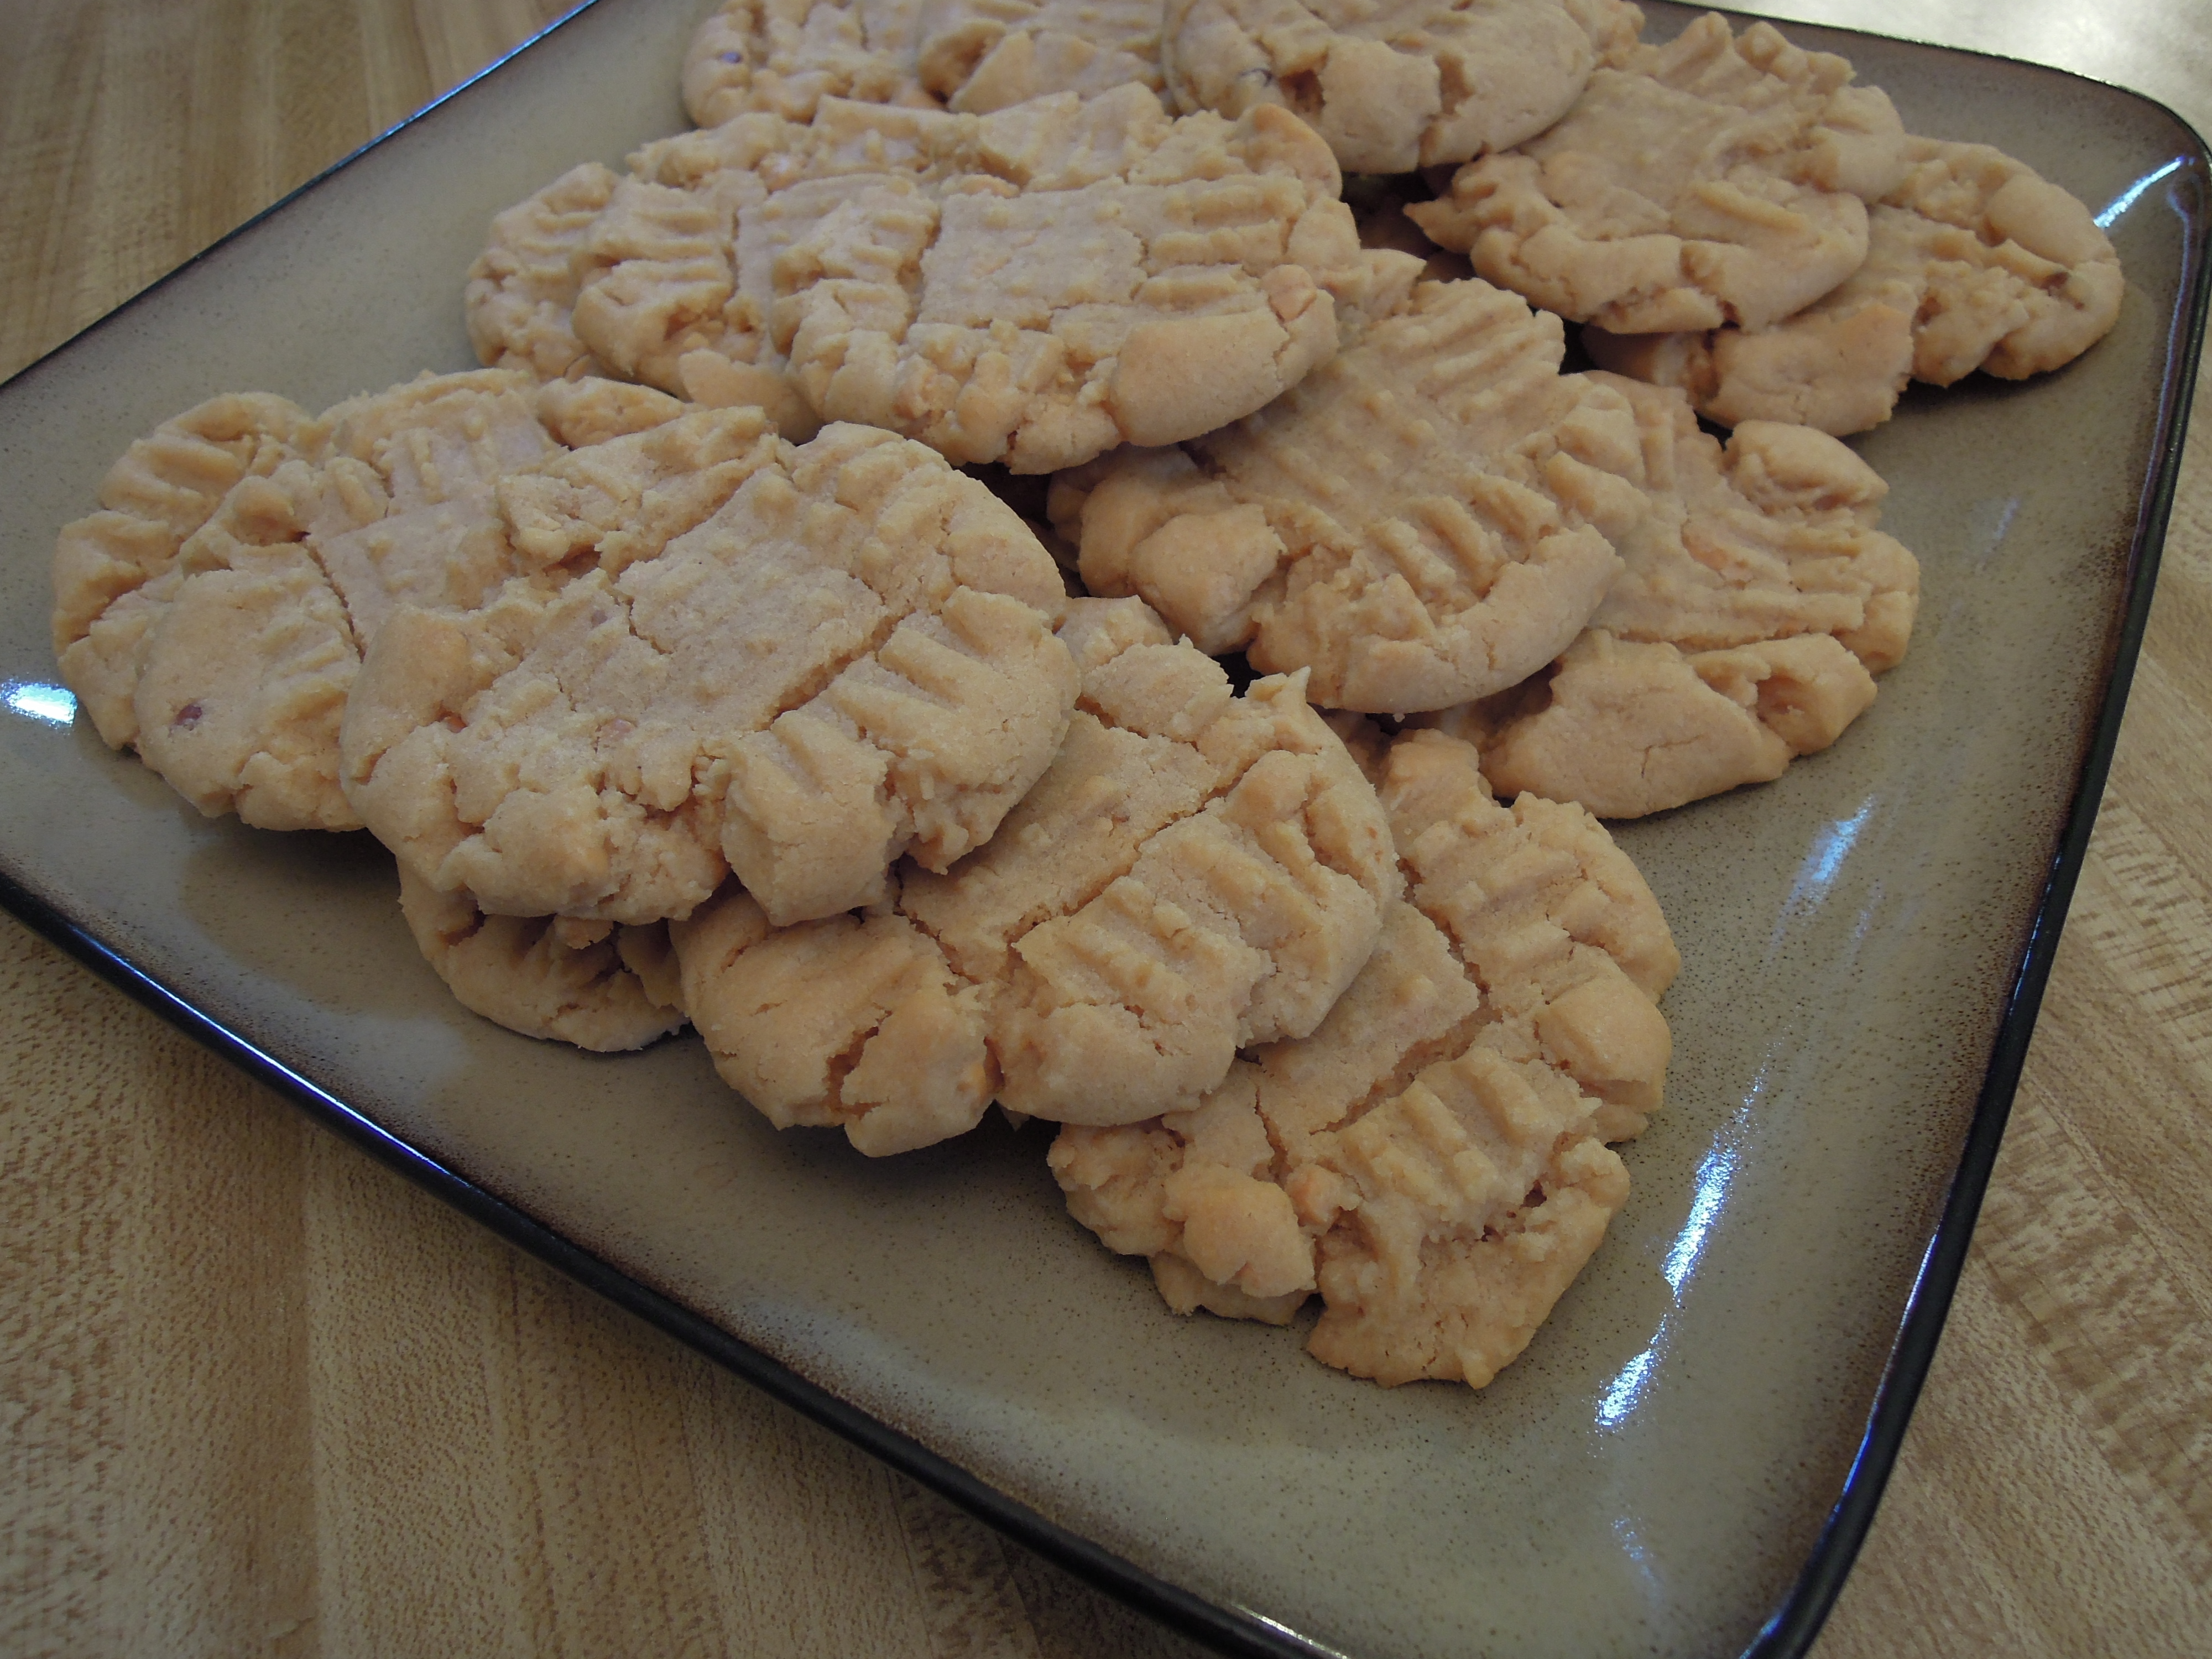
Share This: