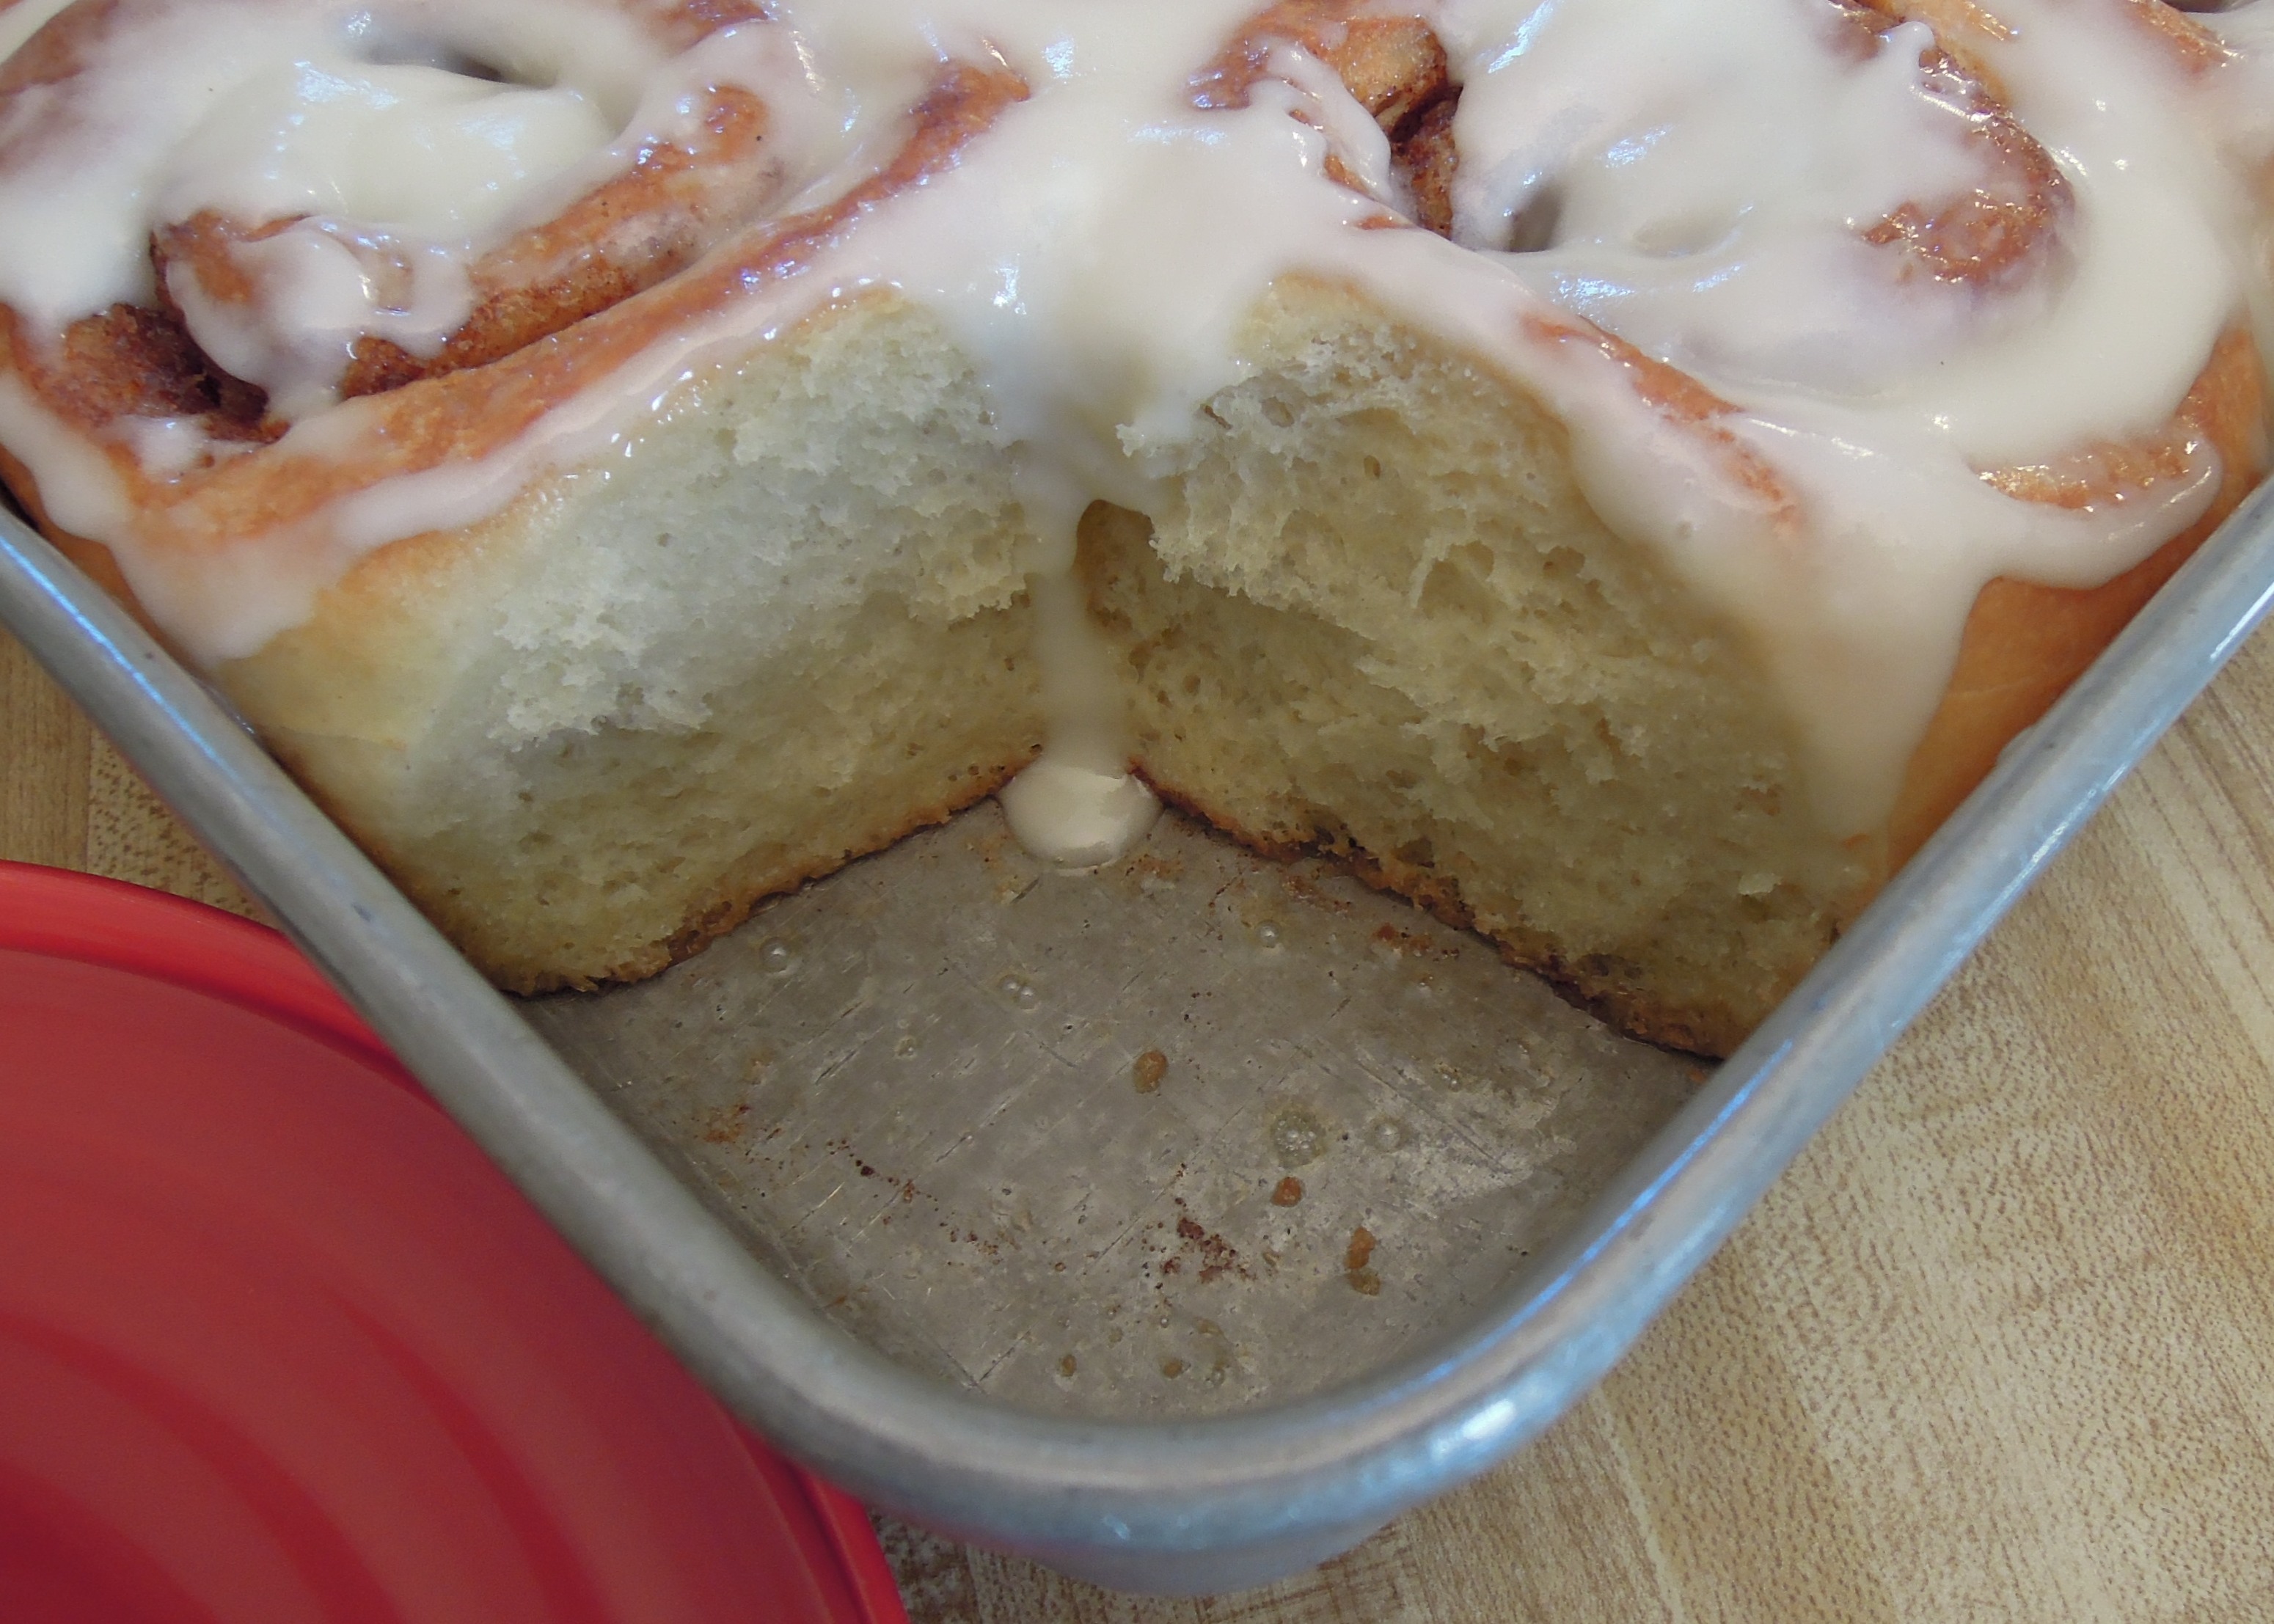

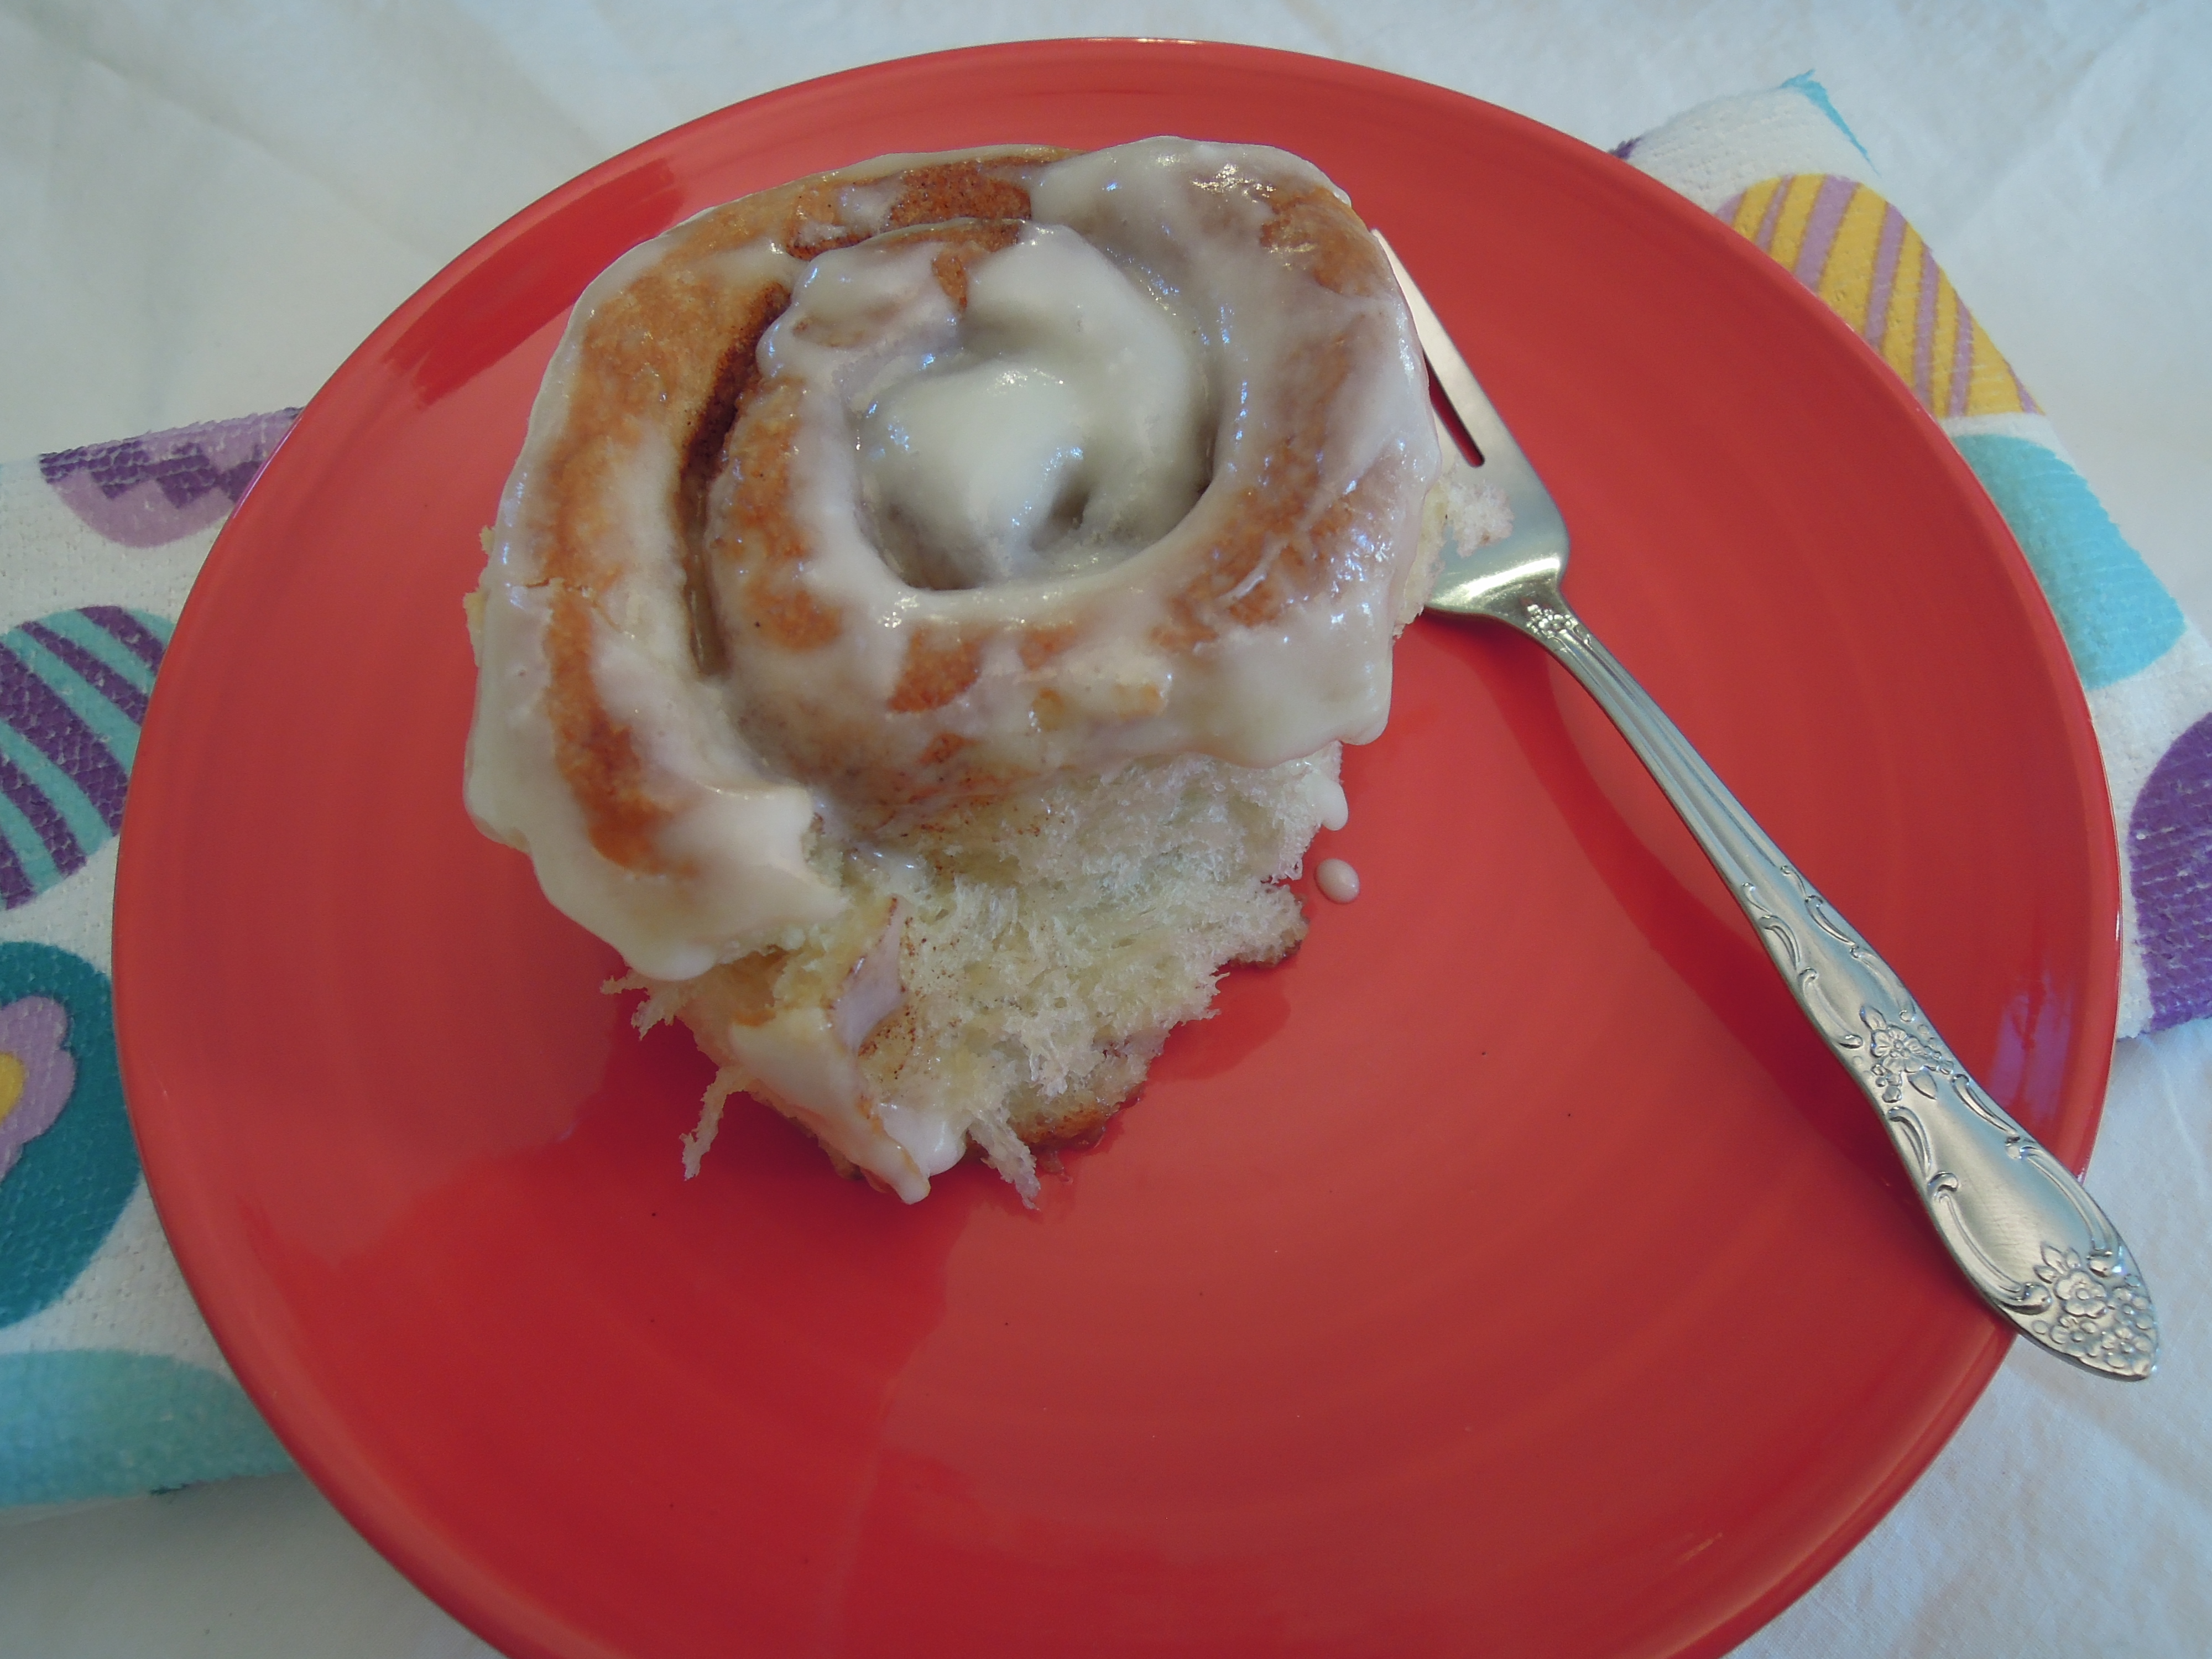
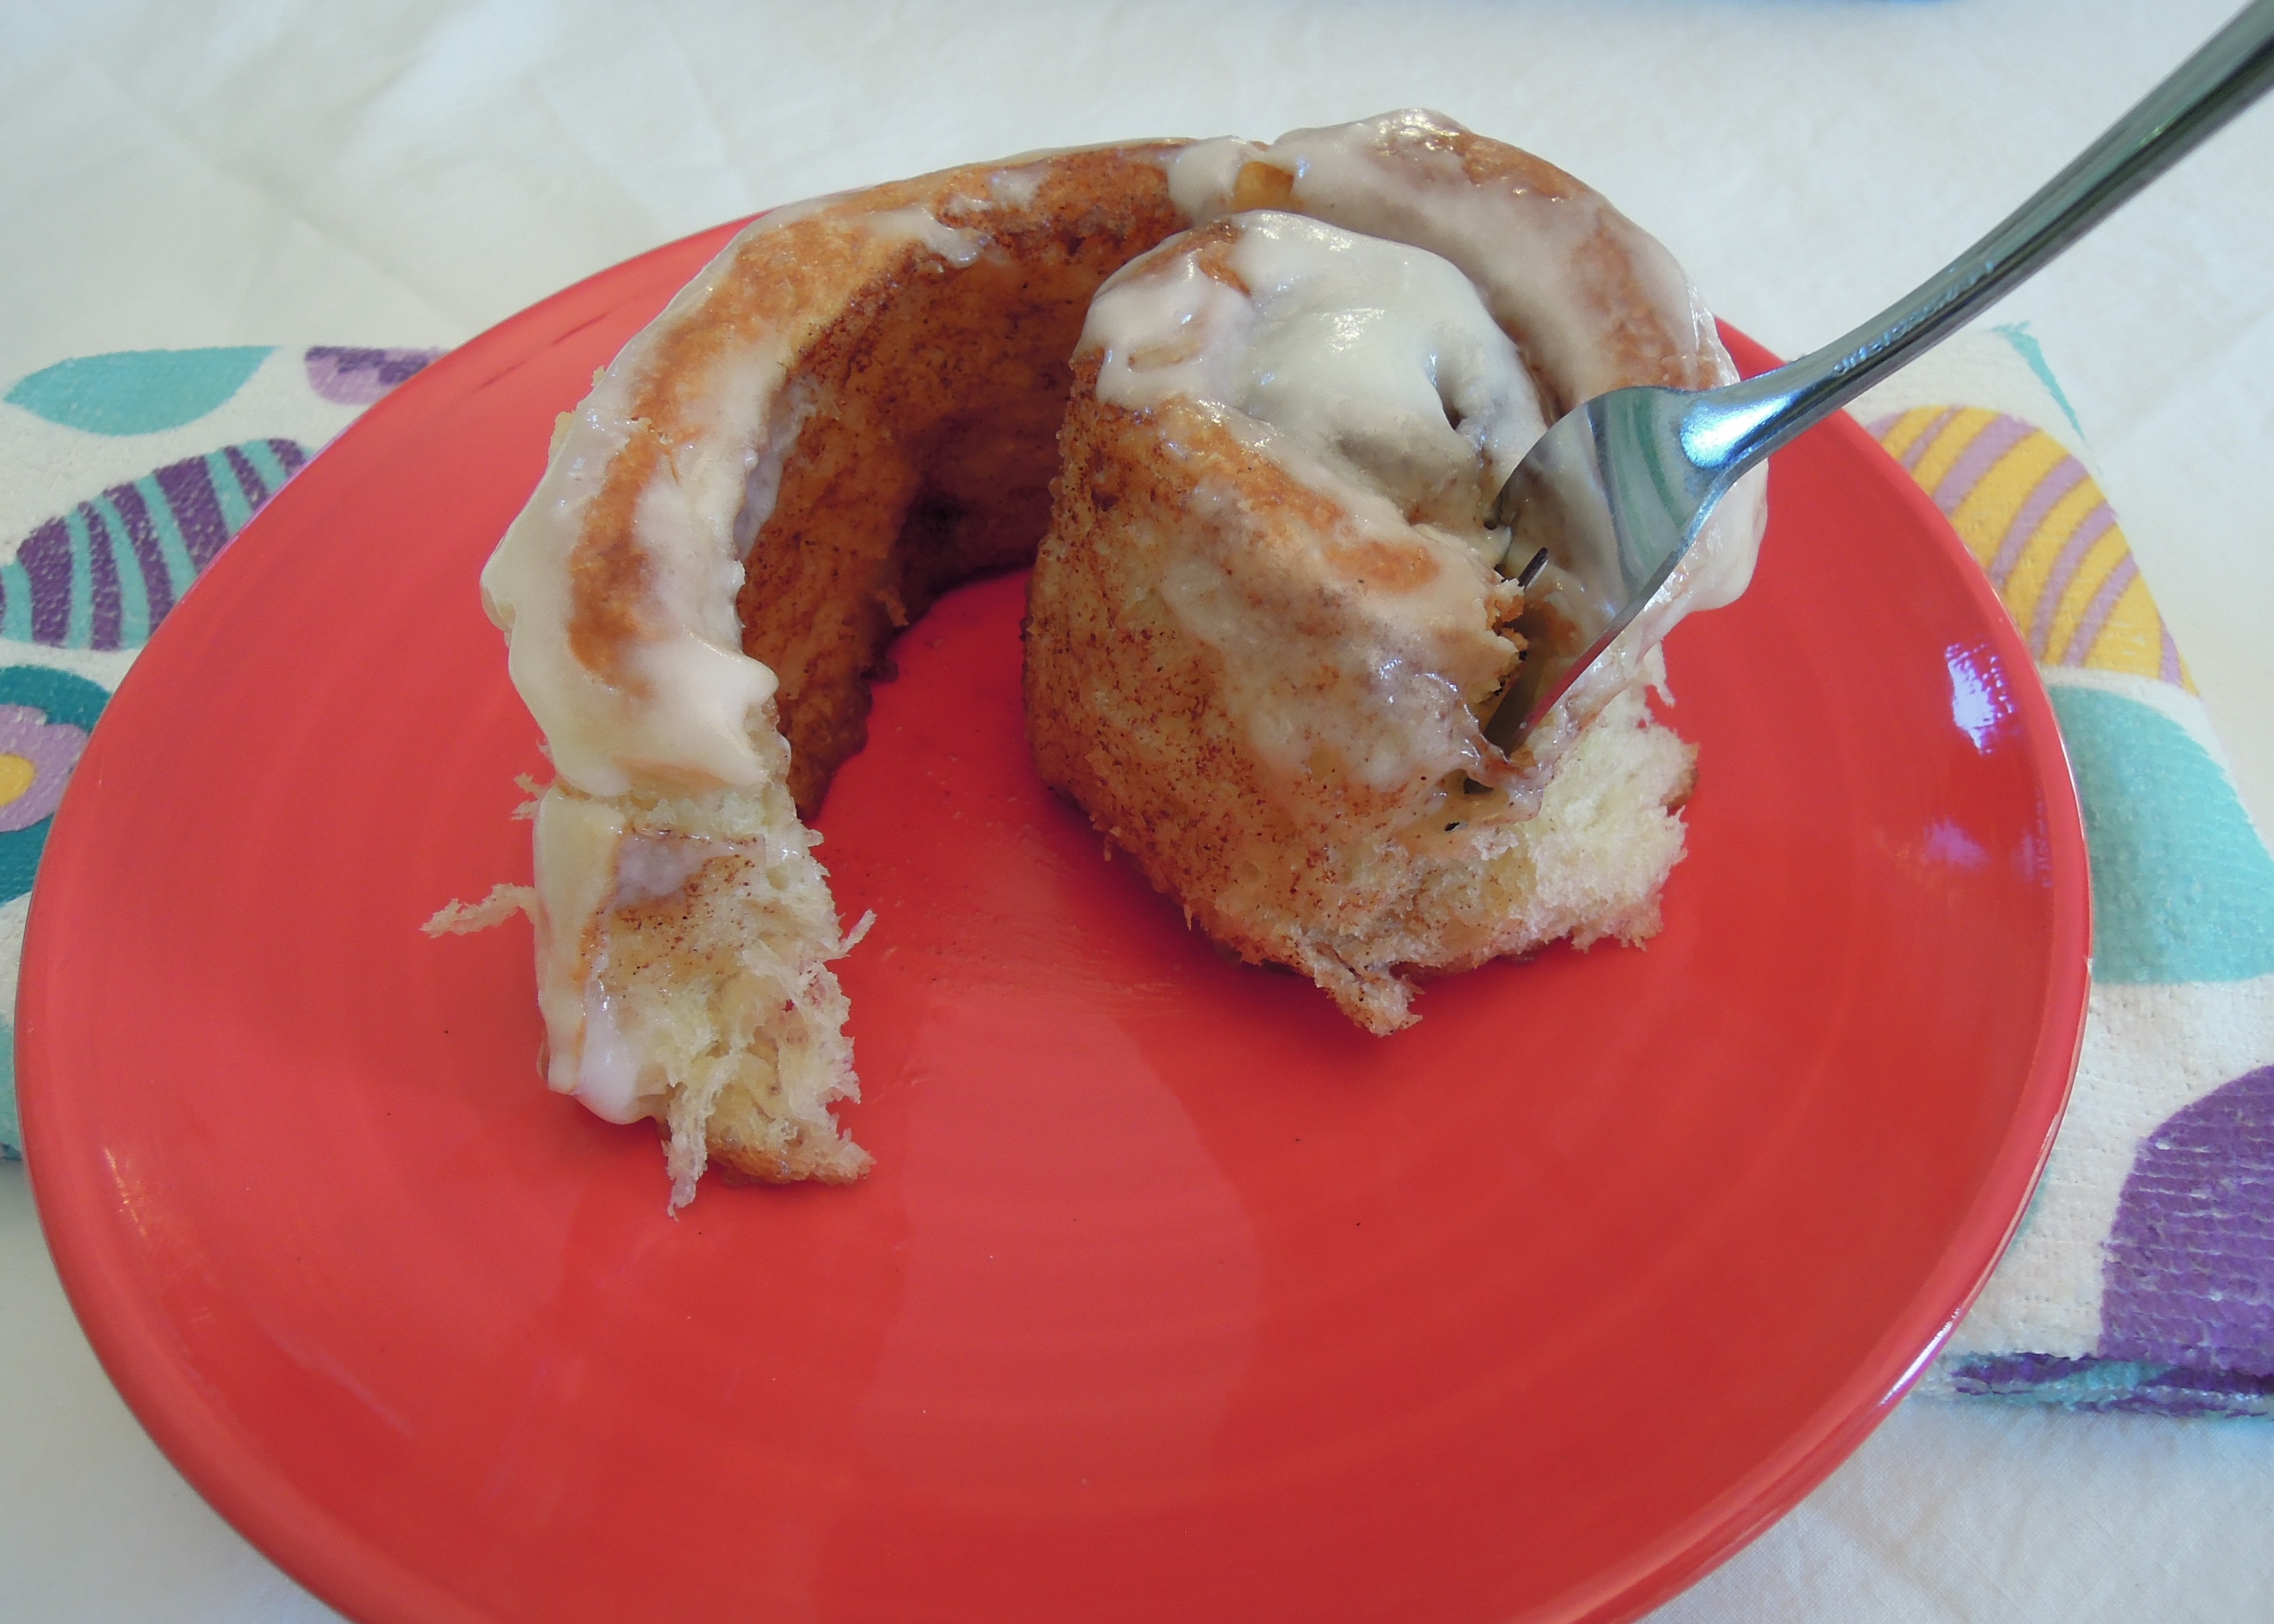
 Holiday mornings seem like the perfect time for extra-special decadent breakfast foods. Homemade cinnamon rolls are extra-special and would be a great treat for your Easter morning. These are soft and fluffy and bursting with cinnamon flavor and sweet icing on top.
I will be honest, though.
These cinnamon rolls are fantastic.
But….they do take some time. To me, they are totally worth the time for a few times a year, not something I make every week.
If you want a good roll that is less time consuming, I tried this recipe from Sally’s Baking Addiction recently. We preferred the texture of the rolls I am posting, but these were very good too and take much less time. One of the key differences is the use of instant yeast instead of active dry yeast. Sally’s recipe requires only one rise while most recipes call for two rises.
Whatever recipe you choose, you cannot go wrong with homemade cinnamon rolls. They are so very good.

Overnight Cinnamon Rolls
Ingredients
For the dough: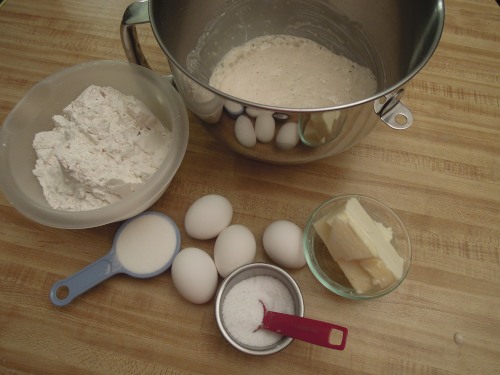
- 1 tablespoon active dry yeast
- 1/2 cup warm water (105 degrees F)
- 1/2 cup all-purpose flour
- approximately 4 additional cups all-purpose flour
- 1 teaspoon kosher salt
- 4 large eggs
- 1/4 cup sugar
- 1/2 cup butter at room temperature
For the filling:
- 6 tablespoons (3 ounces) butter at room temperature
- 3/4 cup packed brown sugar
- 1 tablespoon cinnamon
- dental floss or thread (optional: for cutting the rolls)
- 2 tablespoons (1 ounce) melted butter
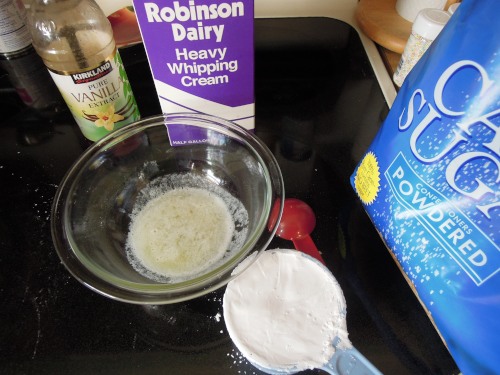
For the glaze:
- 2 tablespoons (1 ounce) melted butter
- 1 cup powdered sugar
- 2 T (or more to desired thickness) milk or cream
- 1 teaspoon vanilla extract
- a pinch of salt
Directions:
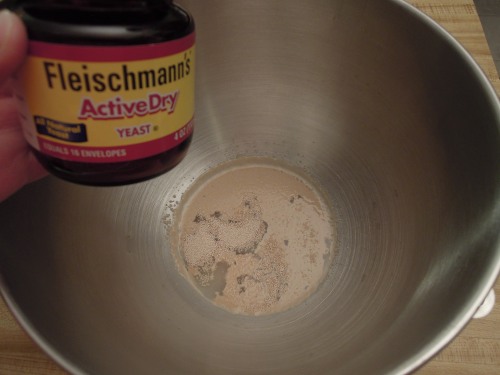
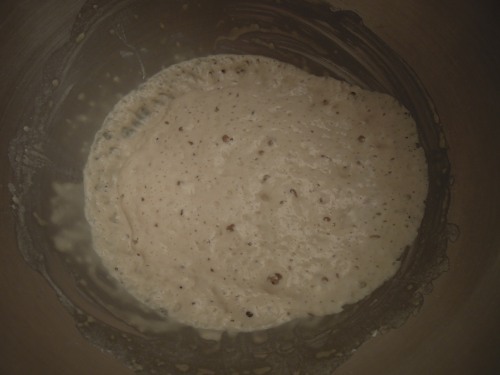
- In the bowl of a stand mixer, sprinkle the yeast over the water and allow to bloom for a few minutes, then whisk until smooth. Whisk in 1/2 cup of flour. Cover bowl with plastic wrap and let stand in a warm spot for 30 minutes.
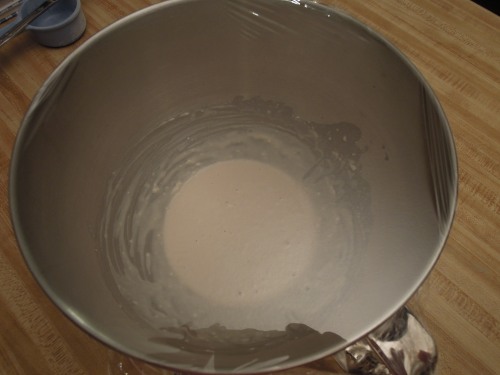
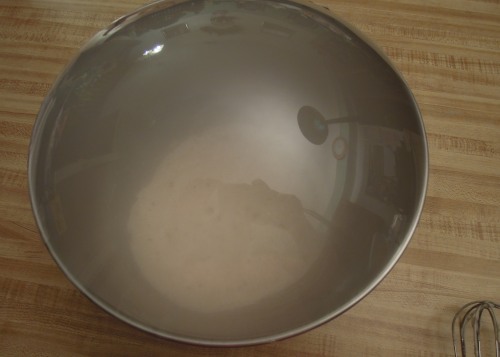
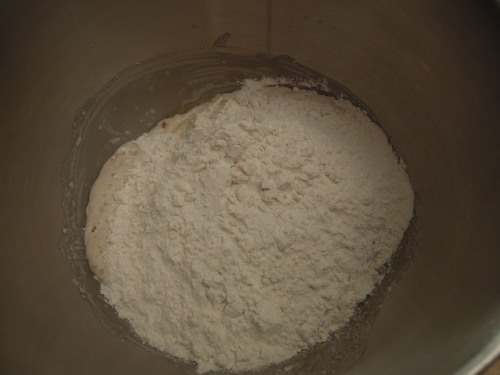
- After thirty minutes, the yeast mixture will have proofed and created gas that expands the plastic wrap. You should see air bubbles in the dough. To this, add the eggs, sugar, butter, salt, and about 3 cups of flour.
- Use the dough hook on the mixer to knead the mixture on medium speed for 2-3 minutes. If the dough still seems very sticky, add a small amount of the fourth cup of flour and then continue kneading until smooth, 9-10 minutes more. If the dough is good, it should be clearing the sides of the bowl off but may still be sticking in the bottom. If your dough is still sticking to the sides of the bowl, add a little more of the flour and knead again to check. Repeat if needed until you have smooth dough that does not stick to the sides of the bowl. (Note: The flour amount in any bread recipe is only a ballpark number. The amount needed may vary even between batches because temperature, humidity, and altitude all affect the dough. Use the least amount you can to start with and only add more if needed to keep the dough from turning out dry.)
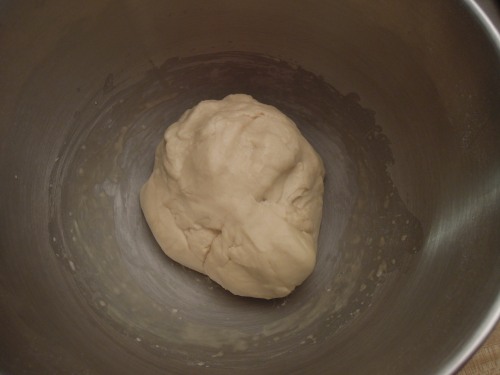
Before rising. - Cover the bowl with plastic wrap and set aside in a warm place to rise until doubled in size, about 1 and 1/2-2 hours. (If my oven is available, I preheat it on the “warm” setting or the lowest heat your oven can go, TURN IT OFF, and then put the covered dough in the oven to rise with the door shut.)
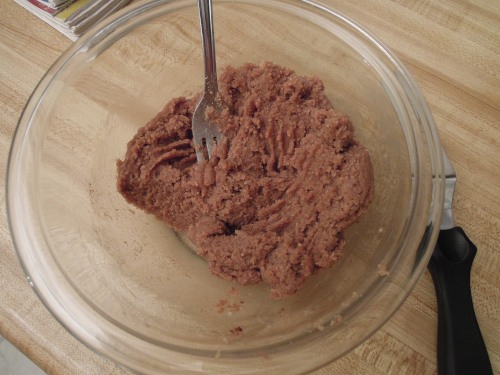
- While the dough rises, make the filling. Beat the 6 Tablespoons of butter with brown sugar and cinnamon until combined and slightly fluffy. It will be thick. Set aside.
- When dough has finished rising, punch it down and then dump it onto a lightly floured counter or silicon mat. Press and roll out into a rectangle about 10 x 15 inches. Spread the prepared filling over the entire surface of the dough with an offset spatula, spoon, or your fingers. Roll the dough up tightly lengthwise and pinch dough to secure the end.
Before rising. 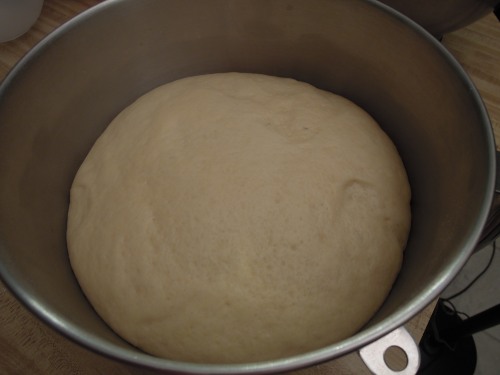
After rising. 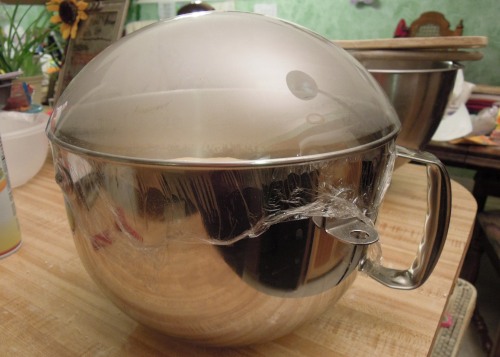
Don’t be alarmed if the plastic wrap expands during the rise. 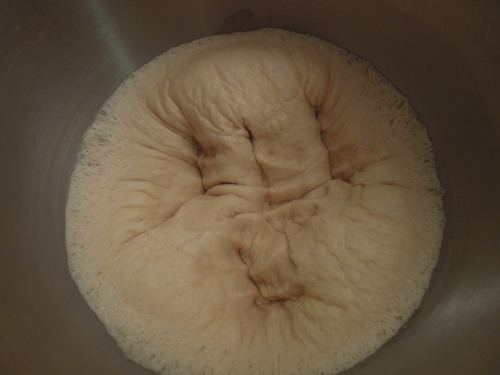
Punch down. 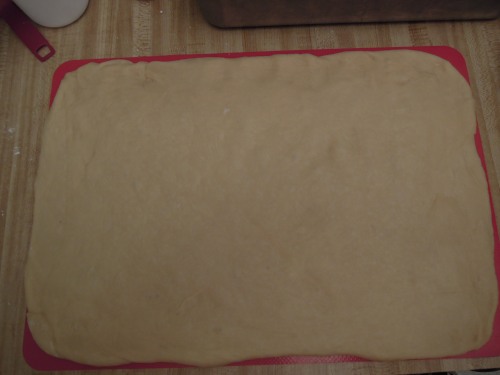
Roll out to 10 x 15. 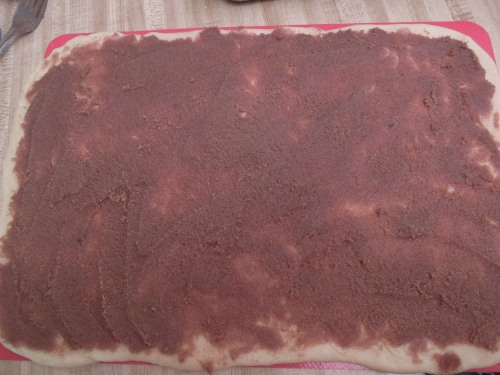
Spread with filling. 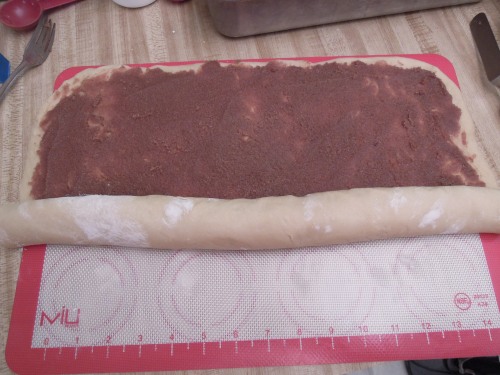
Roll up the dough. 
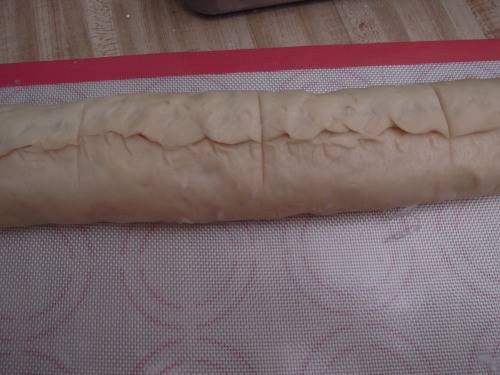
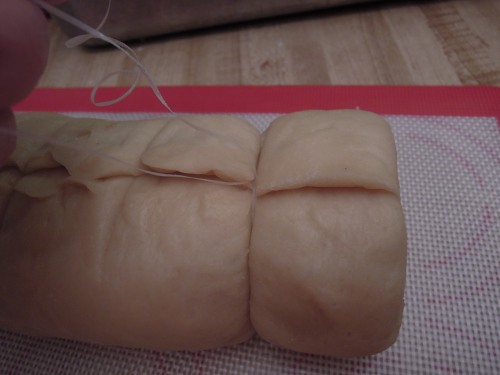
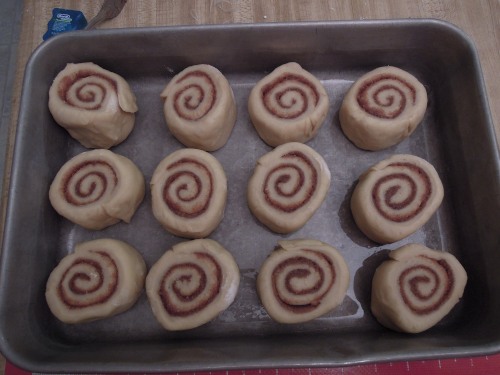
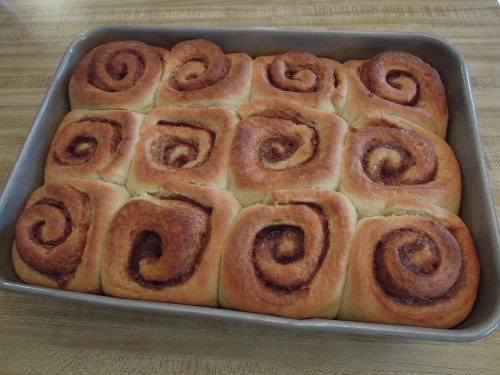
Pinch to seal. - Use a butter knife or the edge of your offset spatula to lightly score the rolls into the desired number of pieces. (This helps ensure evenly-sized rolls. I divided the rolls into 12 this time, but you can do fewer for extra large rolls or more for smaller rolls.) Once scored, use the dental floss or thread to cut the rolls without smashing them. Slide a long piece of floss under the dough log and line up with your scored lines. Cross the floss over the top of the log and pull until the roll has been cut. Repeat until all rolls are cut.
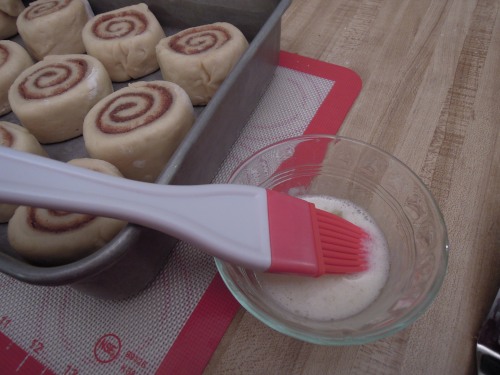
- Spray a 9 x 13 pan with cooking spray and place the rolls cut side up, evenly spaced in the pan. Brush two tablespoons of melted butter over the rolls. Cover pan tightly with plastic wrap and refrigerate over night.
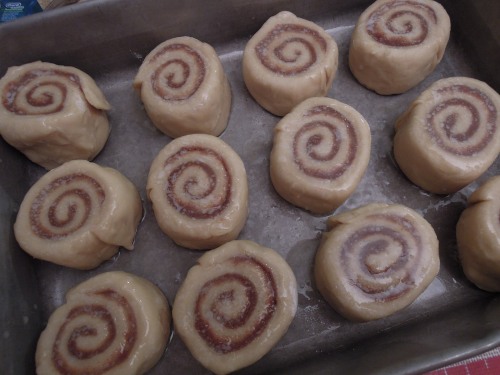
- When ready to bake, remove the pan from the refrigerator and let the dough rise (still covered) until half again as high, about 1 hour. (As above, I speed up this process a little by preheating the oven to the lowest setting and then turn it off and put the pan inside the oven for rising.)
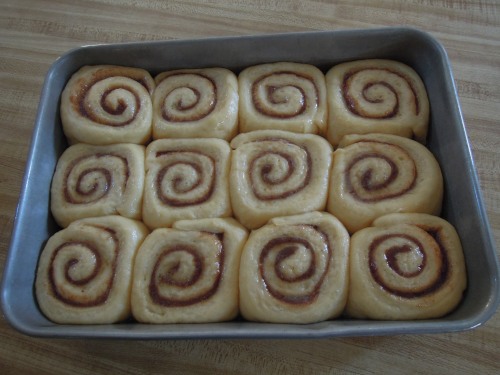
- Once risen, preheat the oven to 350 degrees and bake rolls until lightly browned, 25-30 minutes.
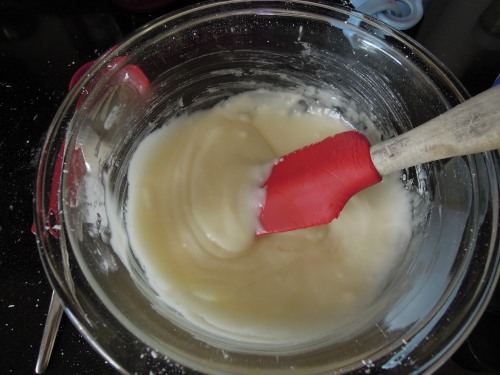
- While the rolls are baking, mix all glaze ingredients together. Add more milk or cream if it is too thick.
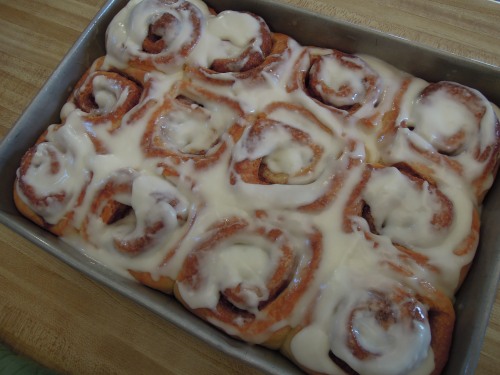
- After rolls have baked, let them cool for about 15 minutes before spreading on the glaze. Spread on the glaze and dive in to the soft warm deliciousness.
- Rolls are best eaten the day they are made, but leftovers are still good if kept covered at room temperature. I recommend briefly reheating in the microwave before eating leftovers.
Source: Williams-Sonoma via Our Best Bites