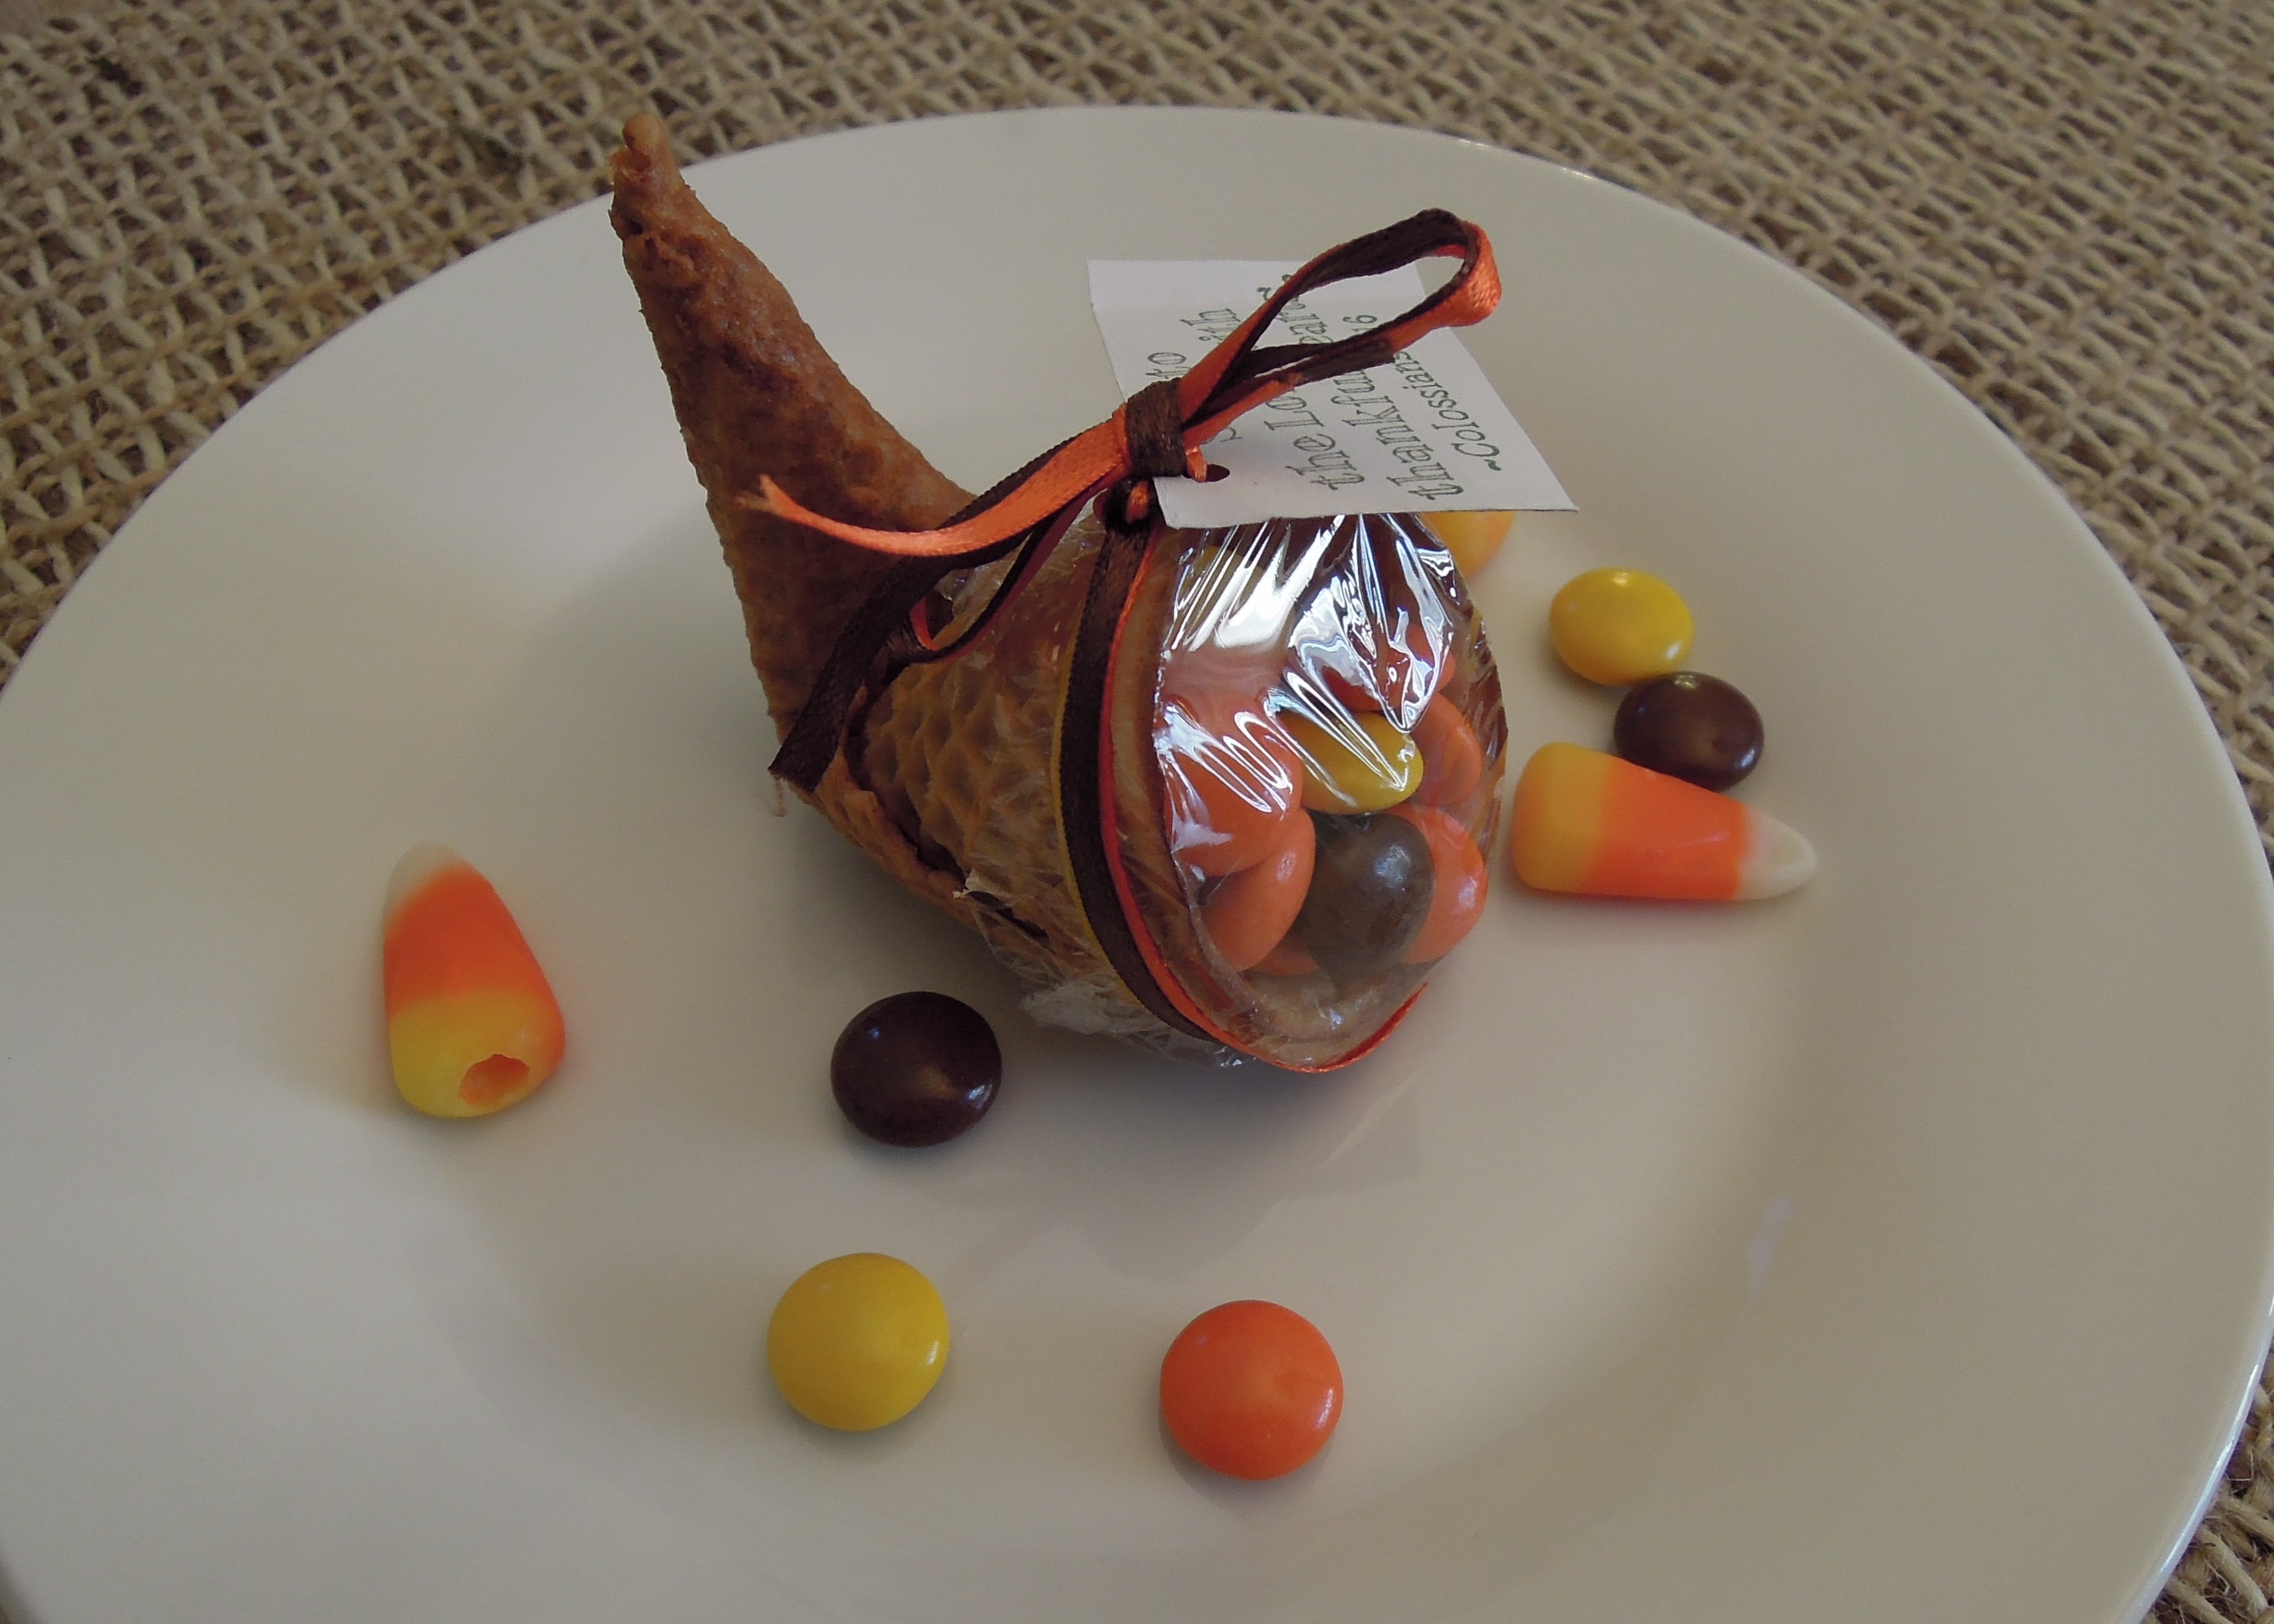
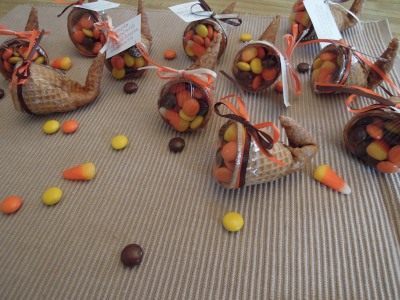
 I am not a super crafty person, but this is a pretty easy edible food craft perfect for your Thanksgiving table or to eat or give as a treat.
 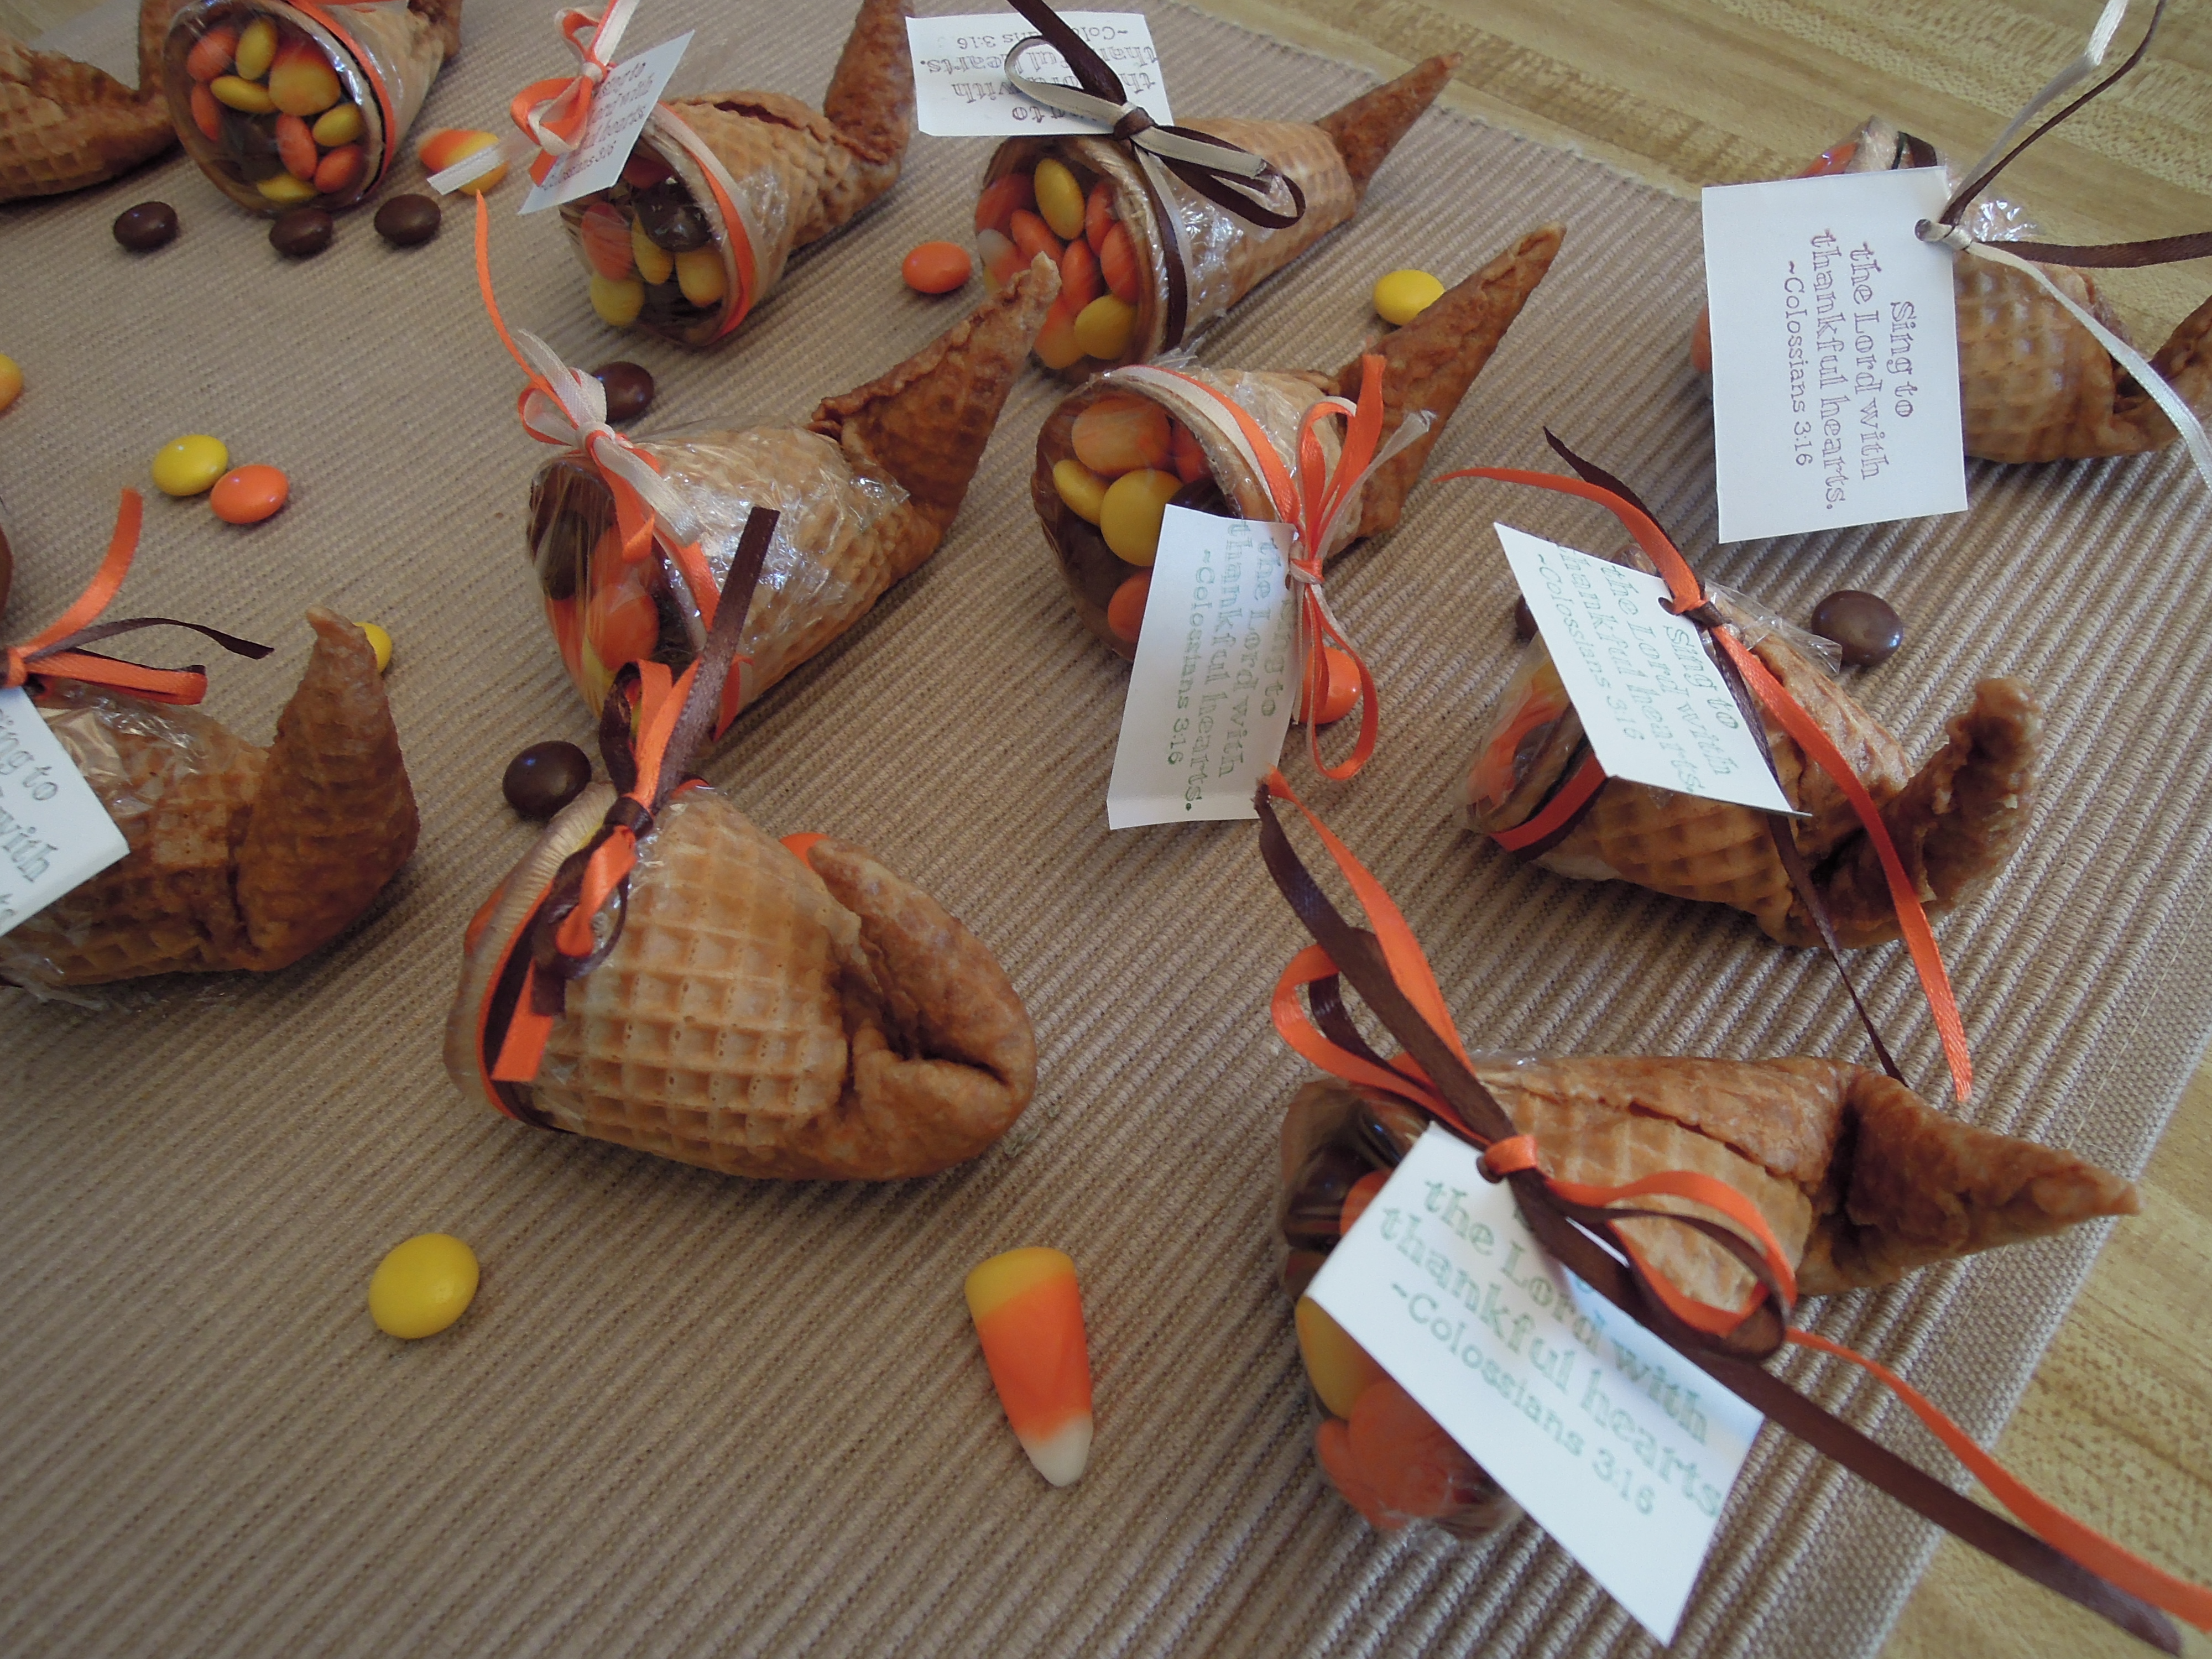 I first made these a few years back for a MOPS group, and they were a big hit. They look cute and festive on the table, and of course, everyone likes the sweets inside. In my memory, these had been a little bit of a pain to make. I seem to recall quite a few broken cones and a little bit of drama. I don’t know if I had a better technique this time, or if I am using a different brand of cone or if the cone recipe has changed slightly, but this time it was easy and I had not one broken cone!
These do not take long to make EXCEPT you need about 24 hours of drying time for the cone, so be sure to plan ahead if you decide to give these a try.
Cone-ucopias
Materials:
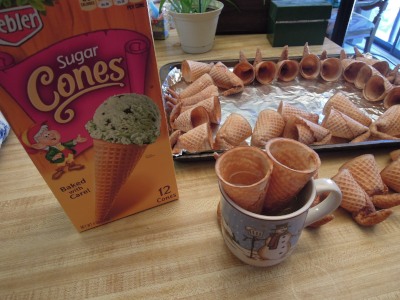
- sugar cone ice cream cones
- water
- a coffee cup
- a small microwaveable plate
- microwave
- a rimmed baking pan or baking sheet
- saran wrap
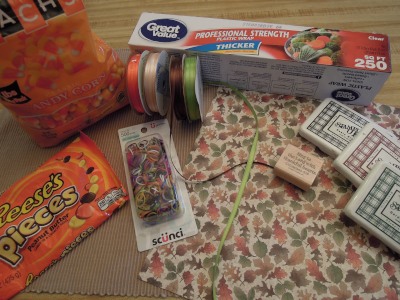
- small candies of your choice: I used Reese’s Pieces and candy corn because I wanted the fall colors. You could use small chocolates, fruit-shaped candy such as Runts, or whatever you prefer.
- small elastic bands (I used Scunci elastics from the girls’ hair accessories department)
- Optional: decorative ribbon in Thanksgiving colors, scrapbook paper
Instructions:
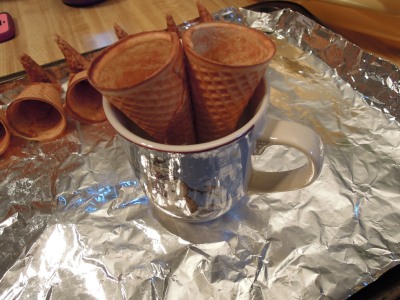
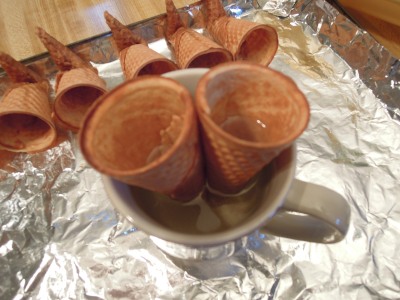
- Fill a coffee cup about half-way with lukewarm tap water. Fill two sugar cones about half-way with lukewarm tap water and set them inside the coffee cup of water. Let sit for approximately 1 minute. (Too little time will make the cones hard to bend without breaking them and too much time will make them so soggy that the cone will start to unravel and take an extra long time to dry out.) You want the cone to get wet far enough up the cone to give a good bend to the cone, but not so far that it completely comes undone.
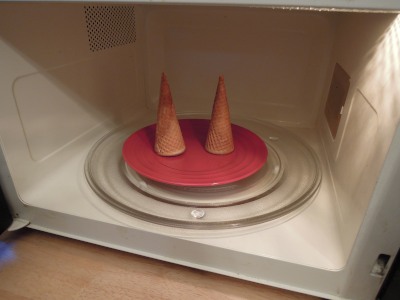
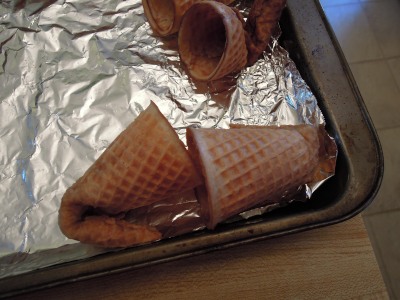
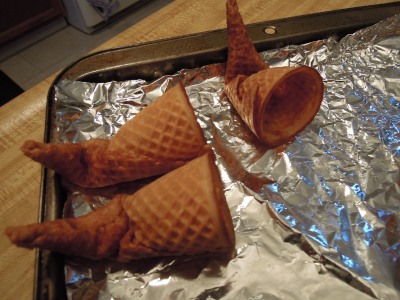
- After soaking, dump the water out of the cones and stand the cones on a microwaveable plate. Microwave ovens vary, so you may need to play with the time, but mine took 20 seconds on high. The cone should now be bendable (and hot, so be careful). You can bend the end of the cone to your liking. Sometimes, the cones bent all on their own while heating.
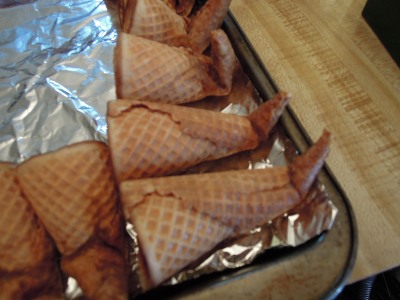
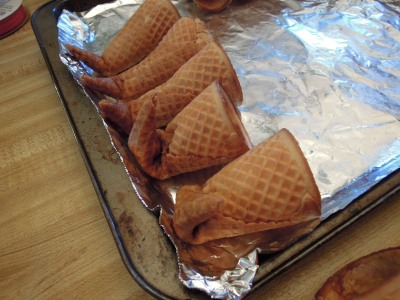
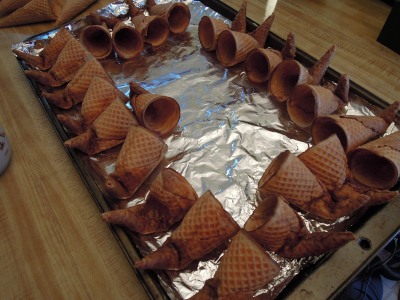
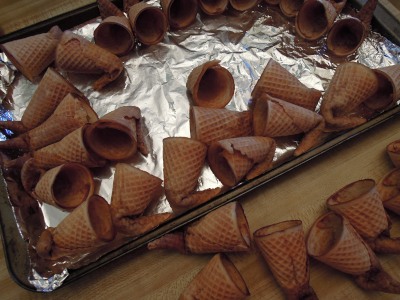
- Position the cone on your rimmed pan in such a way as to hold the bend of the cone until it dries. I prop them against the edge or lay the cone down on top of the fold to hold it. Sometimes I prop a couple of cones together to hold the shape I want. Make sure to leave room for air flow to help dry the cones.
- Continue making as many cones as you desire. Allow cones time to dry. Mine usually take a full 24 hours or more, depending on exactly how wet you make them initially and how much space you leave for airflow.
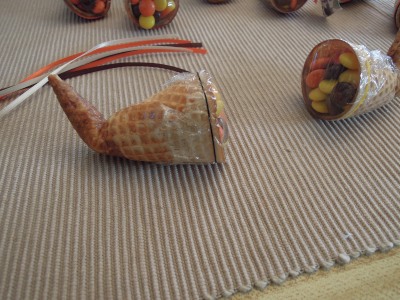
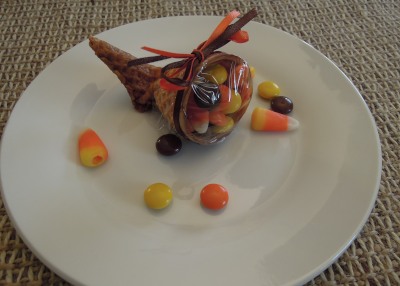
- When the cones have dried and hardened, cut small pieces of saran wrap or some other clear or maybe netted material to cover the end of the cone. Fill the cone with the candy of your choice and then wrap the open end tightly with saran wrap. Use the small elastic to secure the plastic wrap and keep the candy inside.
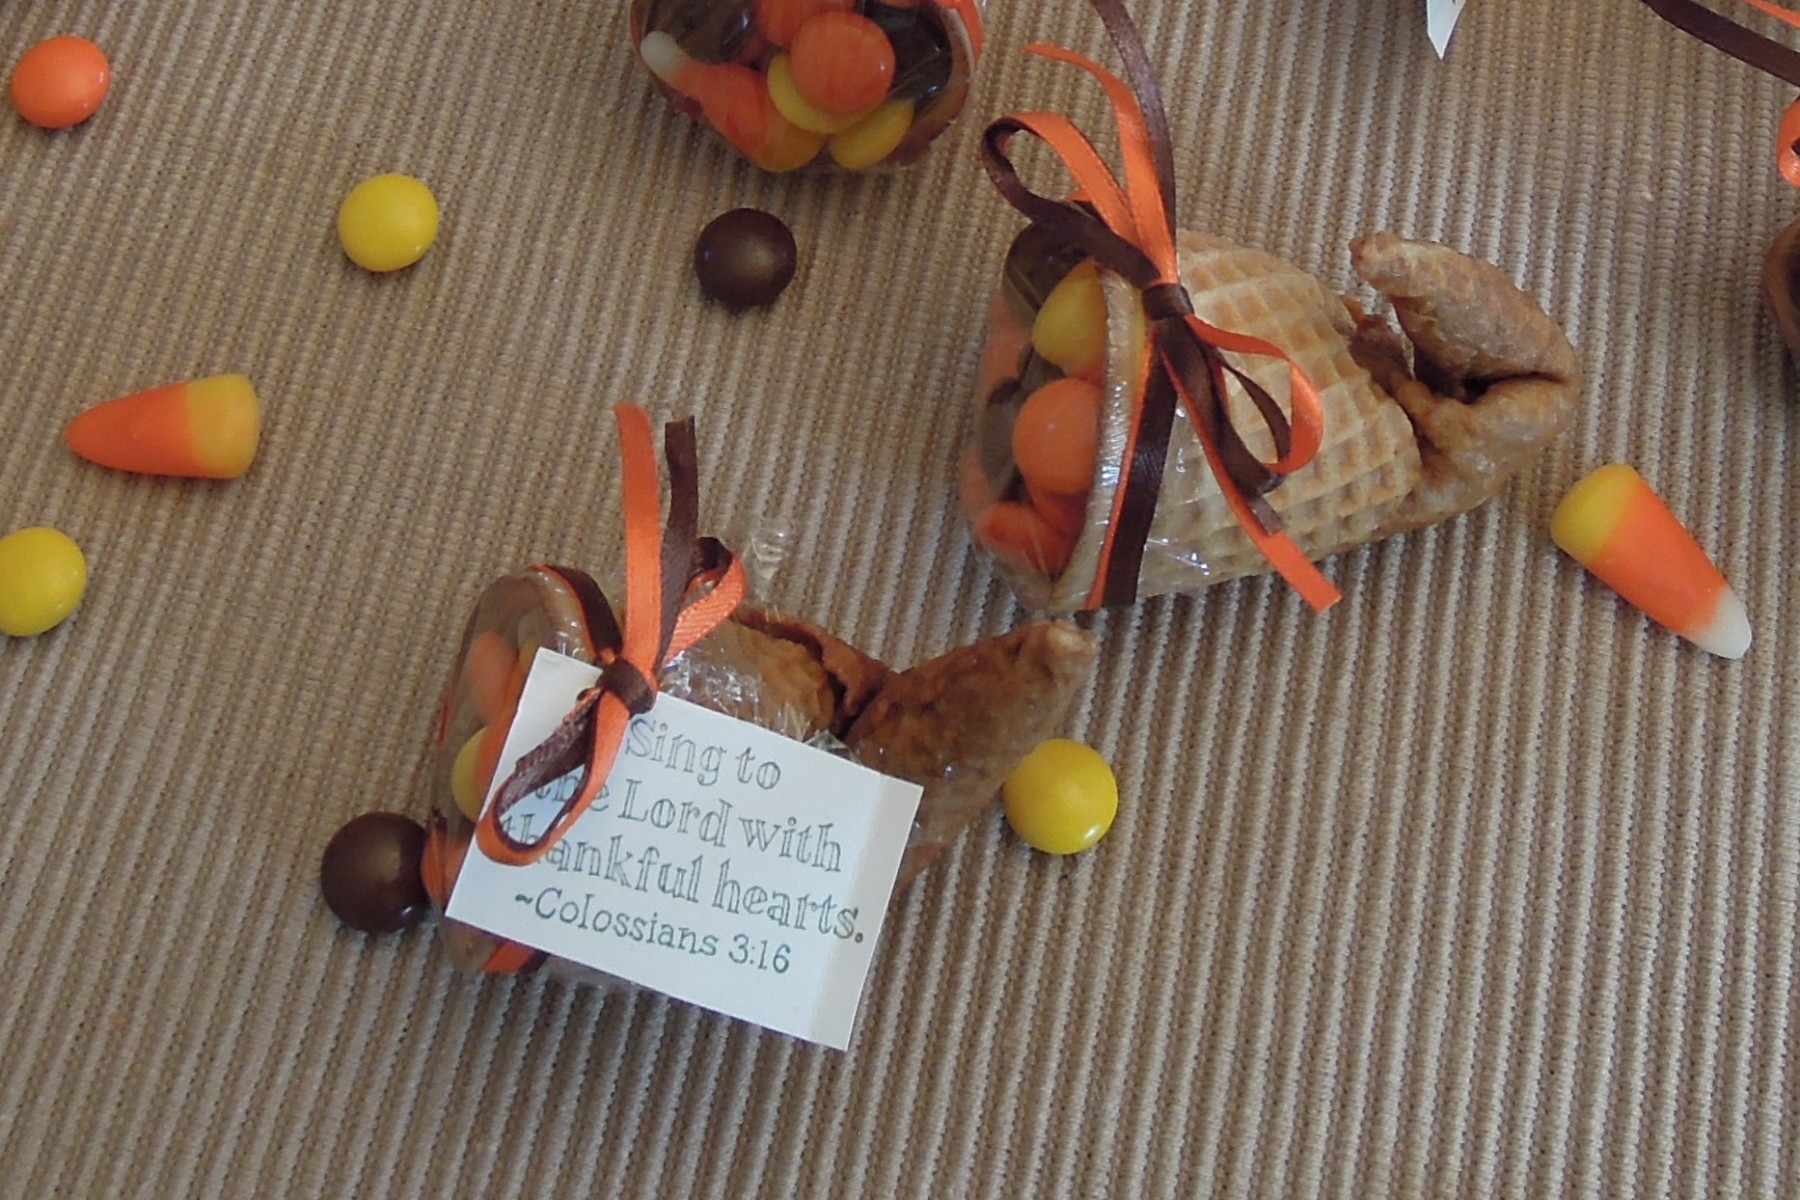
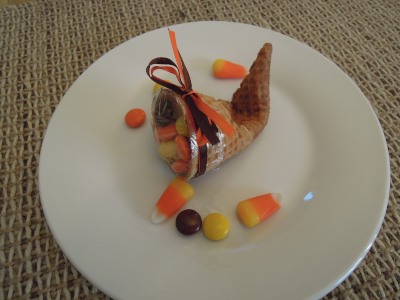
- Decorate the cone-ucopia with ribbons, tags, or other embellishments of your choice. I usually use two colors of 1/8 inch wide ribbon to cover over the elastic band and then tie in a bow or add a tag with a scripture or a person’s name. Trim any excess plastic wrap at this point to make the cone-ucopia neat.
- Ideas for use: eat them, use them as party favors, add a name tag and use them as part of your place settings at Thanksgiving, add a thank you note for a teacher, friend, co-worker, etc. and give it as a small gift; use them as class party favors at school, give them to members of your MOPS group or Bible study as a gift, etc.
Source: I have seen these in several places on the internet, but this is the technique I found to work best for me. I do not have any specific source.
Share This:



Pingback: Acorns and Turkeys | Christine's Taste of Heaven