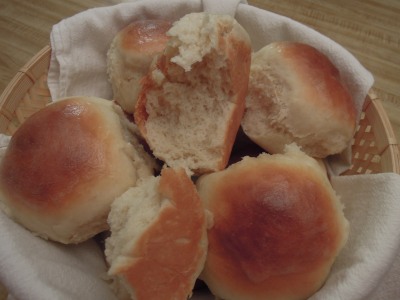
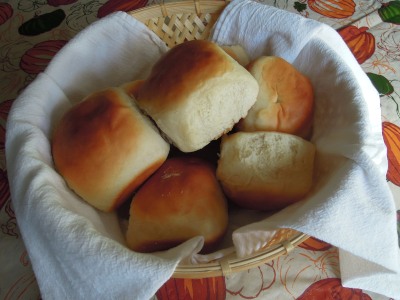
 In my last post, I mentioned that the only Thanksgiving foods my kids really like are the dinner rolls. (And the dessert, of course.) These super soft, fluffy dinner rolls warm from the oven just might make you forget all about any of the other foods too.
Compared to many bread recipes, these are “quick.” The original recipe titles these, “30 minute rolls,” but just doing the math in the recipe makes them at least 35 minutes. I think 45-60 minutes is a more realistic number. You have to have time to gather the ingredients, roll the dough, stop to stir another dish you are making at the same time, and redirect the children 8-10 times. Even so, these are quicker than typical breads which need at least an hour just to rise.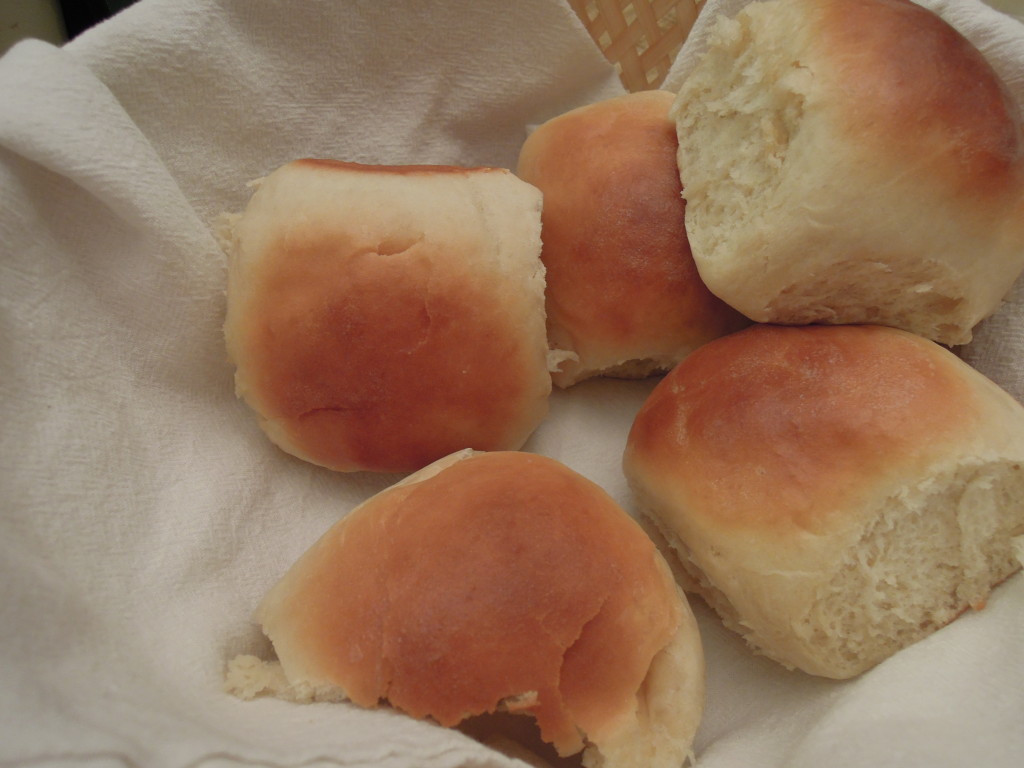
The quicker rise time is achieved by putting an extra large amount of yeast in the recipe, so yes, the measurements in the recipe are correct. More yeast=faster rise. I was originally concerned that these might taste yeasty, but they are delicious. The rolls taste best fresh out of the oven, all warm and soft inside–no butter required. Of course butter and a little bit of honey make them even more fabulous.
{Kind of} Quick Dinner Rolls
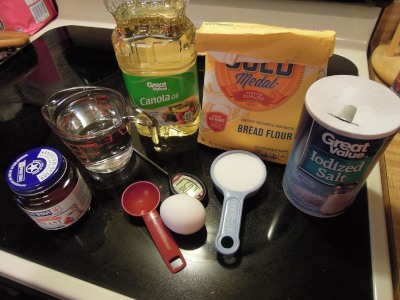
- 1 cup plus 2 tablespoons warm water (approximately 105-115 degrees, hot tap water)
- 1/3 cup canola/vegetable oil
- 2 tablespoons yeast
- 1/4 cup white sugar
- 1 and 1/2 teaspoons salt
- 1 egg
- approximately 3 and 1/2 cups bread flour (all purpose will work too, but the texture may be a little different)
Directions:
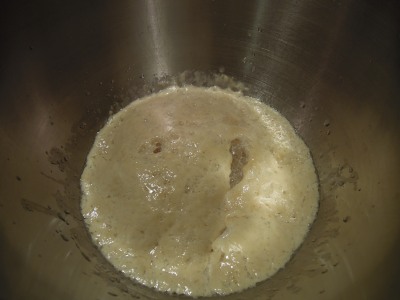
- In the bowl of your mixer, combine the water, oil, yeast, and sugar, and allow it to rest (proof) for 15 minutes. (I usually mix on low with the dough hook for a minute or so until combined.) The mixture should foam up. If it does not, your yeast is not working, and you should not continue with the recipe. Possible causes for failed yeast: old, dead yeast or the water was too hot and killed the yeast.
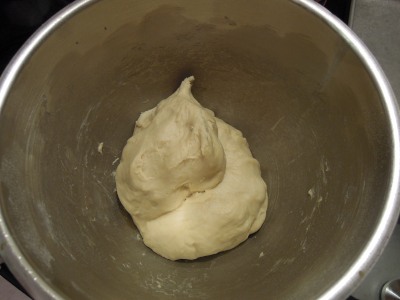
- Using the dough hook, stir in salt, egg, and about 2 cups of the flour. With the mixer on low, add additional flour bit by bit until the dough stops sticking to the sides of the bowl and begins clearing the bowl. Stop and check the dough with your fingers. If it sticks to your fingers, keep adding flour. Stop adding flour when the dough is clearing the bowl and it barely sticks to your finger when touched. At this point, turn the mixer up to medium and allow it to knead the dough for just a couple of minutes until soft and smooth. (Total flour amount is going to vary depending on location and weather. You have to go by look and feel. If you are going to err, err on the side of having the dough a little sticky. Too much flour will make the rolls heavy and dense. You can always spray your hands with a little cooking spray to make dividing the dough easier.)
- If your oven is available, preheat it to the lowest setting (“warm” on my oven). If your oven is already busy, just skip this step. Lightly spray a 9 x 13 baking pan with cooking spray.
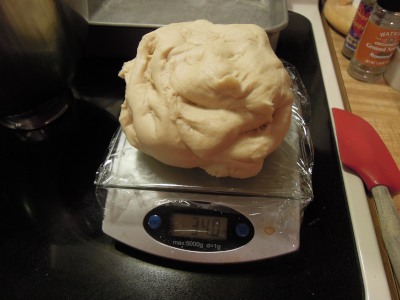
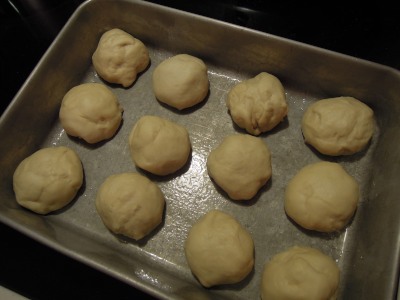
- Divide the dough into 12 evenly-sized balls and place in pan, leaving space in between the dough balls. (Tip: I use my digital scale to weigh the whole amount of dough, divide the number by twelve, and then use the scale to make evenly-sized balls. Mine are usually just under 3 ounces each. This process decreases the chance of some of the rolls being under-baked while others are over-baked.)
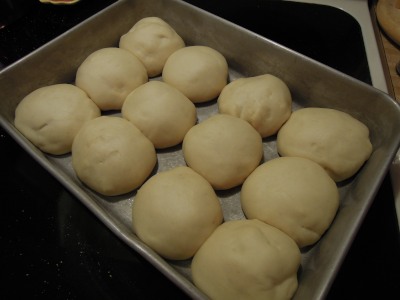
- Place pan of rolls in warmed oven and TURN OFF the oven. If your oven is not available, just find a warm place to set the rolls. Let rolls rise for 10-15 minutes.
- Remove rolls from oven or warm place and preheat the oven to 400 degrees.
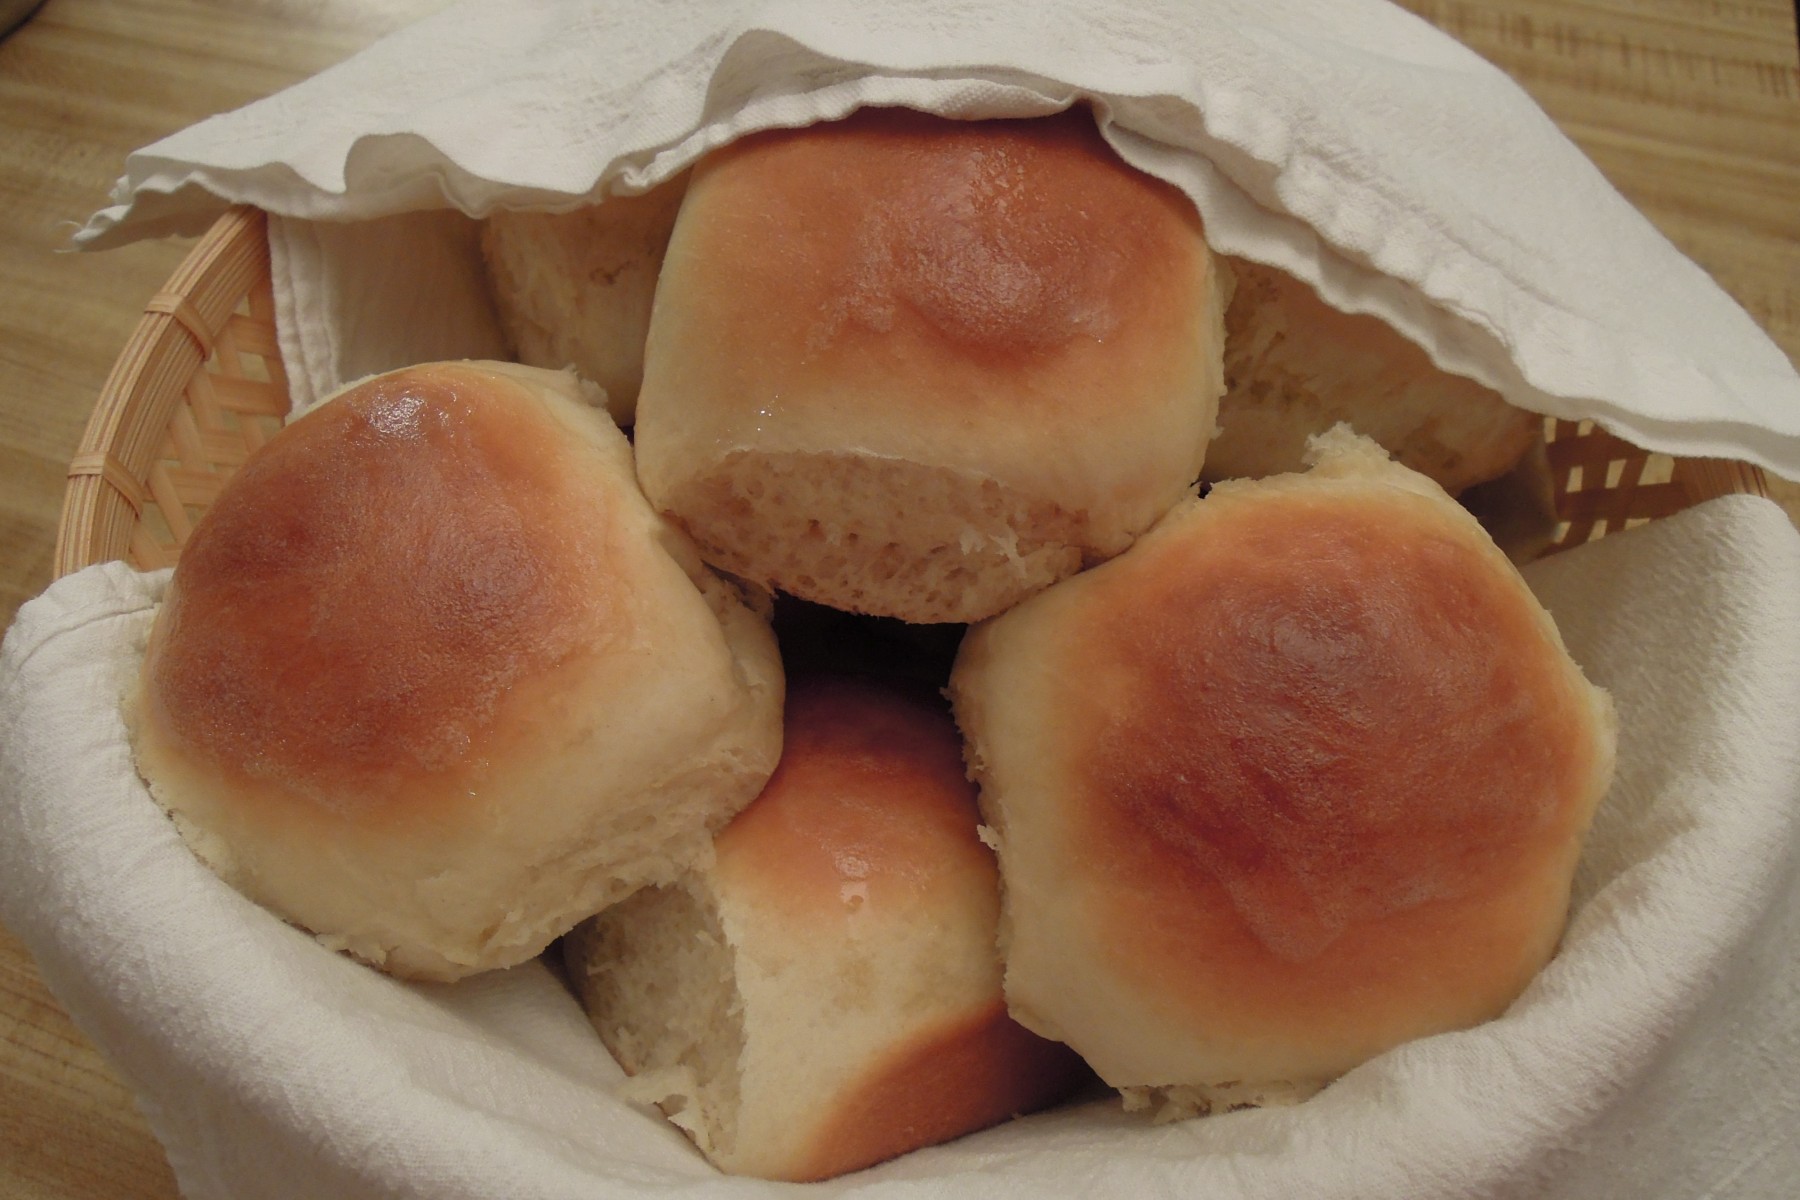
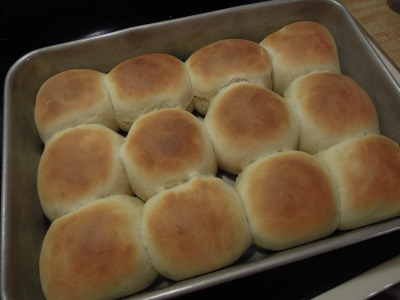
- Bake rolls for 10-12 minutes or until golden brown. Brush tops with butter if desired. Serve immediately.
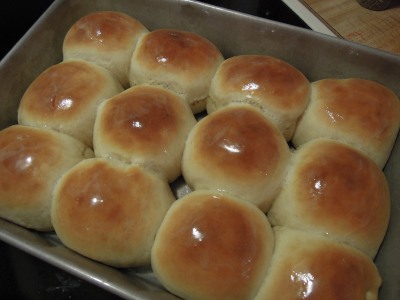
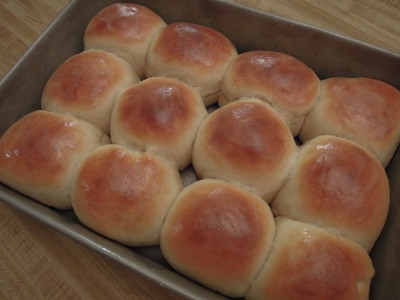
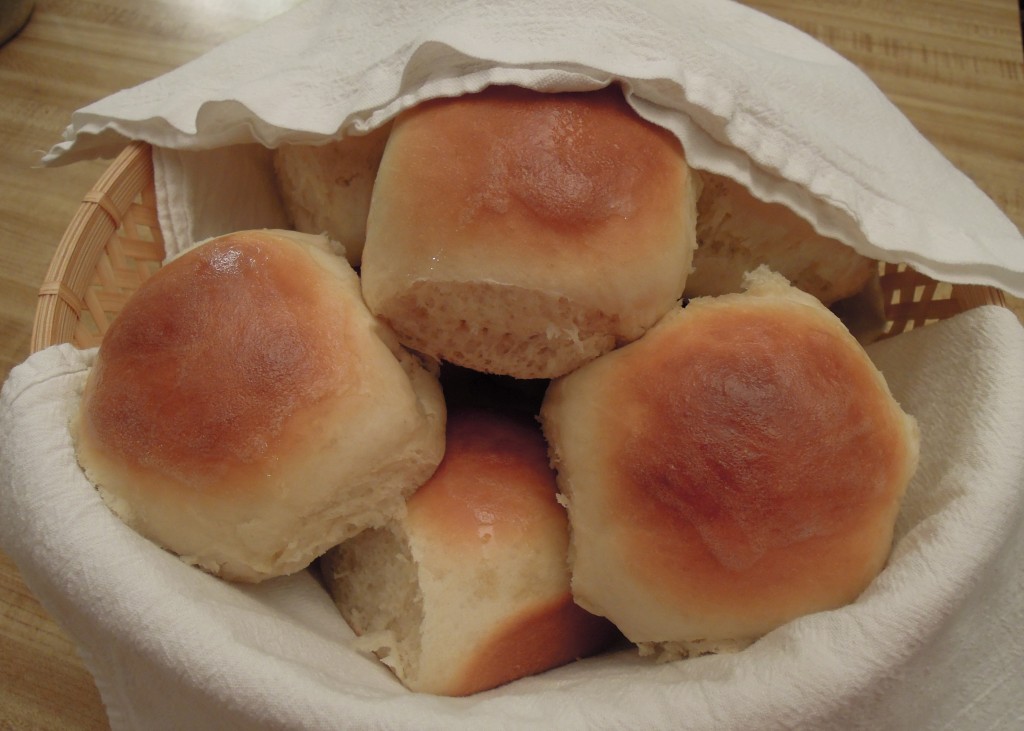
Right out of oven. Brushed with butter. Ready to eat.
Source: Adapted slightly from Your Homebased Mom
Share This:

Christine please put your recipes in a cook book! It would be a best seller!