 This is for the serious chocolate lover only.
Seriously.
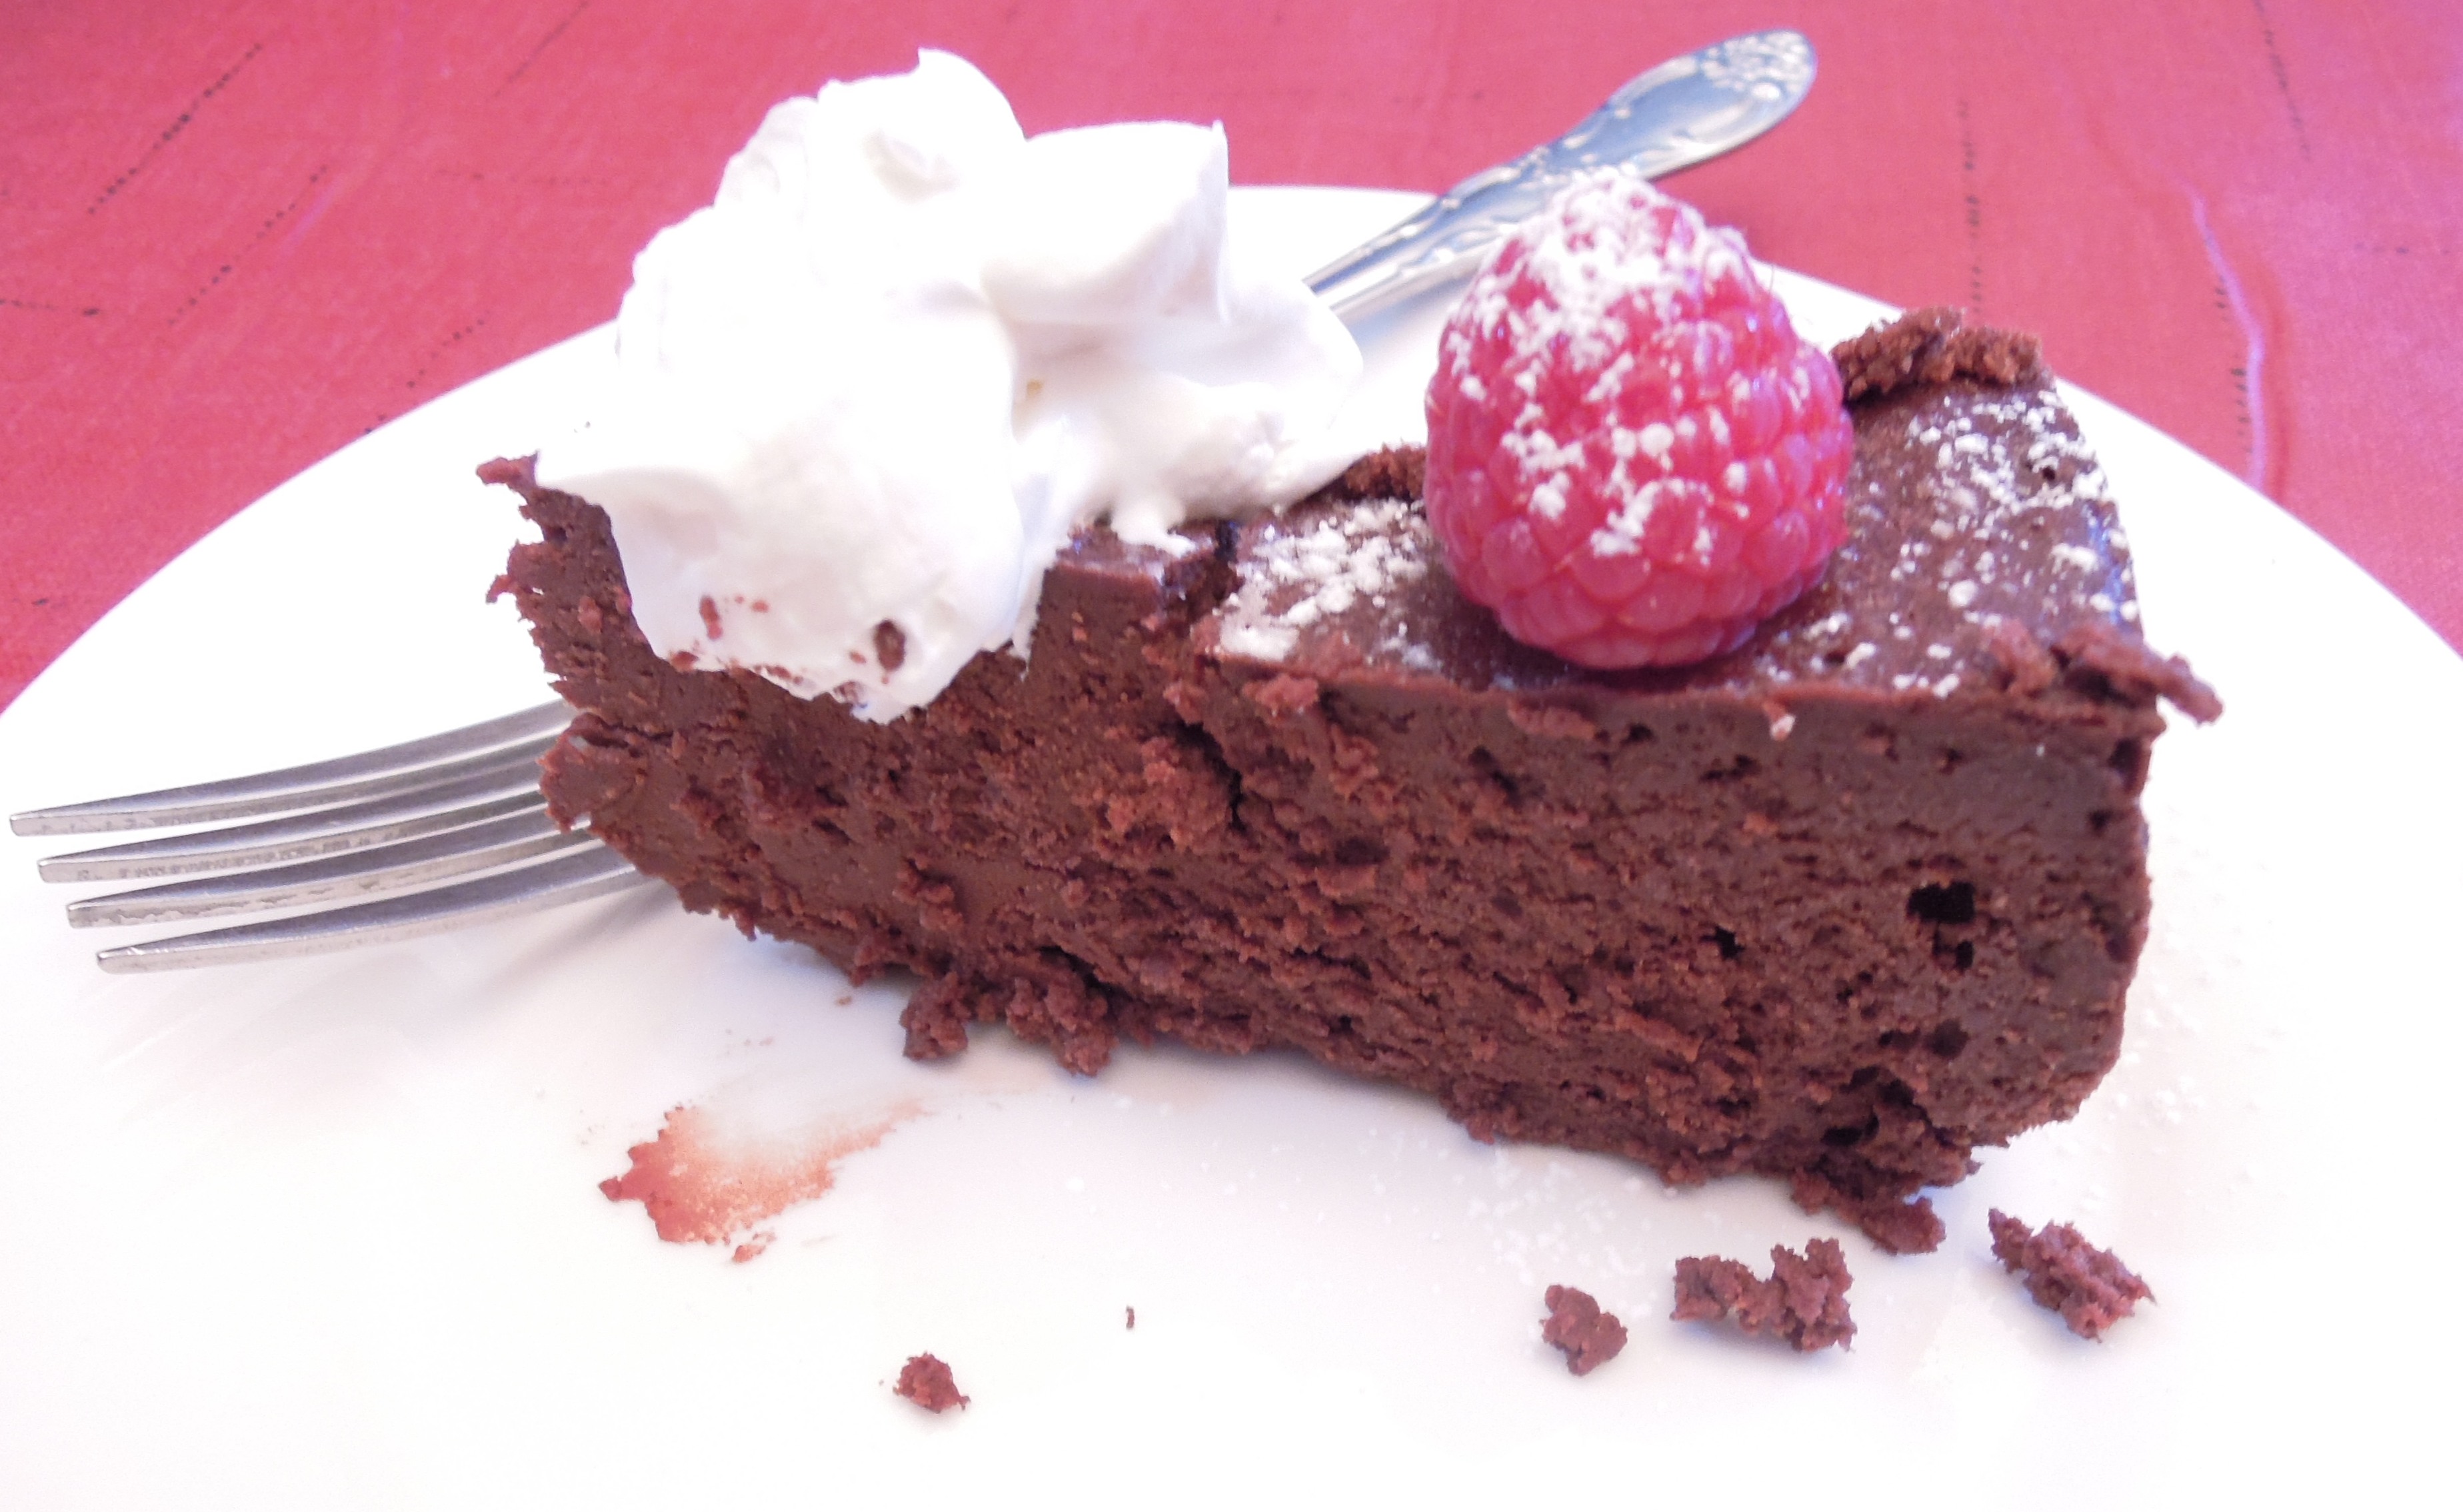
Like the inside of a dark chocolate truffle or an extra intense chocolate silk pie.
 There are only four ingredients in this recipe and sugar is not one of them. You may be surprised to see coffee as one of the ingredients. Coffee or espresso powder is often added to rich chocolate desserts to intensify the flavor. (I’m out of my league here–I do not like coffee at all and chocolate only a little.) The coffee is supposed to intensify the flavor of the chocolate without adding coffee flavor to the dessert. Only one of my tasters claimed he could detect the coffee in this cake, but he did not say this until AFTER I told him it contained coffee.
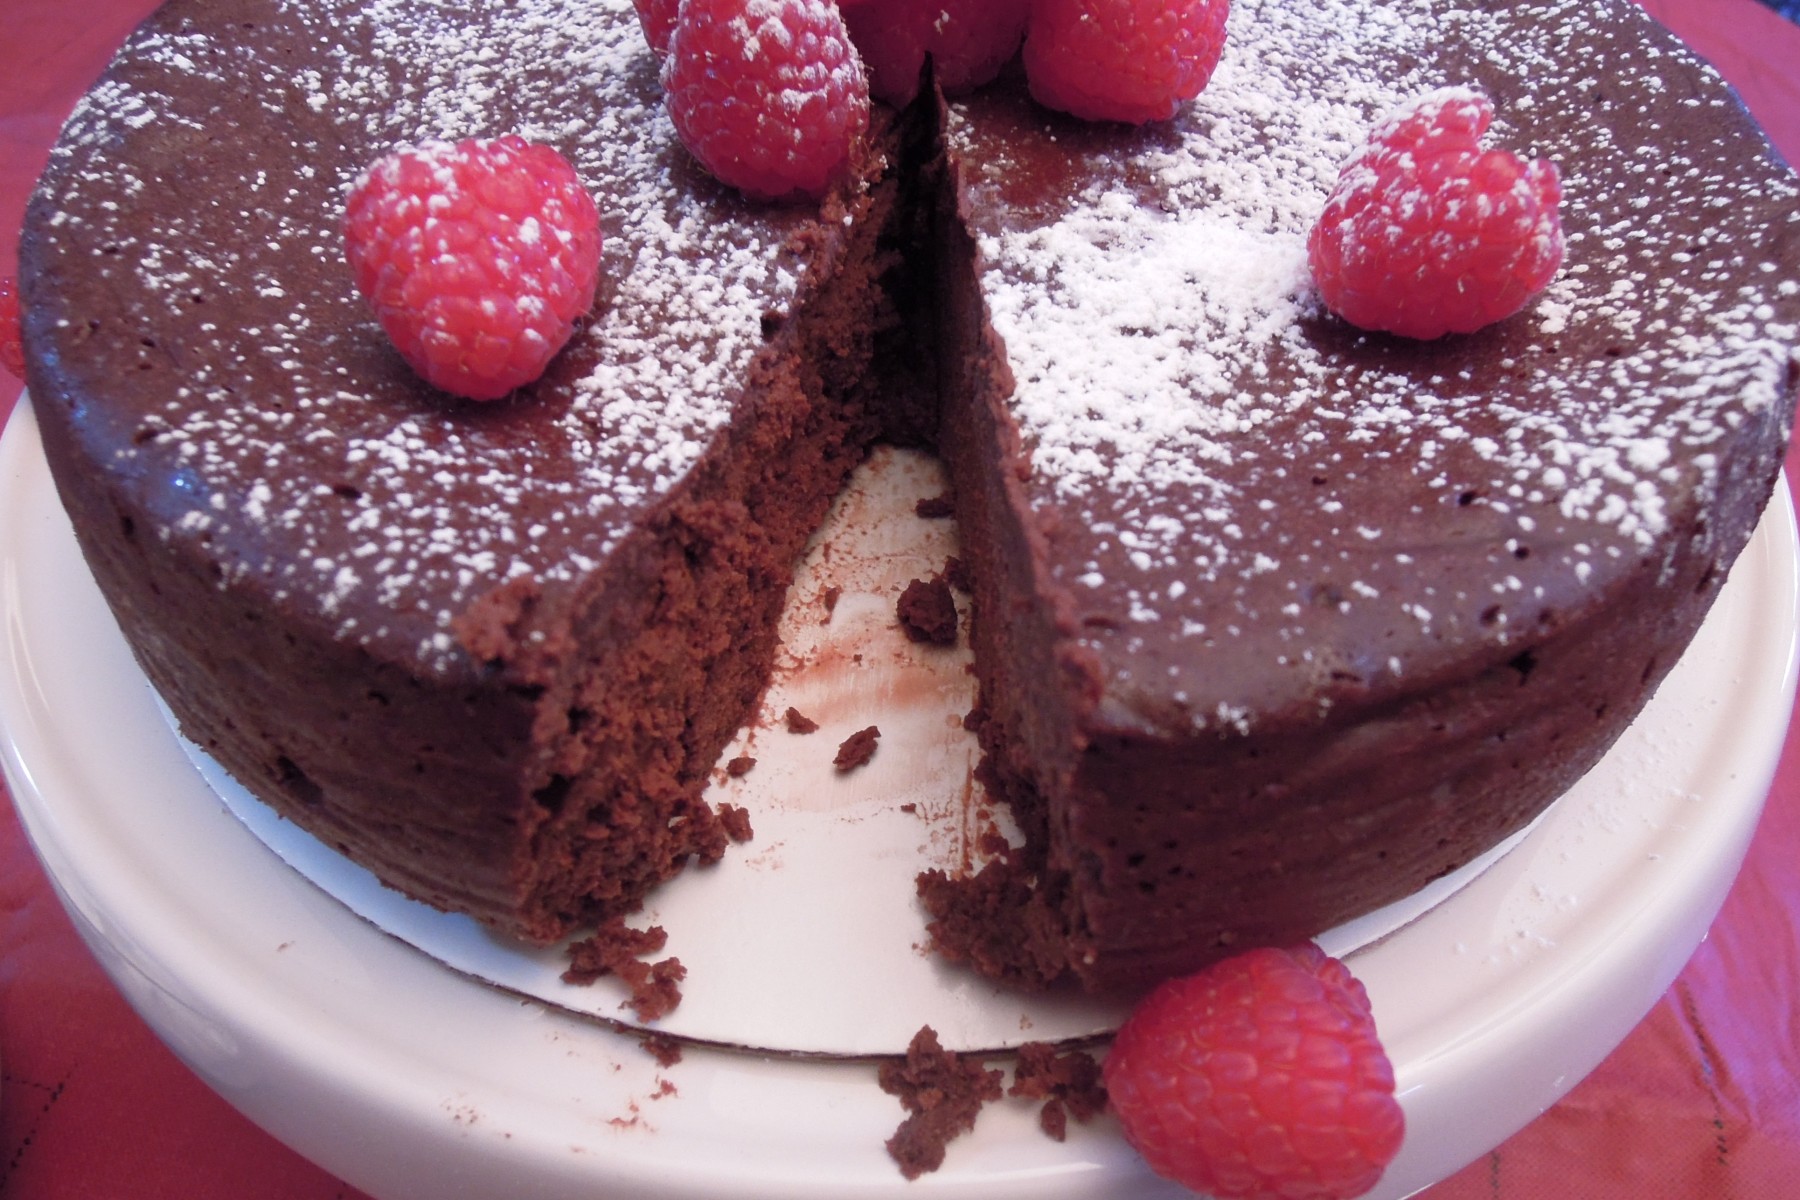
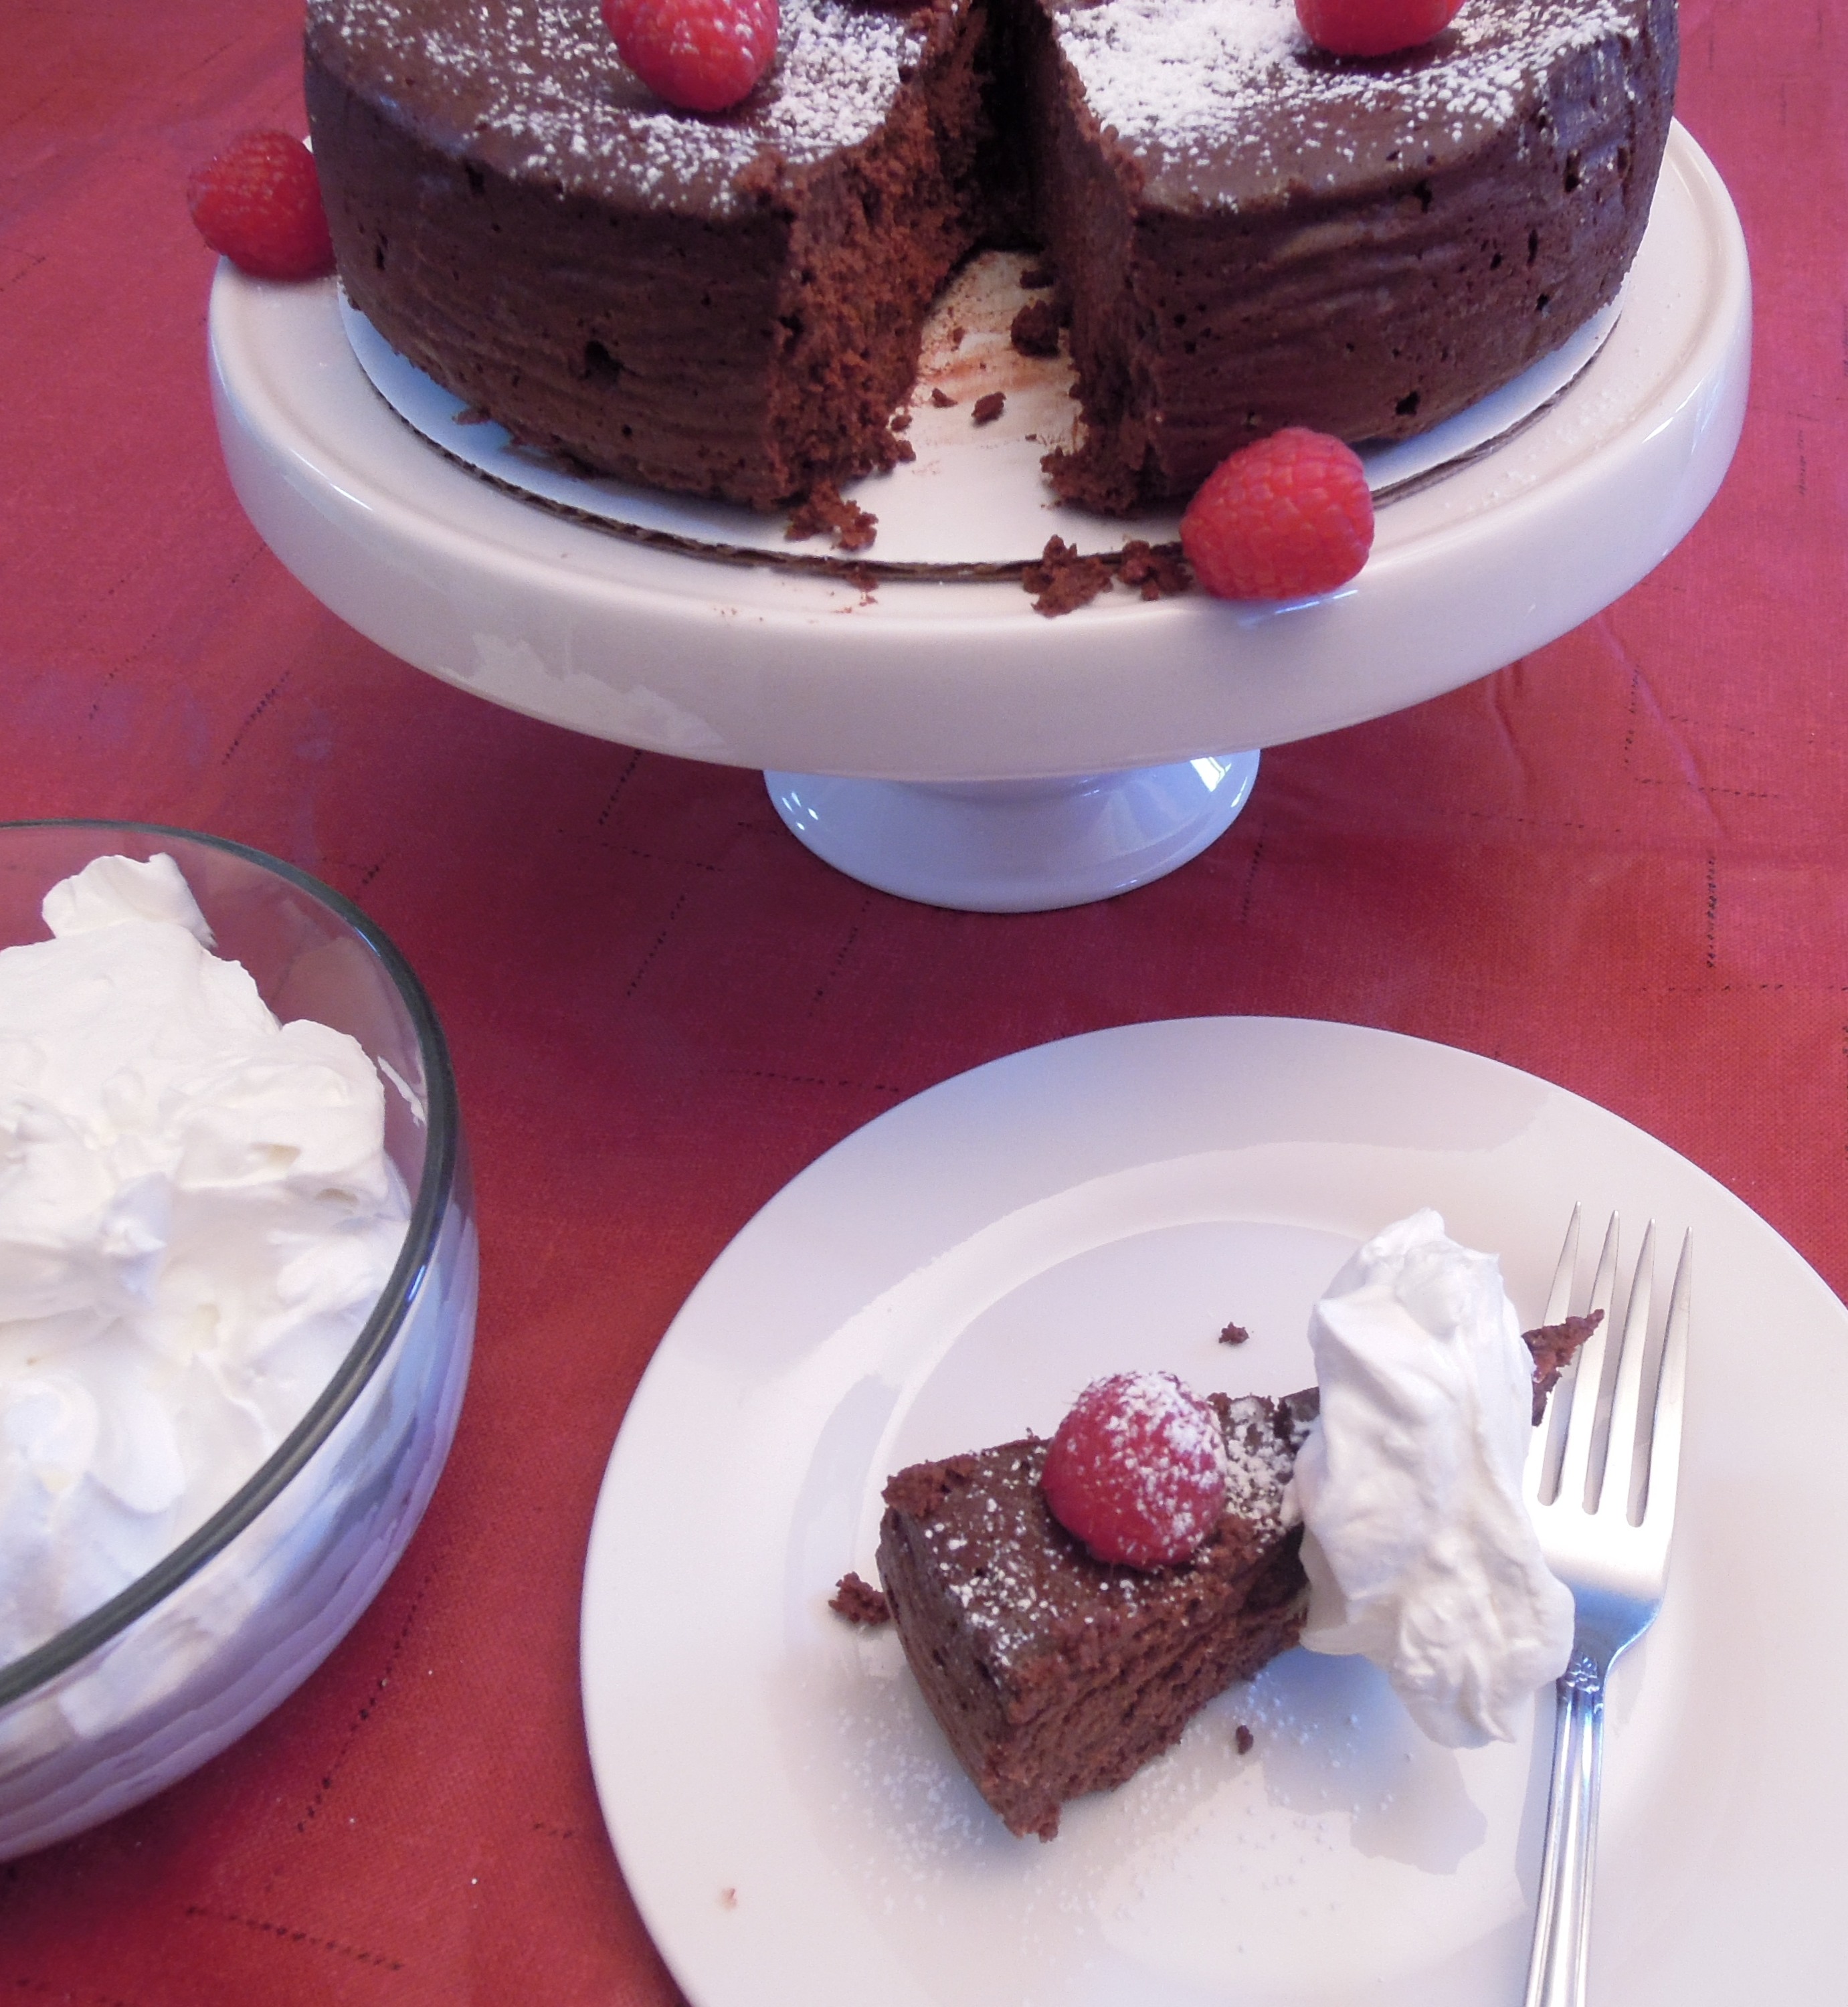
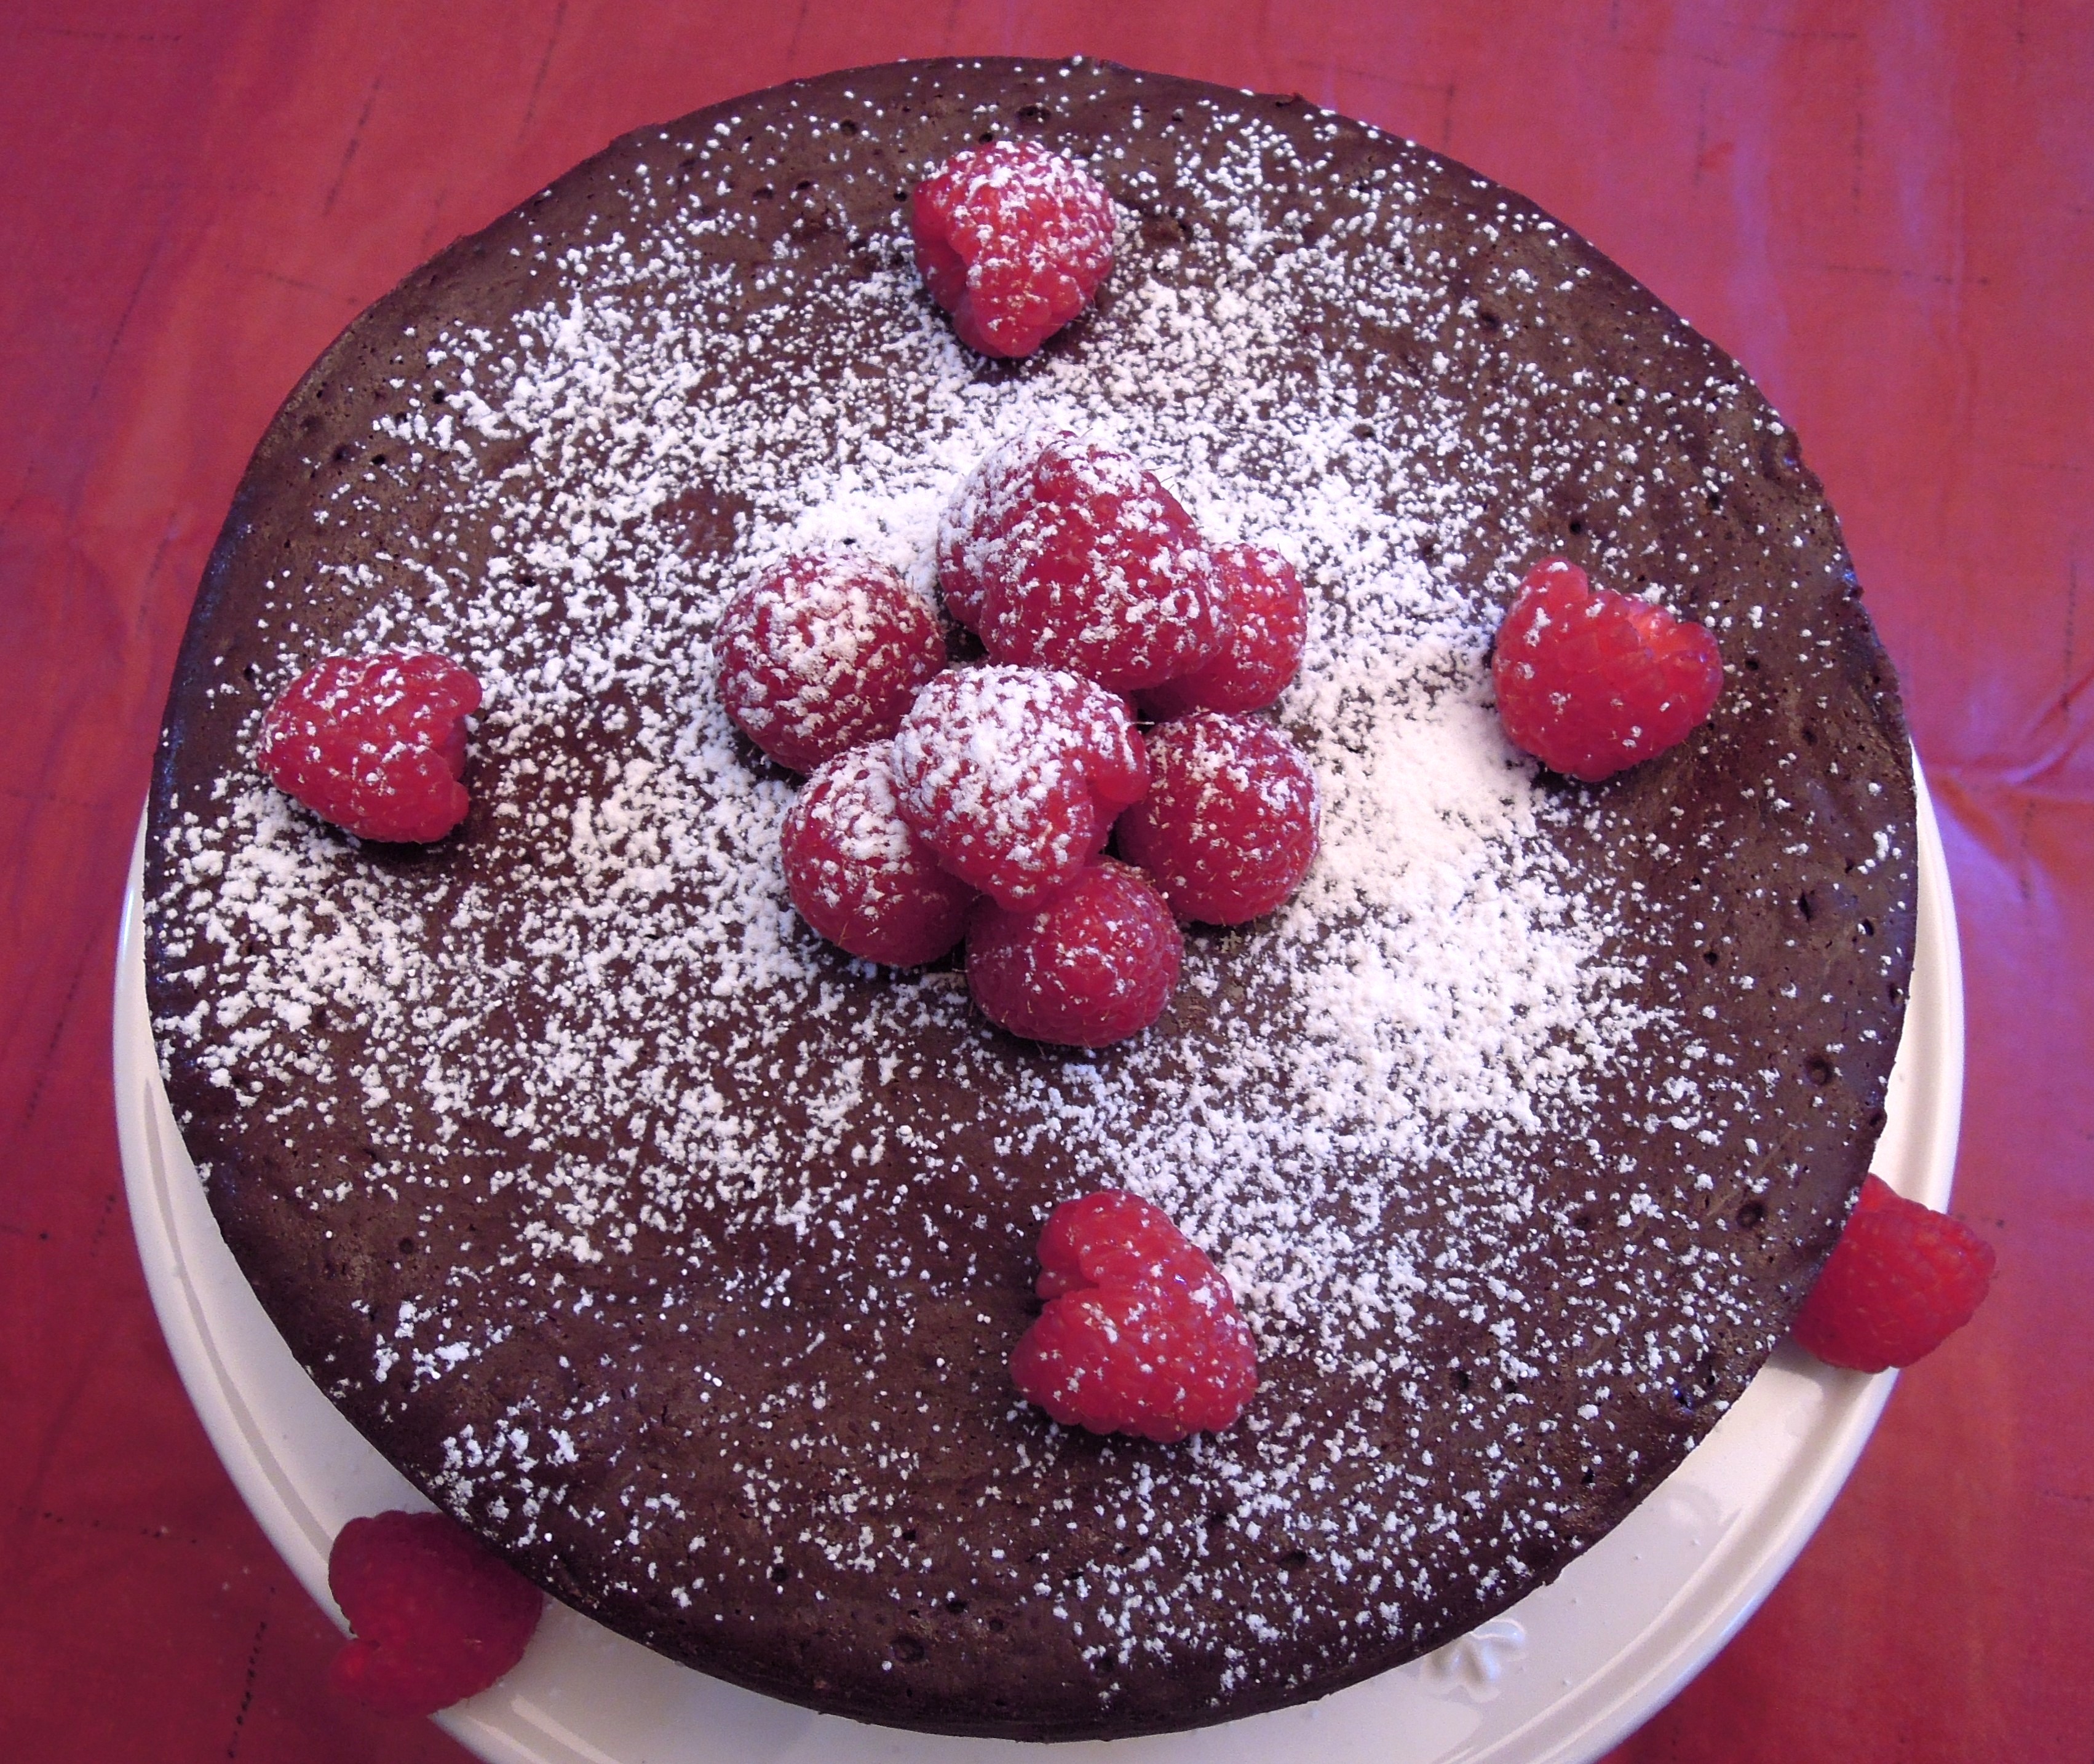
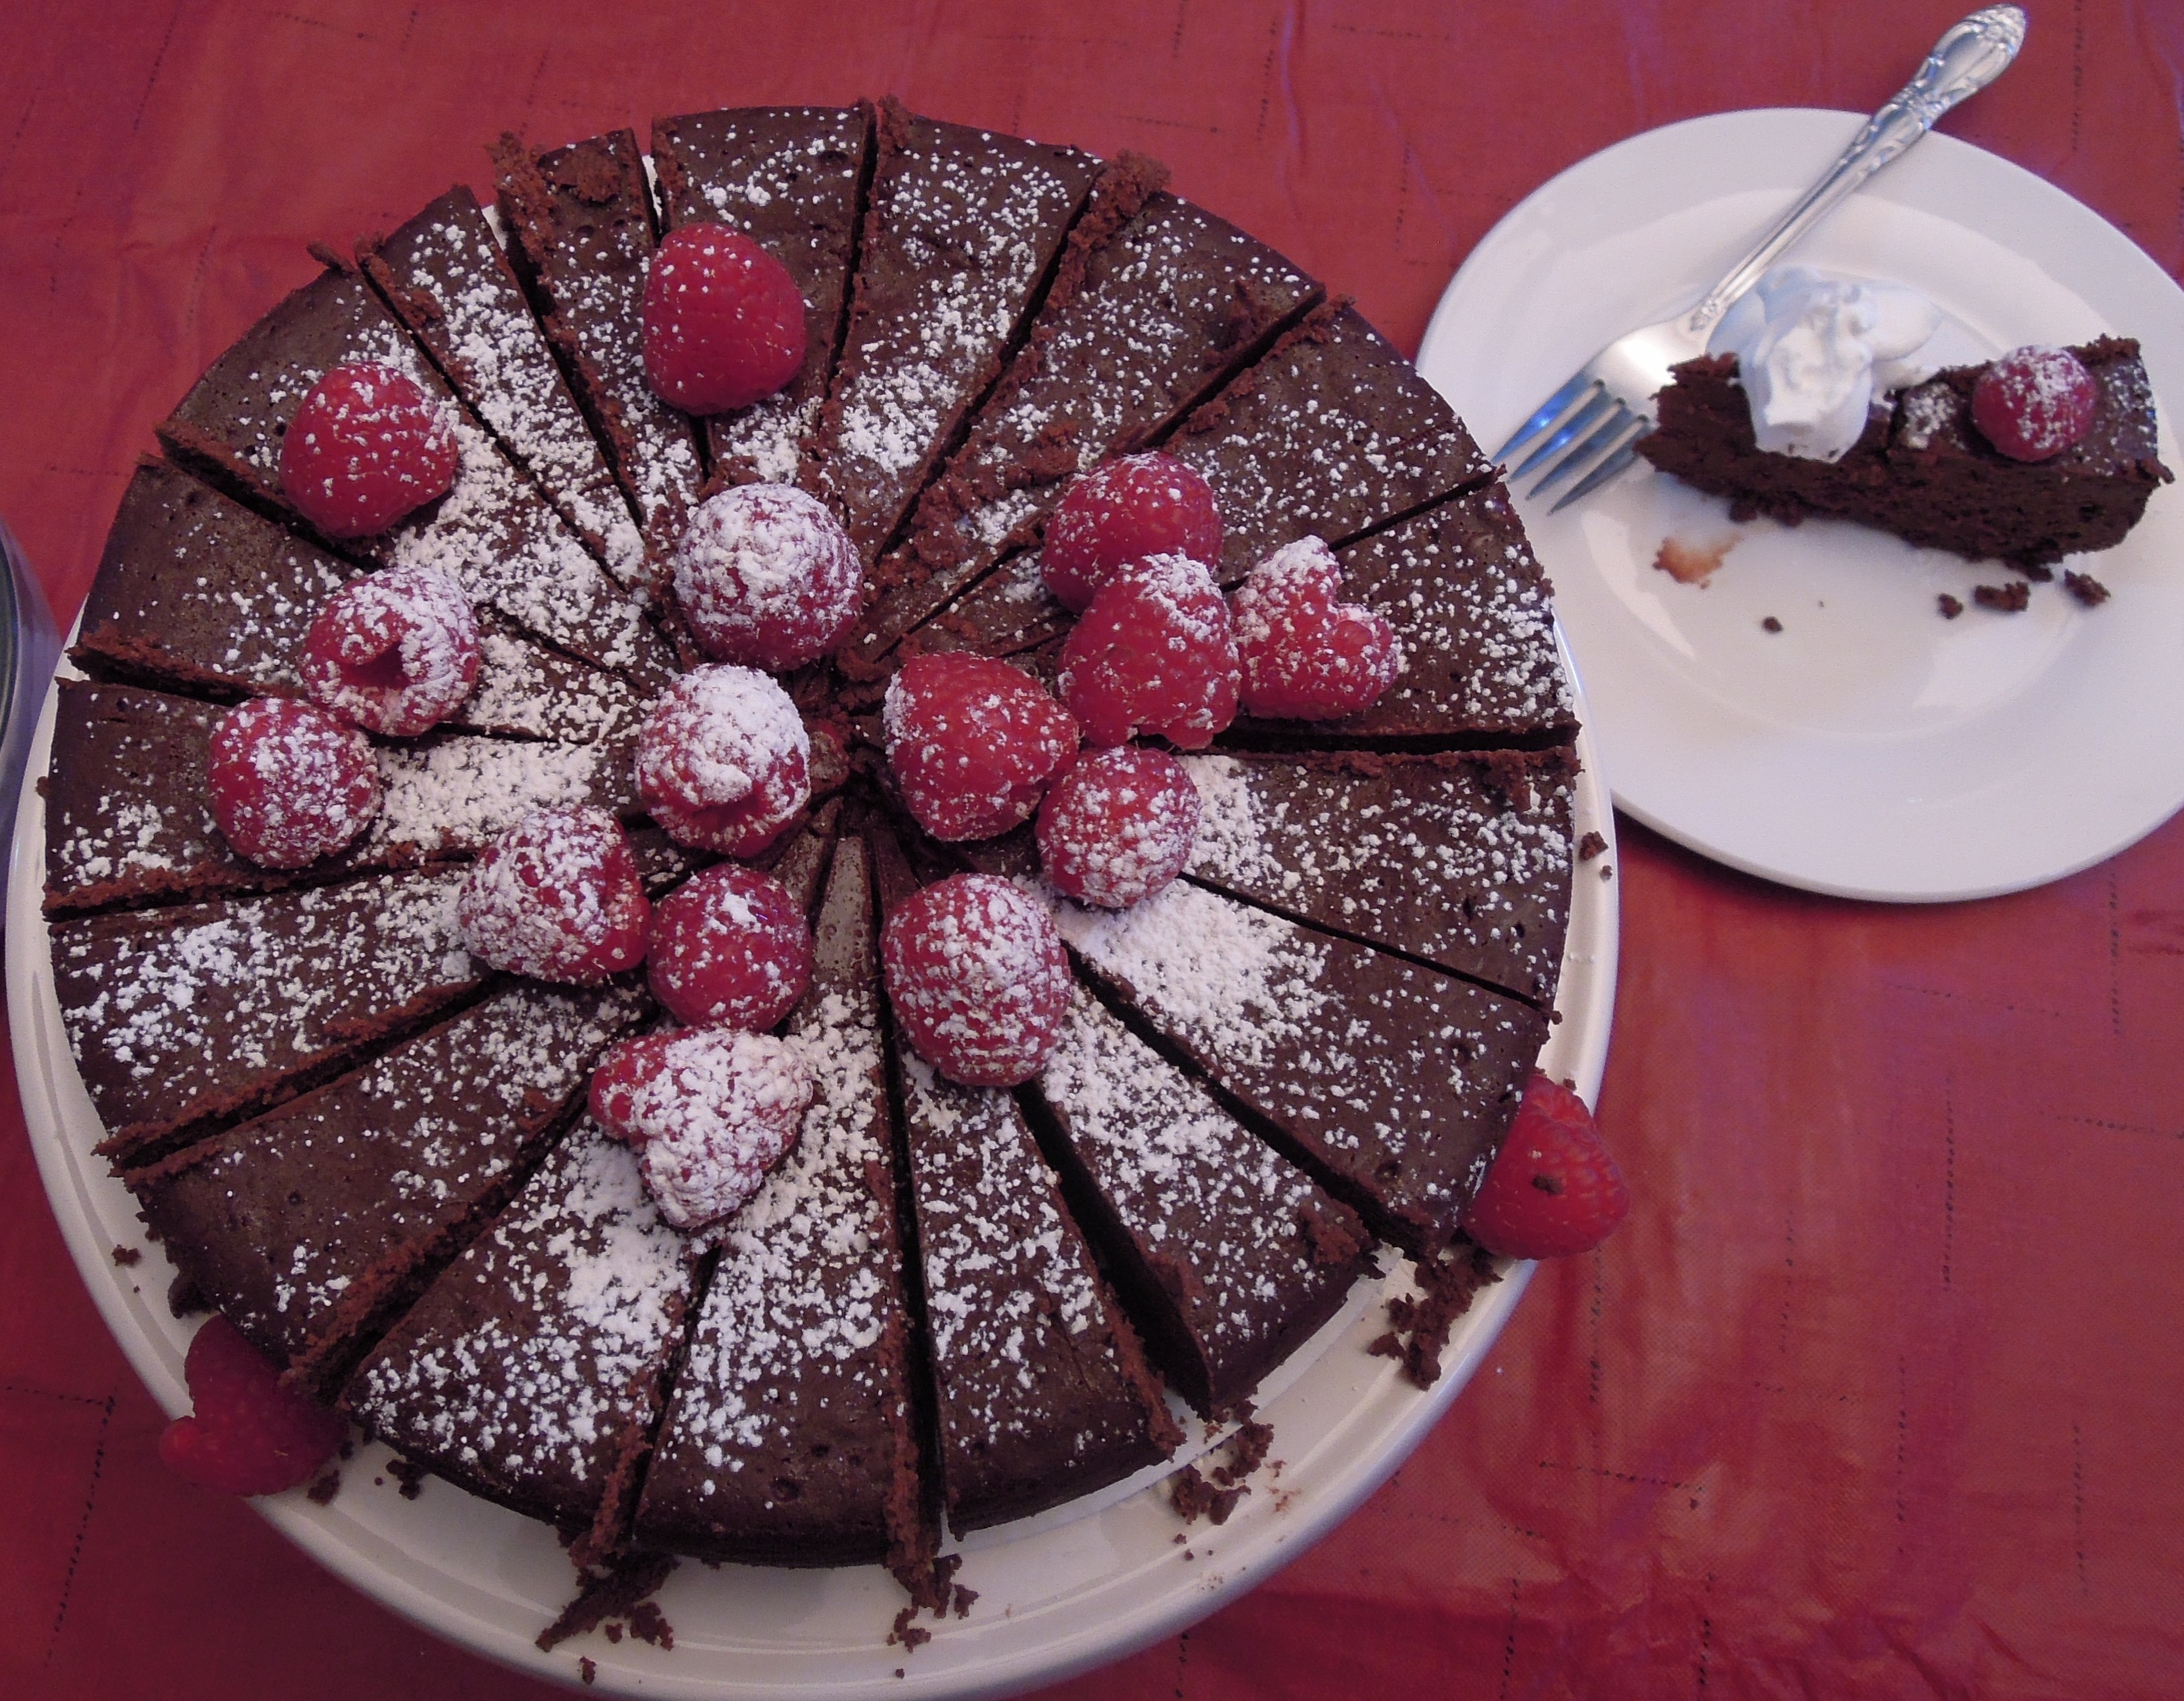
Adding raspberries and powdered sugar to the top of this cake make for a stunning presentation. It also adds some sweetness to contrast with the intense chocolate flavor. I highly recommend the garnish and a dollop of fresh sweetened whip cream for serving.
I first made this a couple of years back for a charity auction, and it brought in a good amount of money and high praise from the buyers. Try it for yourself and let me know what you think.
Flourless Chocolate Cake
Ingredients:
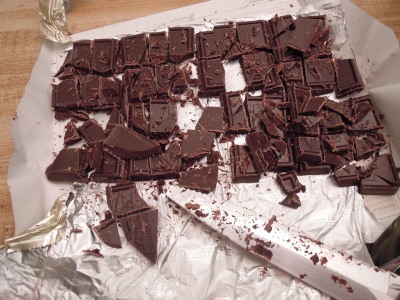
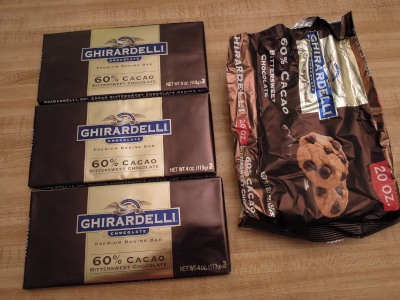
- 16 ounces bittersweet chocolate, chopped
- 1 cup unsalted butter, cut into small cubes
- 1/4 cup brewed coffee, at room temperature
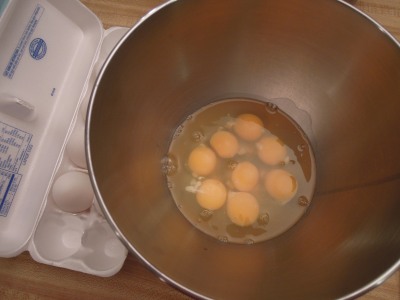
- 8 eggs, chilled
- (optional but highly recommended) raspberries, powdered sugar, fresh sweetened whip cream
Instructions:
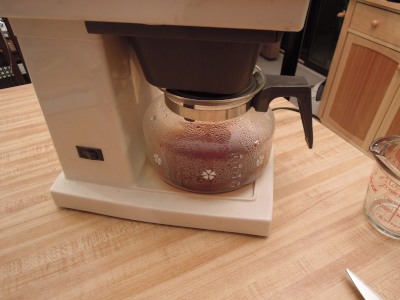
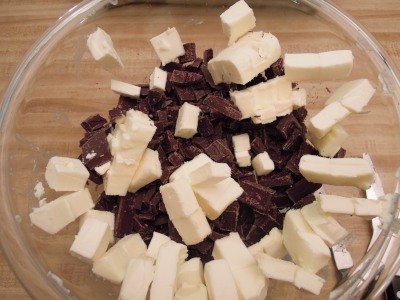
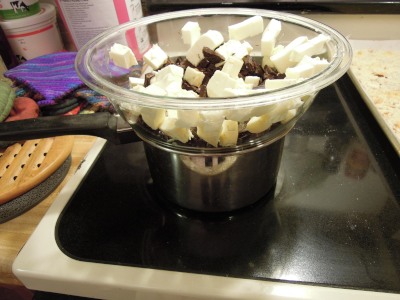
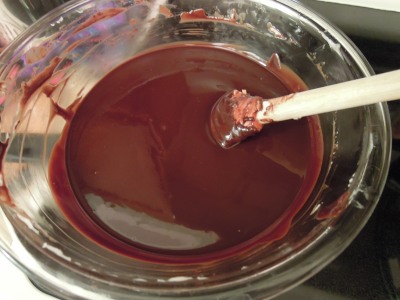
- Place the chocolate, butter, and coffee in the top of a double boiler or a large, heat-proof bowl set over a pot of barely simmering water. Stir occasionally until completely melted and smooth and very warm (115 degrees). (Note: If you are not a coffee drinker, you could buy a small cup of coffee from a convenience store or maybe get a free cup from an establishment that has complimentary coffee.)
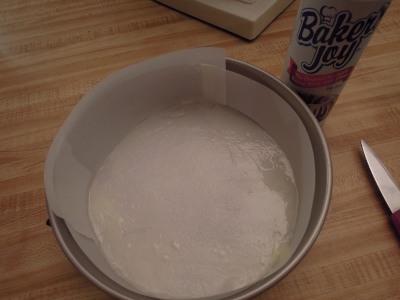
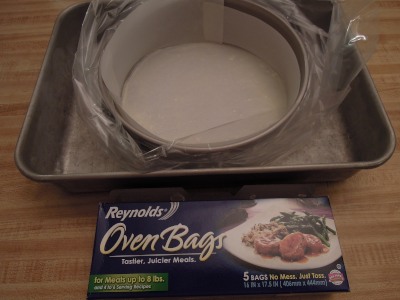
I always have to look up how to make coffee. 😐 - While the chocolate is melting, adjust your oven rack to the lower middle position and preheat the oven to 325 degrees. Prepare an 8 inch springform pan by lining the bottom and sides with parchment paper AND spray with cooking spray. This cake bakes in a hot water bath, so you will need to wrap the outside of the pan securely with a double layer of aluminum foil or use my favorite trick and place the pan inside an oven cooking bag. Once the pan is wrapped, place it in a 9 x 13 baking pan. Put a small pot of water on to boil.
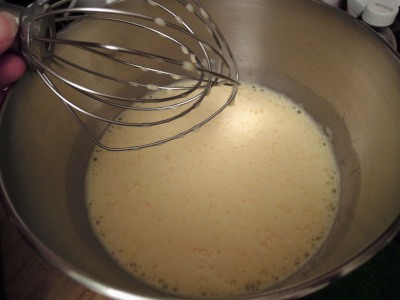
Oven bags are great for cheesecakes and other water bath desserts. - Also while the chocolate is melting, use a stand mixer with the whisk attachment to beat the eggs on medium to medium-high speed until doubled in volume, about 5 minutes.
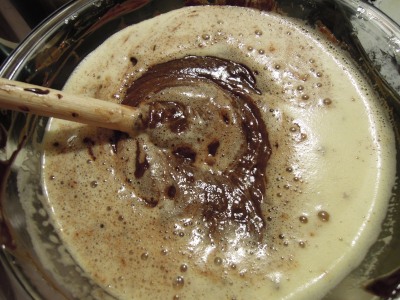
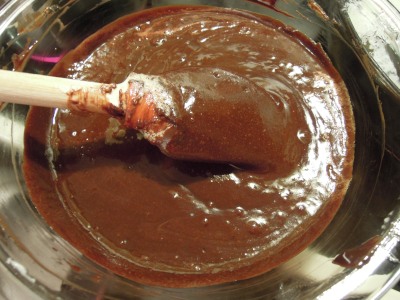
- Once the chocolate is melted, use a rubber spatula to fold 1/3 of the eggs into the chocolate mixture until only a few streaks of egg are visible. Repeat with the next 1/3 of the eggs and then the final 1/3 until the mixture is completely combined.
- Pour the batter into the prepared springform pan and gently smooth the top. Pour enough boiling water into the outer pan to come about half-way up the sides of the wrapped springform pan.
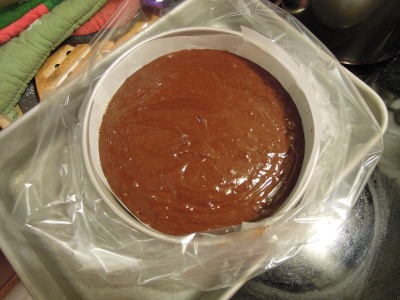
- Bake until the cake has risen slightly, the edges are just beginning to set, and there is a thin brownie-like crust on the surface of the cake, about 22-25 minutes. You can also use a digital thermometer to check for it to be at 140 degrees. The cake will still have a jiggle to it that will firm up during chilling.
- When the cake is done, remove it from the water bath and set on a wire rack to cool completely to room temperature. Cover with plastic wrap and chill in the refrigerator for at least 6 hours.
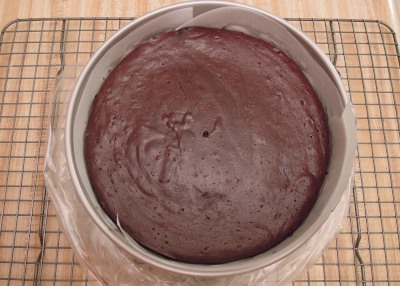
- Thirty minutes or so before serving, carefully remove the cake from the pan and place it on a serving platter. This cake is rich and intense, so small pieces are appropriate. I highly recommend garnishing with raspberries and powdered sugar and serving with a dollop of sweetened whip cream. Cake can be stored in the refrigerator for about 4 days.
Source: Brown-eyed Baker
Share This:

