Posted on March 20, 2015
Peanut Butter Eggs [Easy, No bake]
 Happy First Day of Spring! With spring here and Easter coming up soon, I am going to share a delicious homemade peanut butter egg (blob, square, ball, whatever shape you want to make it) recipe with you. I mentioned a few posts ago that I do not like chocolate UNLESS it is wrapped around peanut butter and a few other select ingredients. Guess what? This recipe makes a chocolate covered hunk of peanut butter. And it is delicious! I would not be mad at you if you wanted to fill my Easter basket with these.
Rather than buying prepackaged peanut butter eggs with suspicious ingredients, you can make and personalize your own and be aware of the ingredients. Enjoy this easy treat.
Peanut Butter Eggs:
Ingredients:
- 1 cup creamy peanut butter (I use 1/2 creamy and 1/2 crunchy because I like a little crunch.)
- 1/4 cup unsalted butter
- 1/4 cup light brown sugar
- 1 1/4 cups powdered sugar
- 2 cups chocolate (milk chocolate, semi-sweet, white, dark or a combination–whatever you prefer. I used half milk chocolate and half semi-sweet for mine. You can use chips or get fancier with baking chocolates or other fine chocolate. I use chips.)
- 2 Tbsp. vegetable shortening (This thins the chocolate a little for easier coating and gives it a shiny appearance.)
Directions:
- In a medium saucepan, combine the peanut butter, butter, and brown sugar over medium heat. Heat until completely melted and just starting to bubble a little, stirring constantly. Remove from heat. Add powdered sugar, 1/4 cup at a time, stirring until completely combined with the peanut butter mixture after each addition. Set aside and let cool to room temperature.
- Line a baking sheet with wax paper or parchment paper.
- Using a cookie scoop, your hands, or a heaping tablespoon, scoop out the cooled peanut butter mixture and shape it into eggs (or whatever shape and size you like). It works well to shape the mixture into a ball, then roll into a cylinder and finally, shape it into an egg. Refrigerate to allow the eggs to set, about 30 minutes.
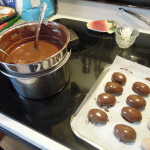
- Once the eggs are set, melt the chocolate chips and the shortening together in the microwave or a double boiler. (If using the
 microwave, be sure to use a low power and short increments of time, stirring between each. I prefer to use a double boiler or heatproof bowl set over a slightly simmering pot of water because I don’t have to “babysit” it so much and it stays nice and melted until I am completely finished.)
 - Dip each egg into the chocolate one at a time and then place back on the parchment or wax paper to dry and set. I have found that it works best for me to drop the egg, flatter side down, in to the chocolate, and then pick it up with a fork. While holding the fork with one hand, I use my other hand to take a large spoonful of the chocolate and pour it over the egg. I end by tapping the fork on the edge of the bowl/pot to remove excess chocolate and then placing the egg back onto the parchment/wax paper by carefully dropping it off the end of the fork or by nudging it off the fork with a toothpick. You can decorate each egg with sprinkles or other decorations while the chocolate is still wet, or you can let it set and pipe other decorations on top or just leave them plain. Let eggs set at room temperature or return them to the refrigerator for a few minutes to speed up the process.
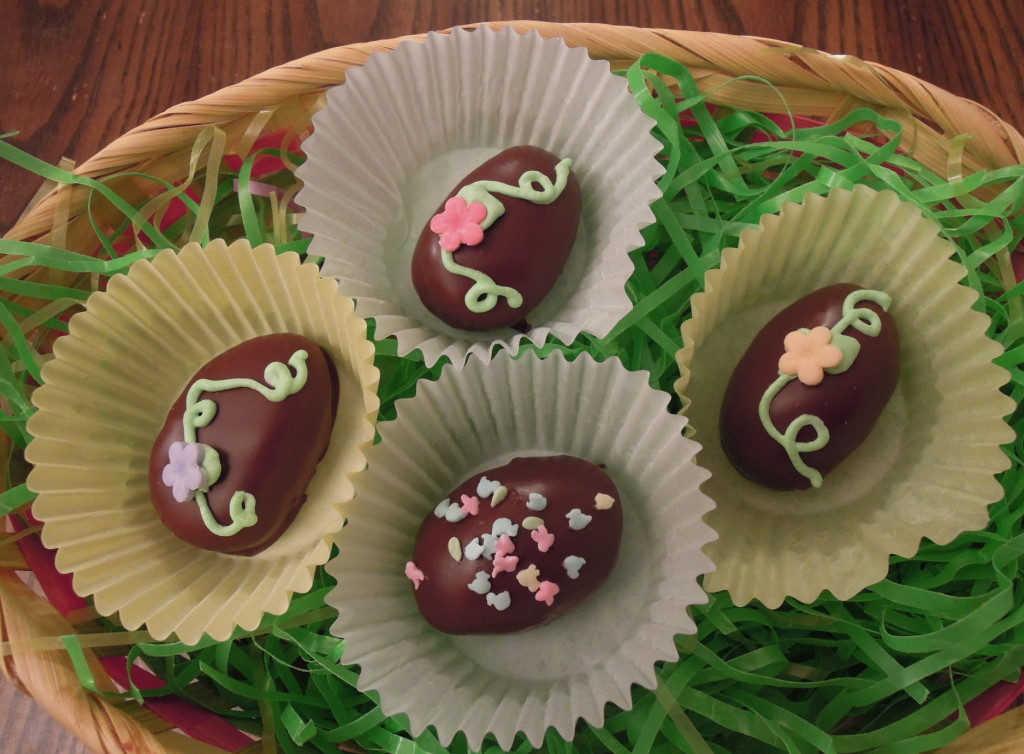
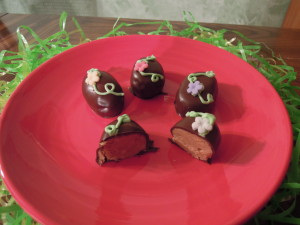
- Once the eggs are set, pipe on decorations if you wish or leave them plain. (I decorated with royal icing vines and leaves and fondant flower blossoms.) I placed each one in a cupcake wrapper for presentation on a platter. Store in the refrigerator in a container until ready to serve.
 Source: Brown eyed Baker


I know where we are going for Easter!
Very yummy!! These are awesome much better than the store bought ones. They don’t compare. These are eggcellent!!
🙂 Thanks!