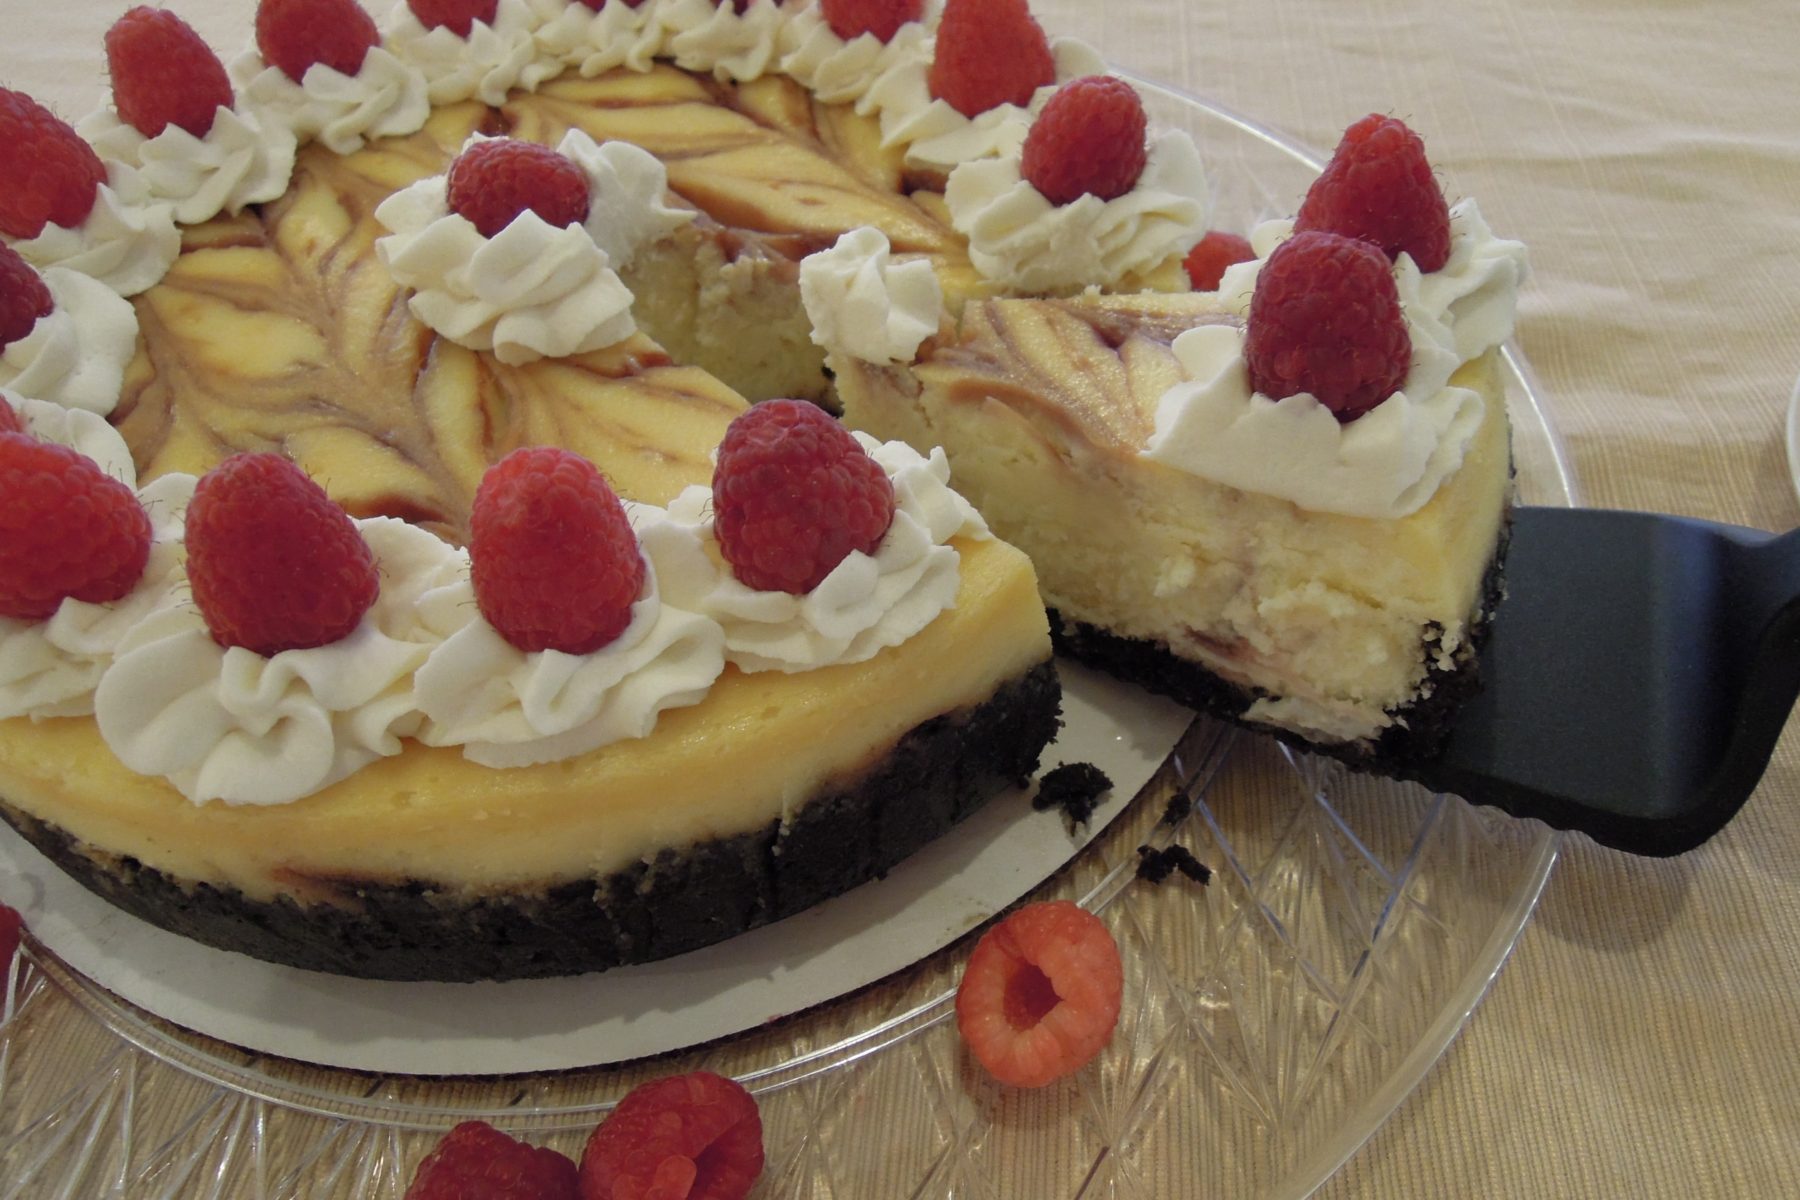
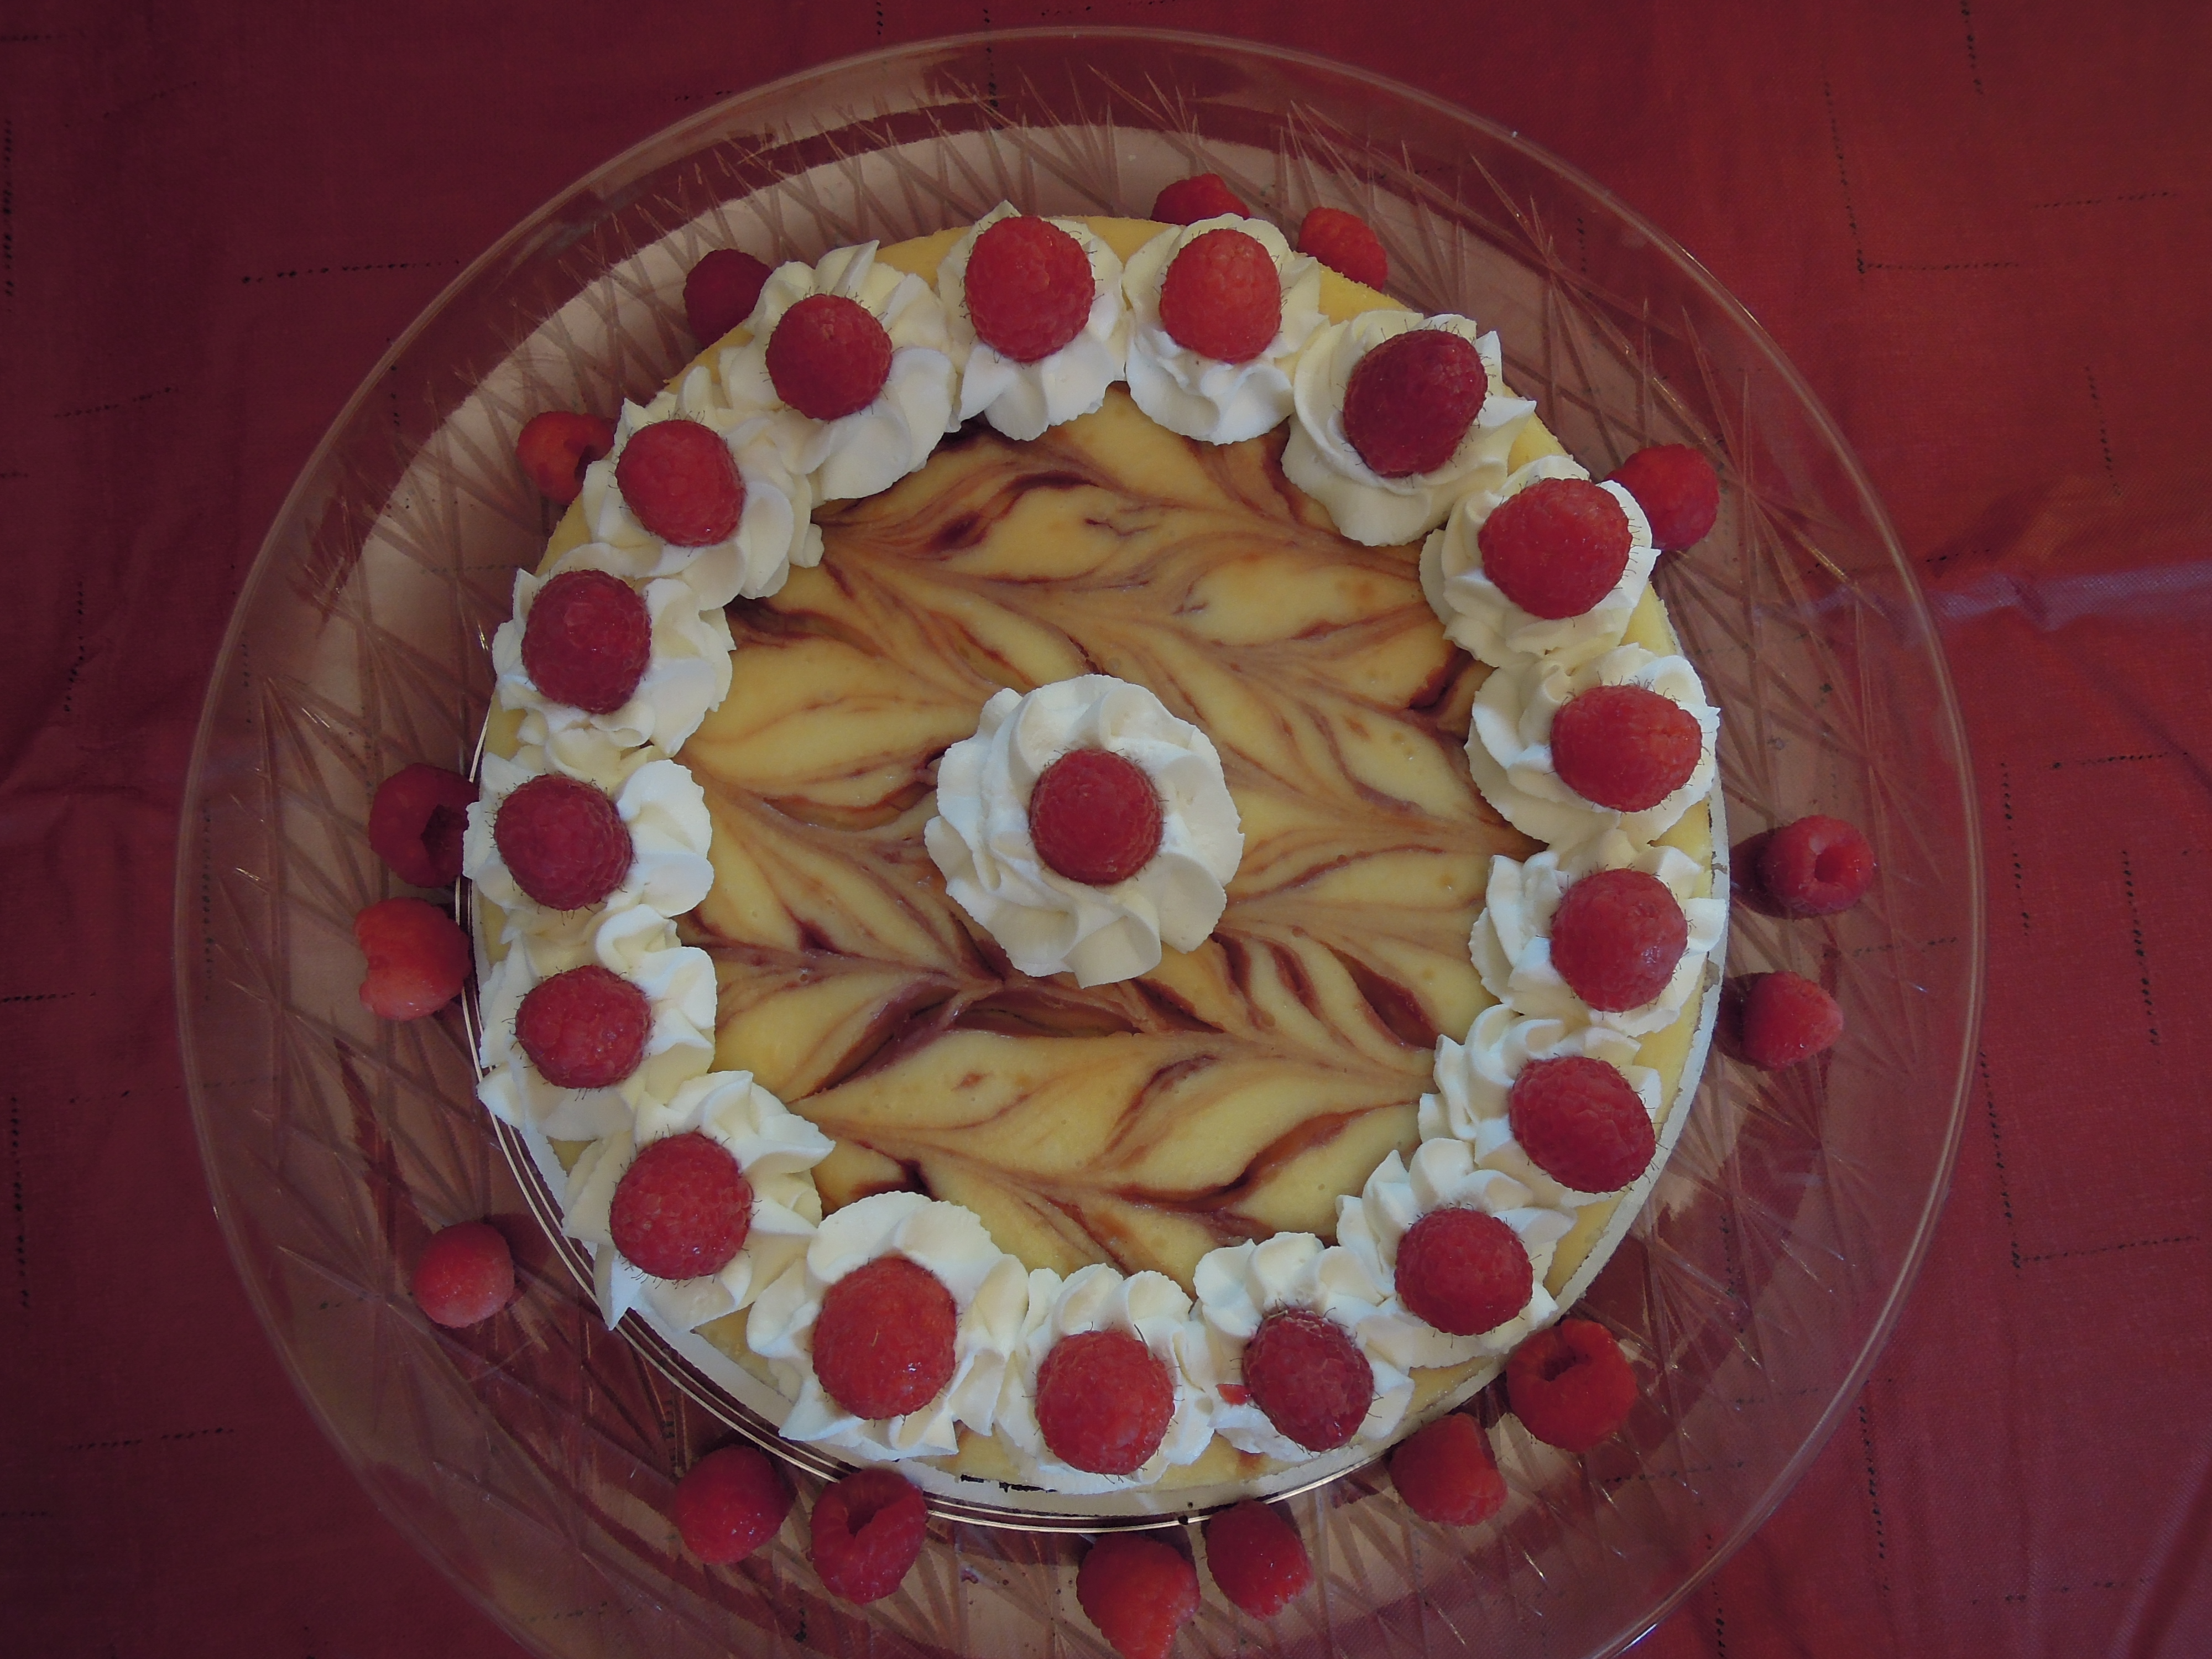
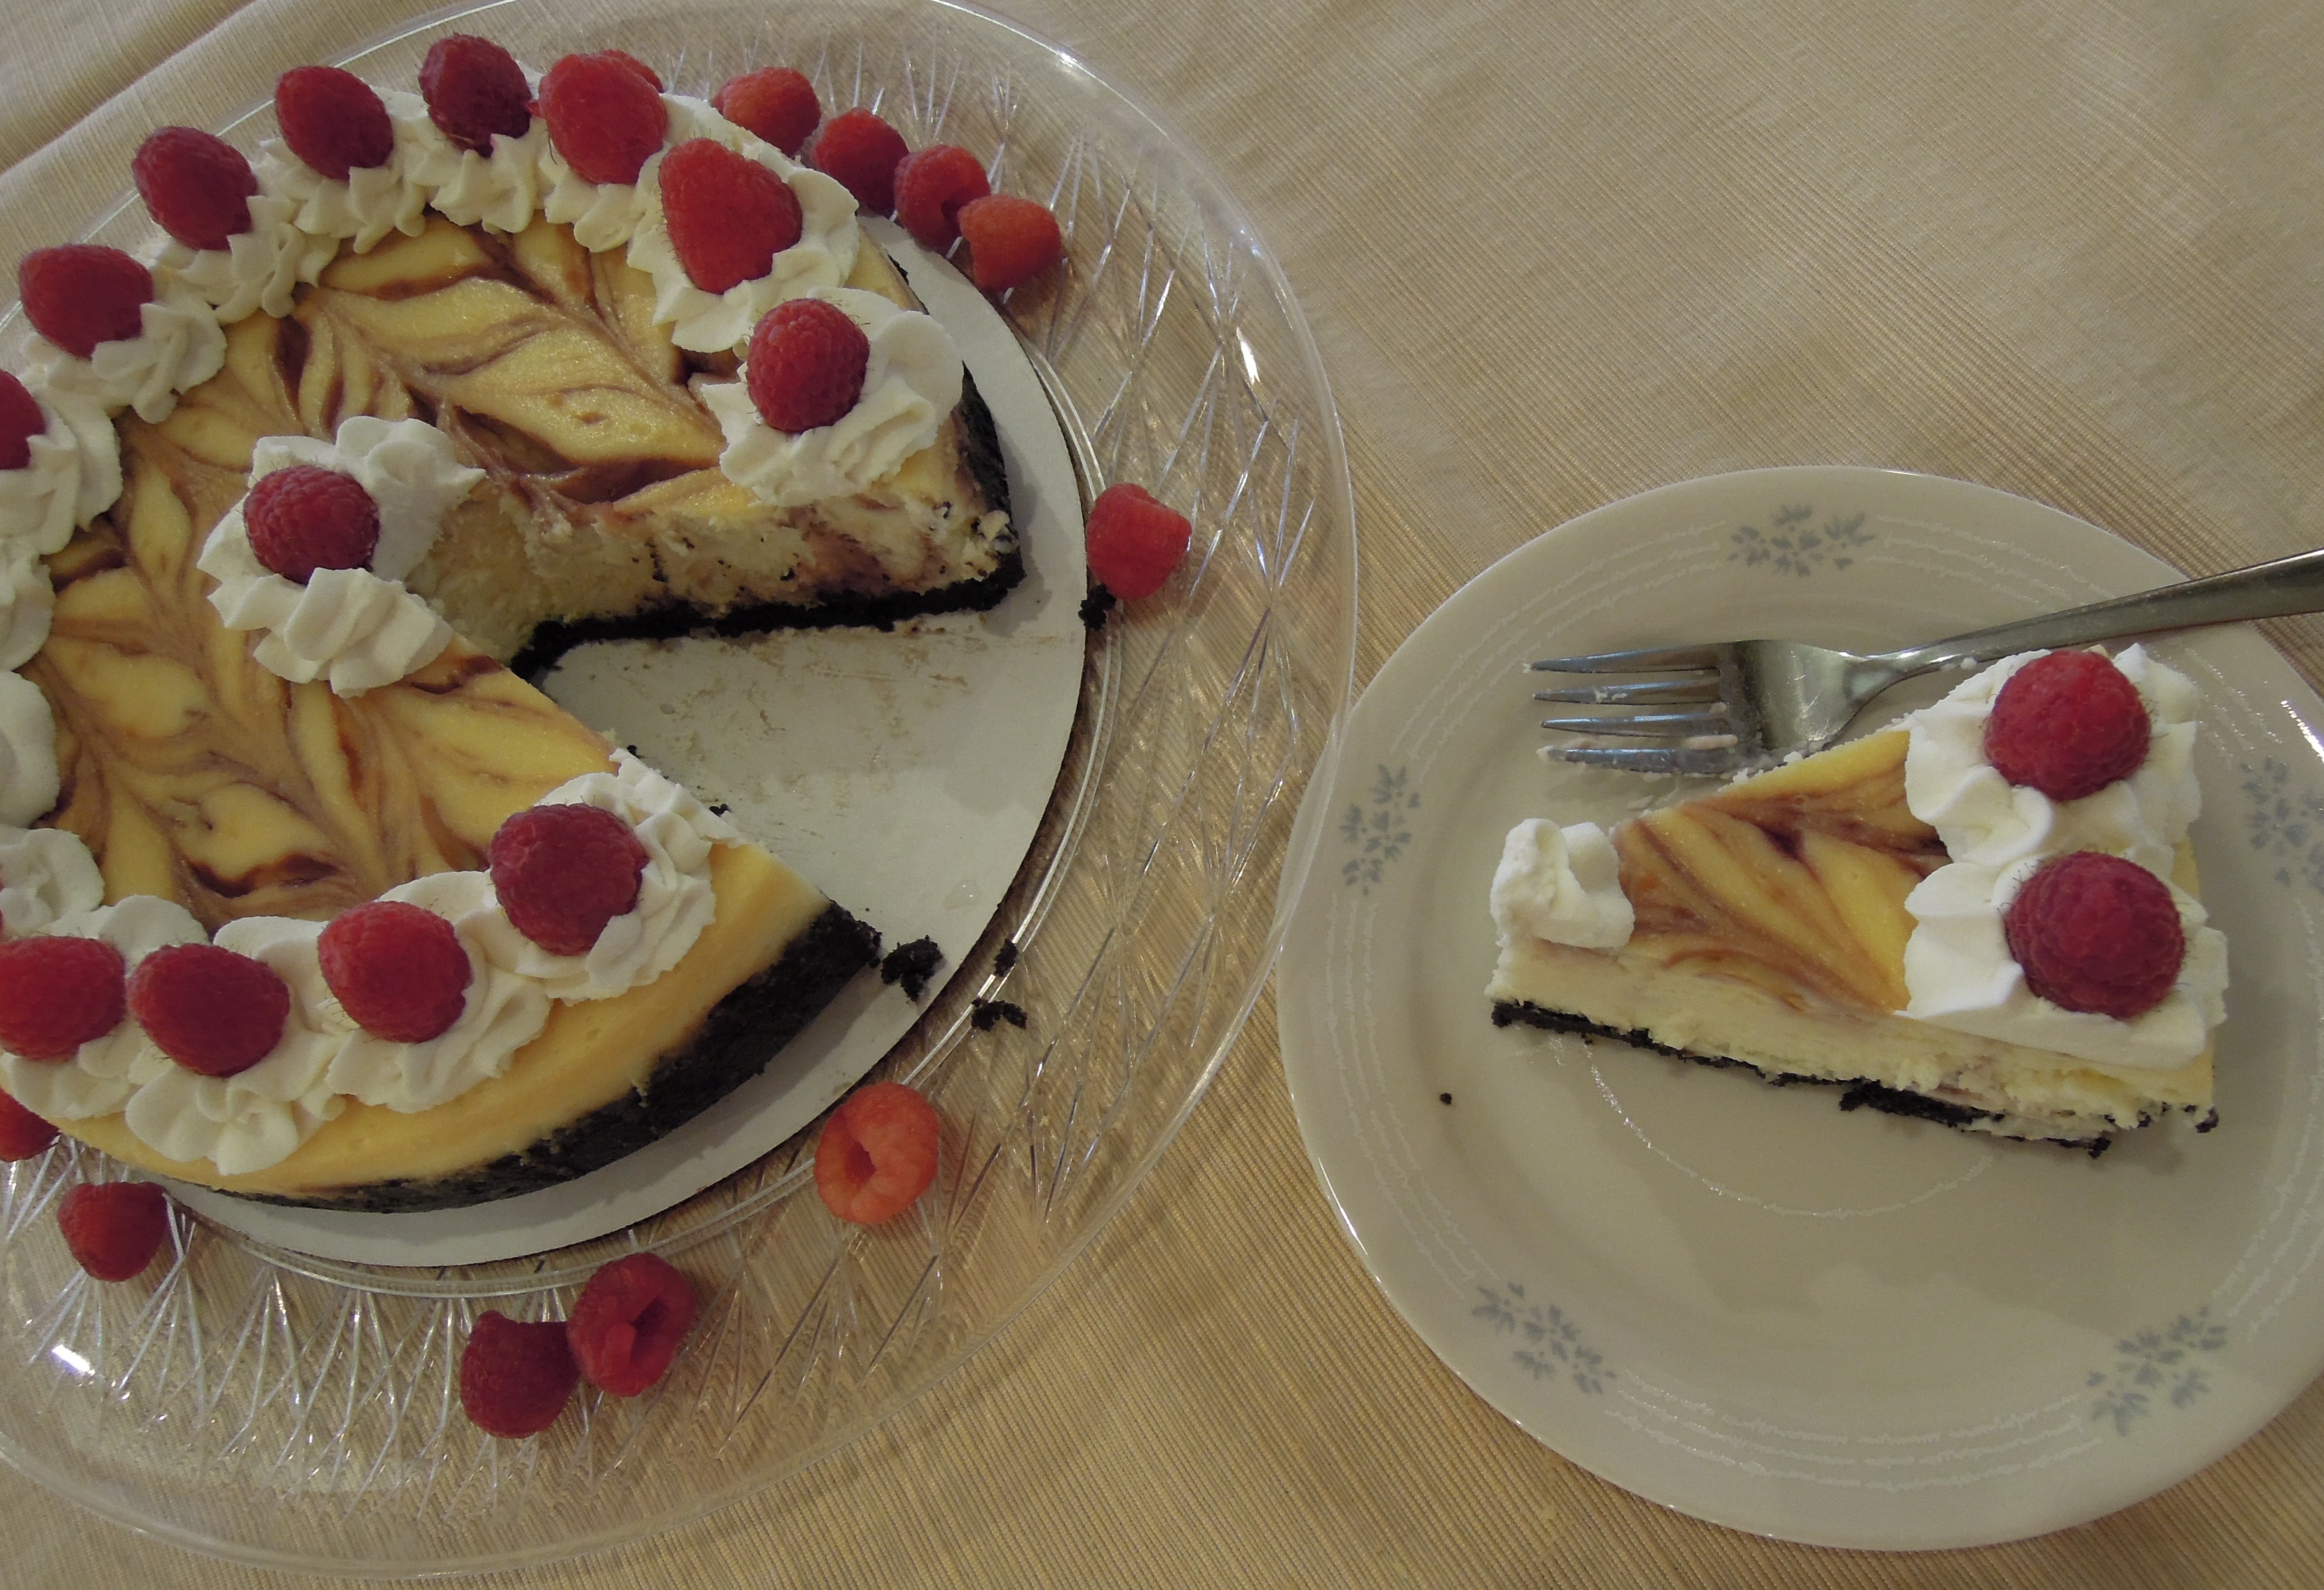
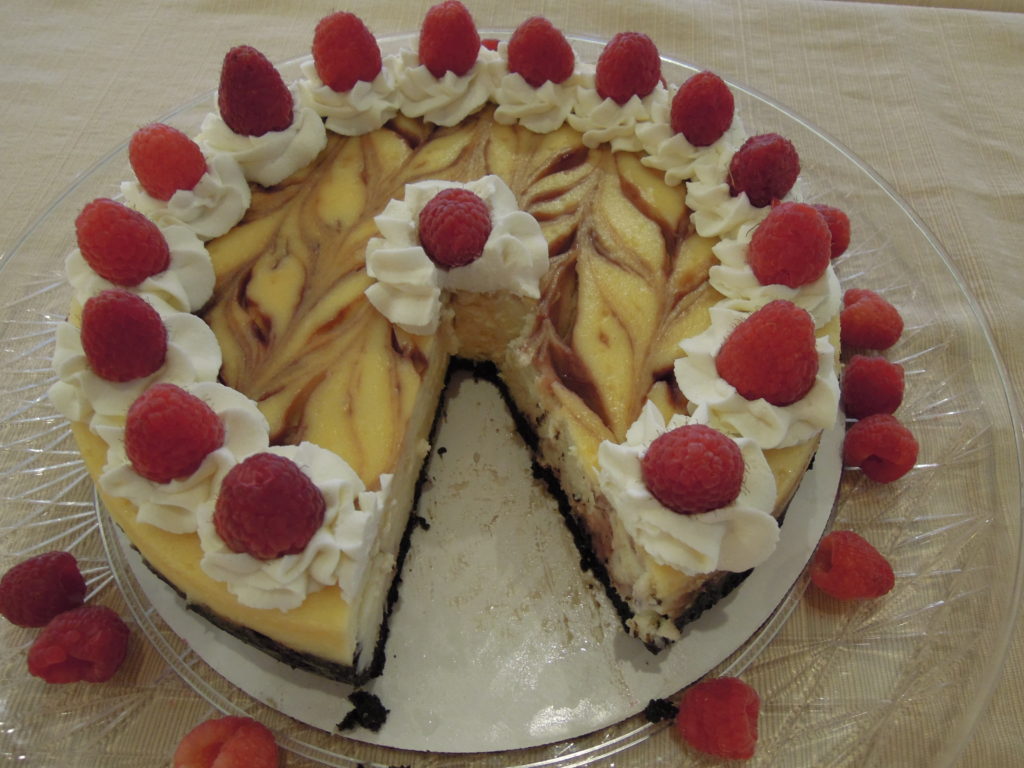
My church holds a fundraising auction for missionary projects every spring, and one of the biggest money makers of the whole thing is a dessert auction. Of course, I am all over this and have to hold myself back from trying to make all of the desserts. I ponder what might be a desirable dessert to garner good bids–tasty and pretty at the same time. I have submitted several different things over the years, but this white chocolate raspberry cheesecake has been one of my entries every year. And it always goes for a good price. It is both beautiful and delicious. 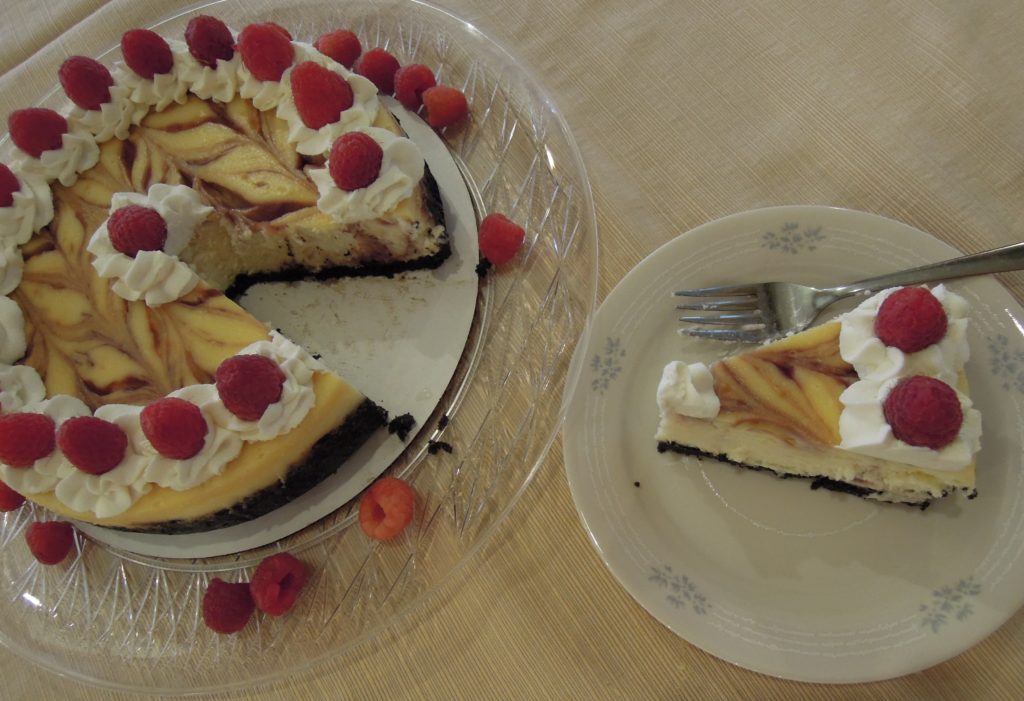
This is the first cheesecake I learned to make and the only cheesecake I made for a very long time. I have added several more to my repertoire in recent years, but this is where I started. Many garnishing options make it look stunning on the outside, and the smooth and creamy texture make it fabulous on the inside. 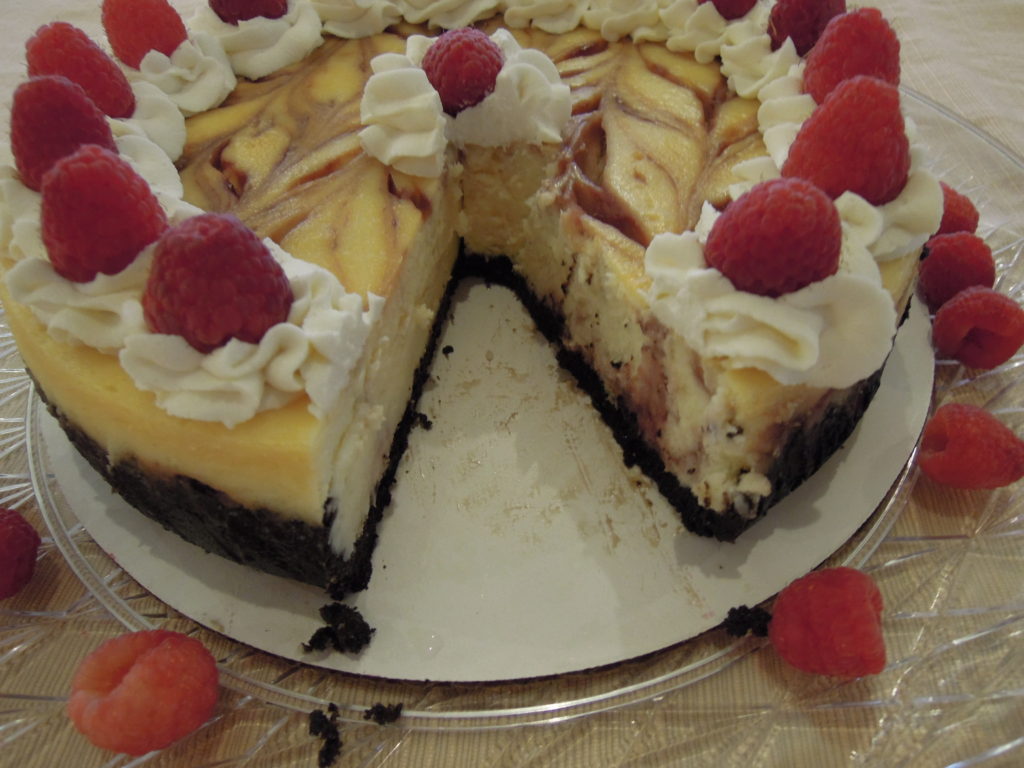
White Chocolate Raspberry Cheesecake
(Note: For best results, give yourself time to bake the cheesecake on one day and let it chill for most of another day.)
Ingredients:
For the crust:
- 1/4 cup melted butter
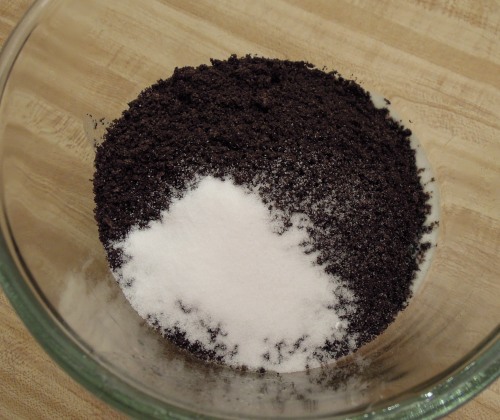
- 2 cups crushed Oreo cookies (not double stuffed)
- 1 tablespoon sugar
For the filling/cake:
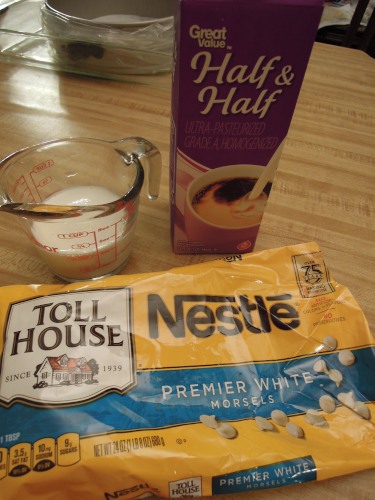
- 2 cups white chocolate chips
- 1/2 cup half and half
- 3 (8 ounce) packages cream cheese (24 ounces total), softened
- 1/2 cup white sugar
- 3 eggs
- 1 teaspoon vanilla extract
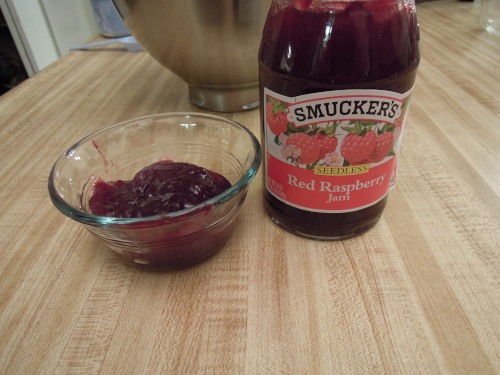
- 6 tablespoons seedless raspberry jam
For the garnish (optional but highly suggested)–use any combination you like:
- fresh sweetened whip cream
- fresh whole raspberries
- white and dark chocolate curls or shavings
- Oreo crumbs
- melted white chocolate drizzles
- raspberry jam drizzles
Other:
- 9 inch springform pan
- oven roasting bag
Directions:
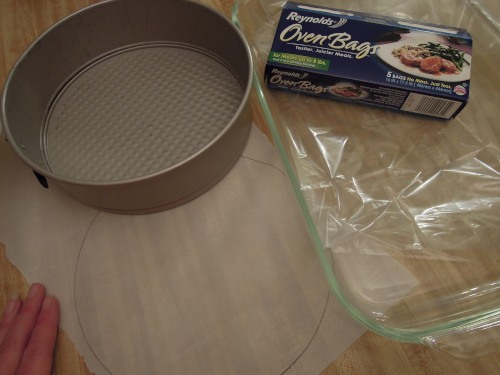
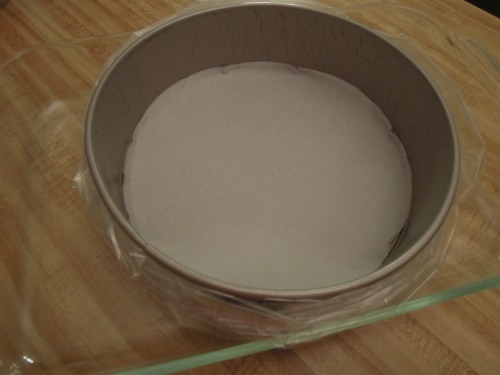
- Prepare your pans first. Line a 9 inch springform pan with parchment paper. Set the prepared pan inside a large oven roasting bag and roll down the sides of the bag to be even with the top of the pan. Set the pan and bag inside a larger baking pan or roasting pan with sides at least as deep as the springform pan. (You will make the cheesecake in a hot water bath, so you need a pan that can safely hold enough water to come halfway up the side of the springform pan.) If you don’t have an oven roasting bag, you can double-wrap the pan with aluminum foil, but I always had trouble with water getting into the pan. The oven roasting bag works beautifully, so I highly recommend it.
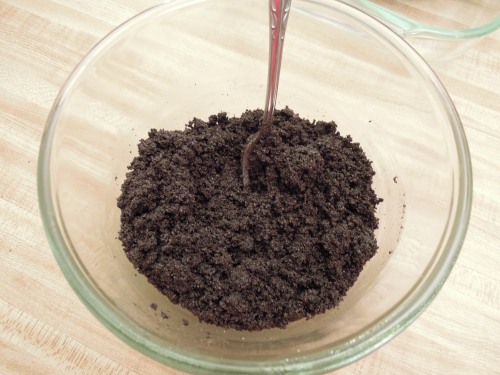
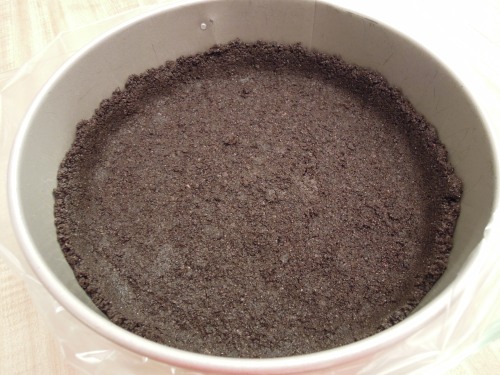
- Prepare the crust by melting the butter in a small-medium microwave safe bowl. Add the cookie crumbs and sugar and combine well with a fork. Press the cookie crumbs into the springform pan and halfway up the side. Set aside. (Tip: Use the bottom of the measuring cup to press the crumbs into the pan cleanly and evenly.)
- Preheat the oven to 325 degrees.
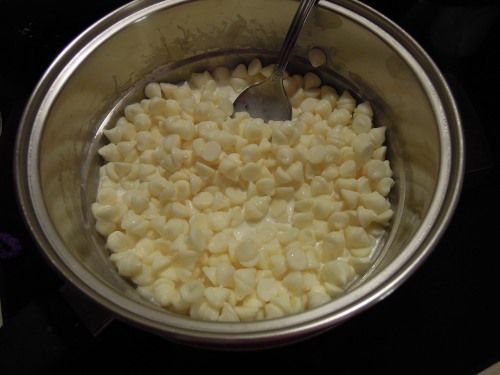
- Prepare the filling by first setting the white chocolate chips and half and half over low heat in a double boiler (or in a larger heat-proof bowl set over a pot of simmering water) stirring occasionally until melted.
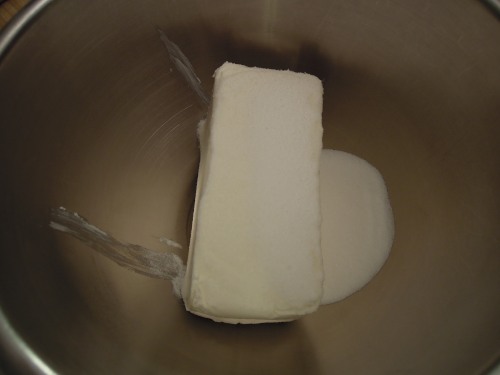
- While the chocolate is melting, put the cream cheese and sugar in a large bowl and beat on medium until smooth. Beat in eggs one at a time until each one is just barely mixed. Blend in vanilla and melted white chocolate until just combined. (Tip: Overbeating is one cause of cracked cheesecake. Beat the sugar and cream cheese as much as you want to in the first step, but minimize all other beating. Use a rubber spatula to finish combining ingredients if needed.)
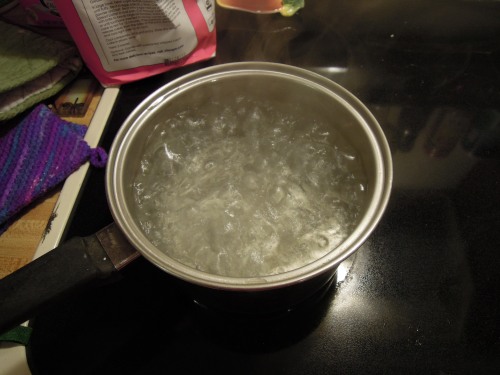
- (Tip: Once you have removed the chocolate from the double boiler, add more water to the lower pot and bring it to a boil while you finish making the filling. This will be the water for the hot water bath needed later.)
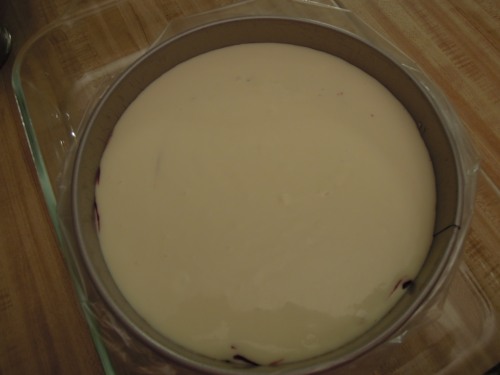
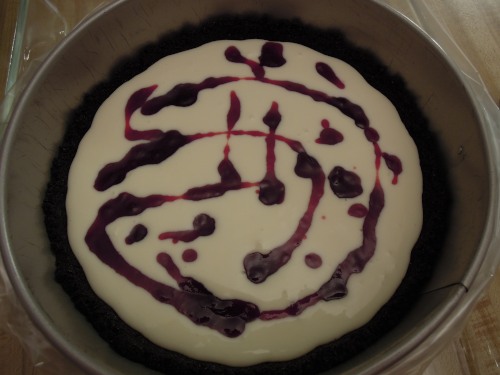
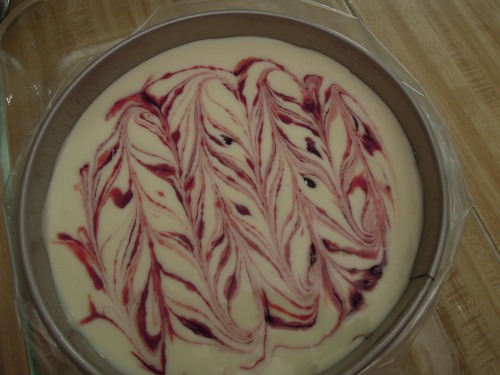
- Pour half of the batter into the prepared crust. Heat 6 tablespoons of raspberry jam in the microwave for 20 seconds or so just to thin it a bit. Drizzle half of the jam (3 tablespoons) over the batter in the pan. Pour in the remaining batter and drizzle the top with the remaining 3 tablespoons of raspberry jam. Use a knife to gently swirl the jam into the batter to make a marble effect. (Tip: I move the tip of a knife back and forth in a continuous “S” pattern in one direction and then turn the pan 90 degrees and do it again.)
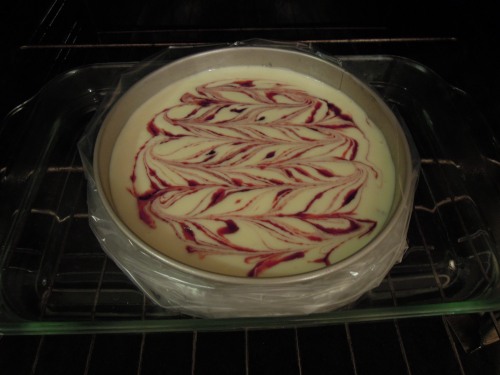
- Pull the middle rack partway out of the oven and set the pans on it. Quickly but carefully fill the outer baking or roasting pan with boiling water until it is about half-way up the height of the springform pan. Carefully push in the oven rack and bake the cheesecake for 1 hour. (The cheesecake should still have some jiggle to it; it will not be set completely until thoroughly chilled.) After 1 hour, turn the oven off, open the door slightly, and leave the cheesecake (and the hot water bath) in there until it is cool. (Tip: I usually bake mine at night and leave it in the oven overnight to cool.)
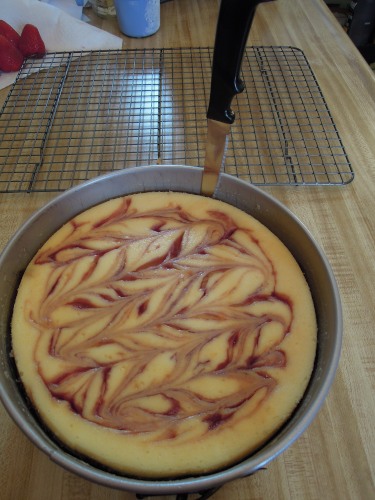
Ready to bake. Finished baking. - Once the cheesecake has cooled, cover it with plastic wrap and refrigerate for several more hours before serving.
- When ready to garnish and serve, remove from refrigerator and run a thin knife between the edge of the cake and the pan to loosen any parts that may have stuck. Release the spring form sides and then carefully remove the cheesecake from the bottom of the pan with a large thin knife or metal spatula. Remove parchment paper from bottom of cake and place on a serving platter or cake board.
- Garnish as desired. For easiest slicing, use a long sharp knife, rinsing with hot water and wiping between cuts.

- Wrap and refrigerate or freeze leftovers.
Source: Allrecipes.com
Share This:
