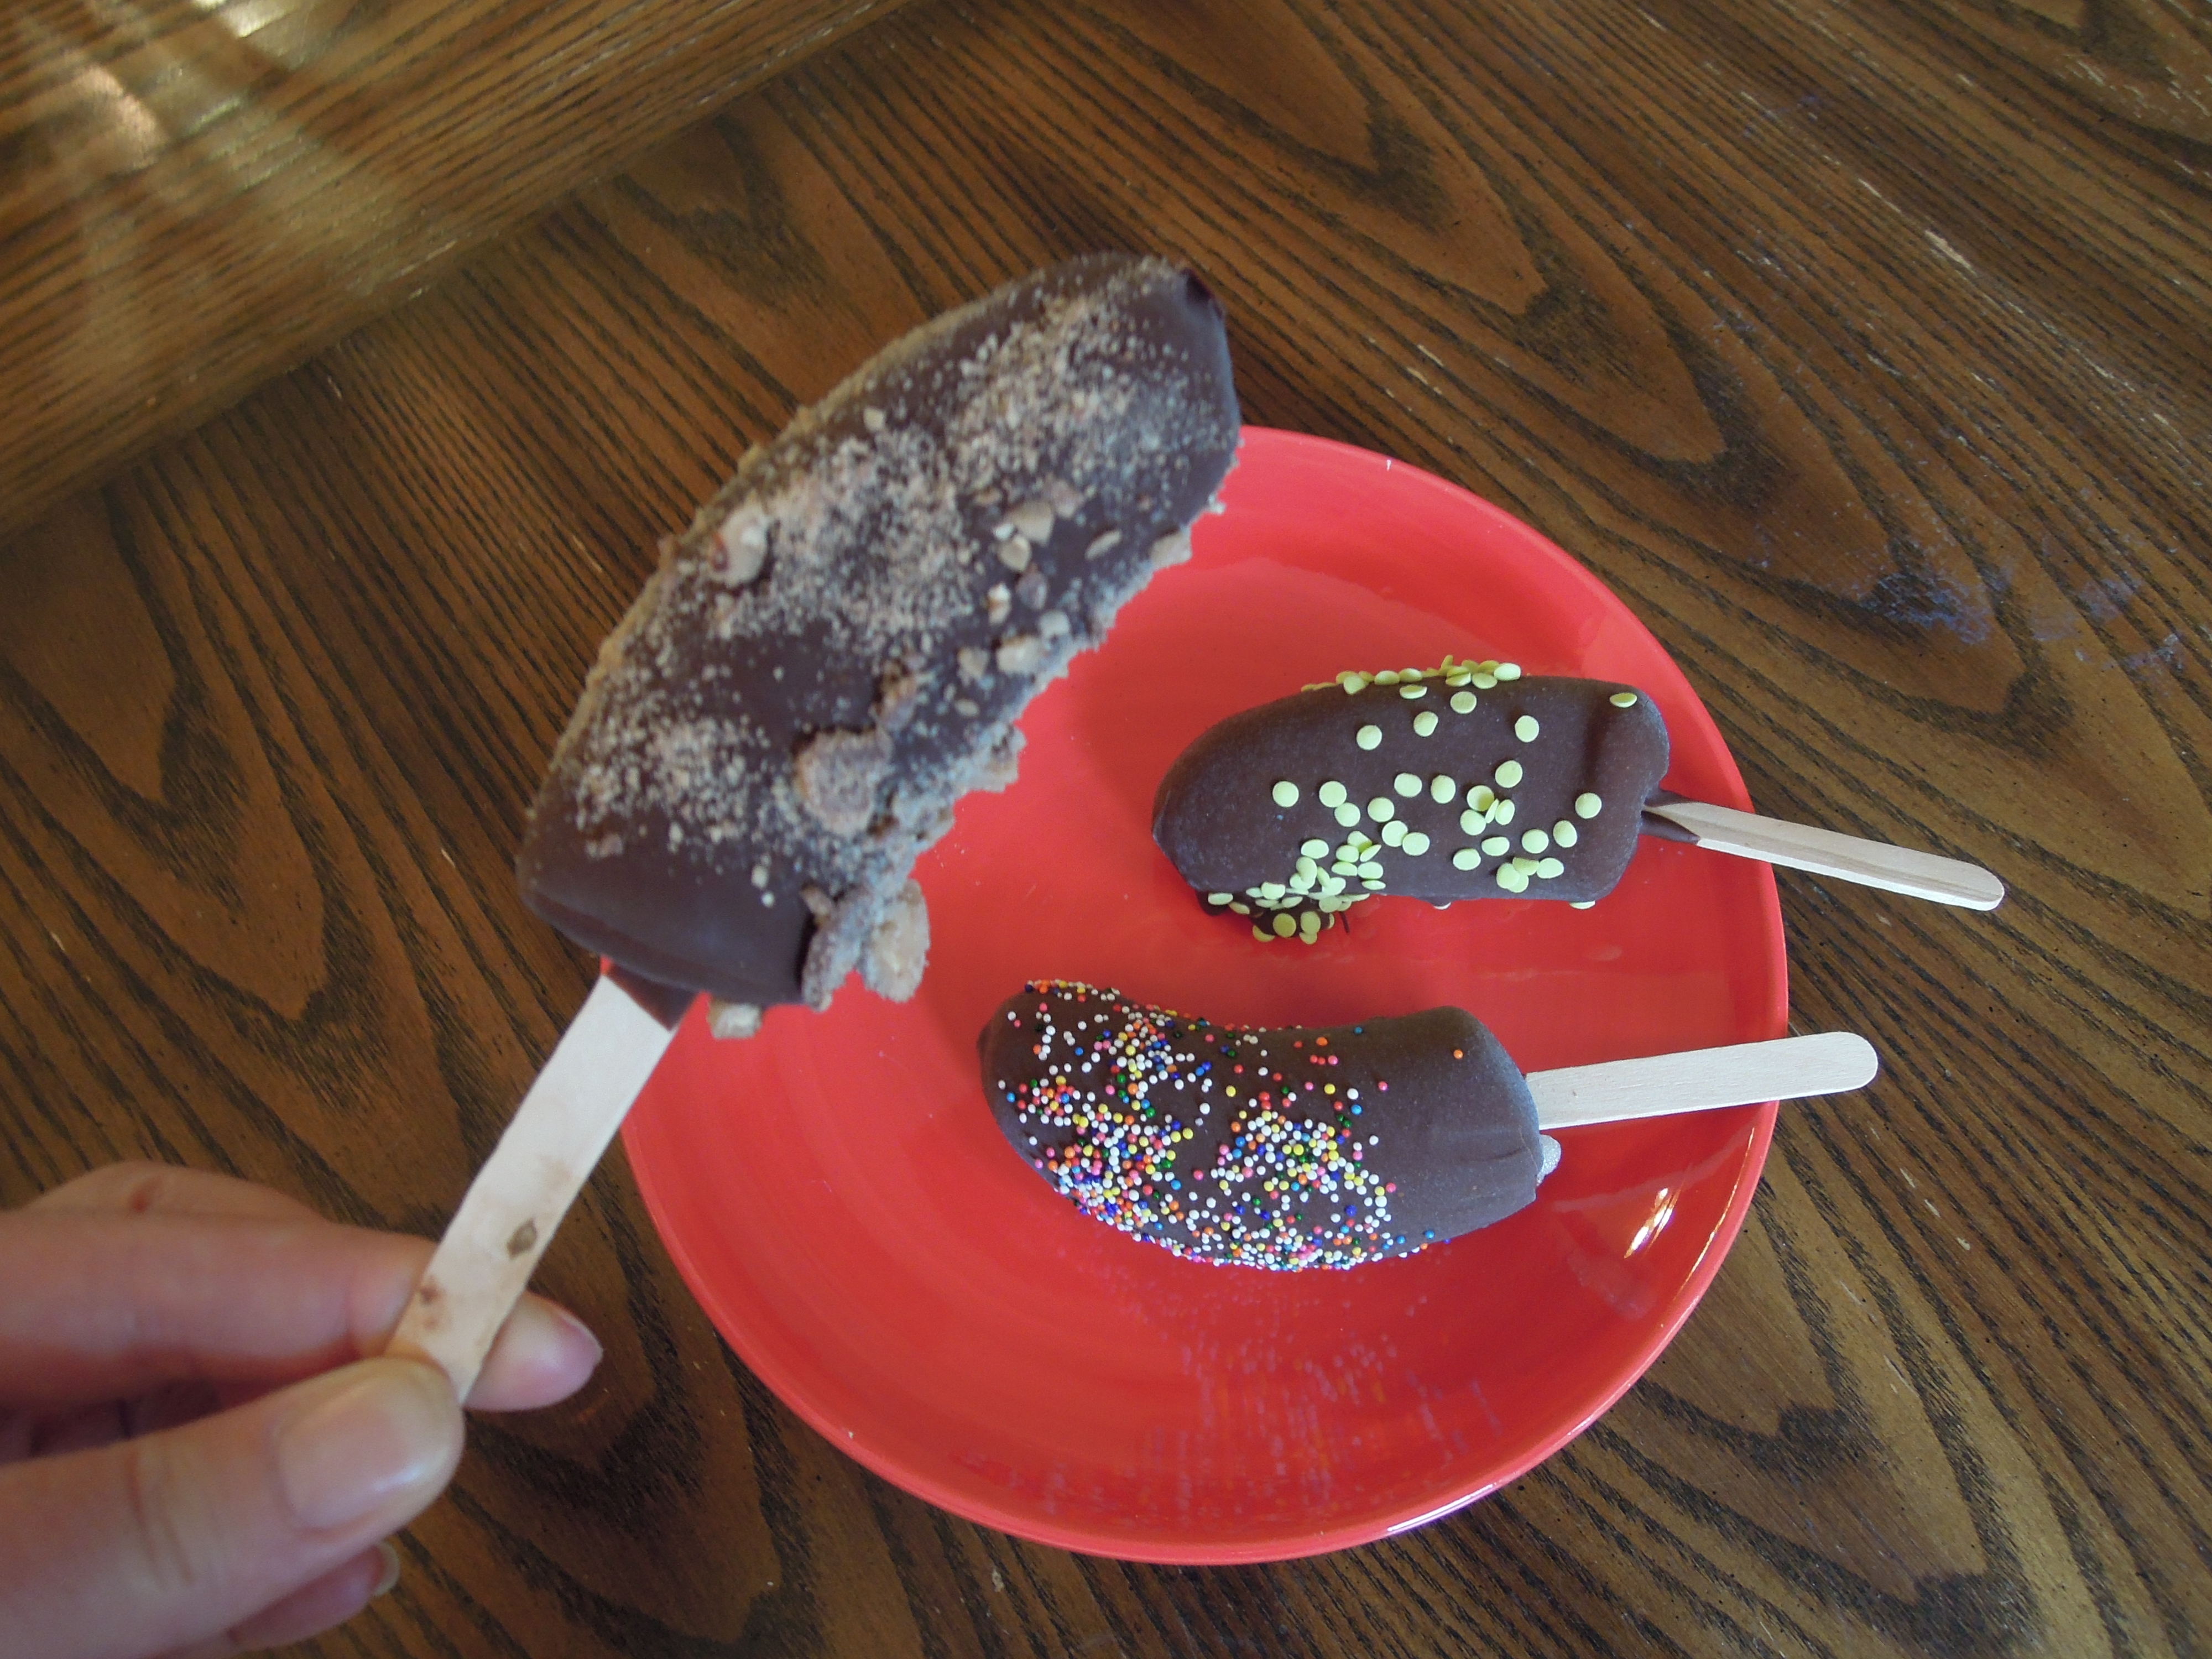
 I almost forgot about these! For the last few summers, these frozen banana pops have been a dessert staple in our house, and the kids have LOVED them, but somehow August is almost over, and this is the first time I have made them this summer. As they say, “better late than never.” My kids are going to be thrilled when I pull these babies out after school tomorrow.
Bananas take on kind of a smooth and ice-creamy texture and consistency when they are frozen, so these frozen pops are reminiscent of eating an ice cream bar. Have you seen the “one-ingredient ice cream” recipe floating around out there that basically requires freezing bananas in chunks and then blending them in a blender or food processor? We tried it once, and it wasn’t too bad for a diet-friendly alternative to regular ice cream. The frozen banana really does seem almost like ice cream. These banana pops are way better than the pseudo-ice cream. 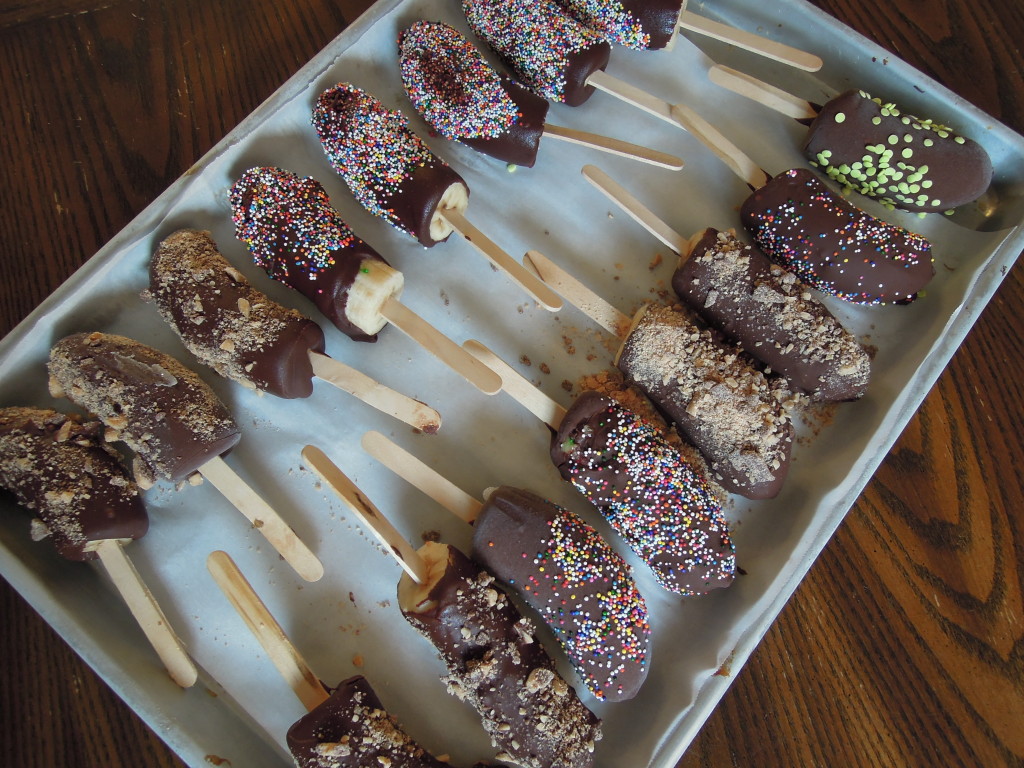
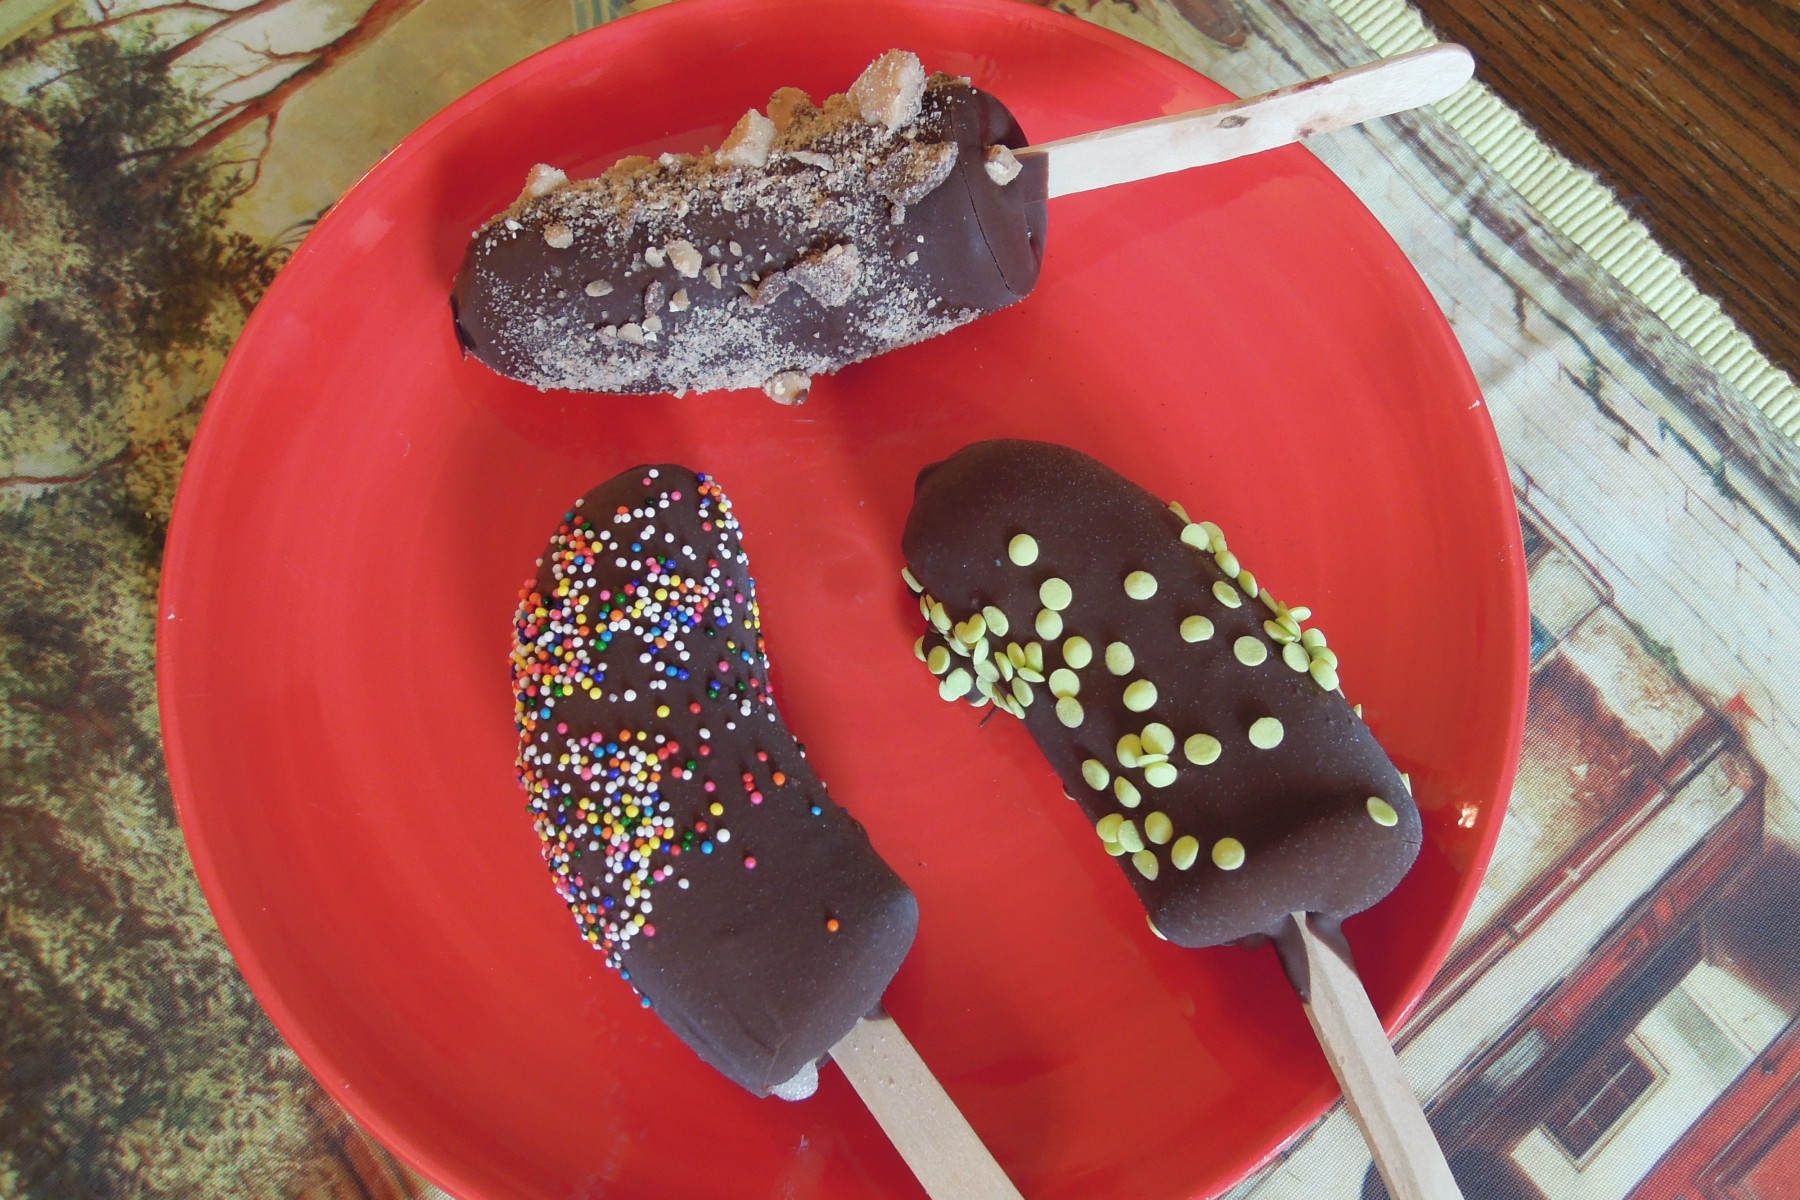
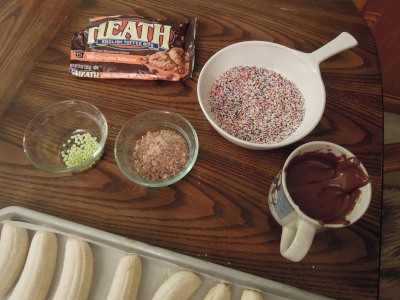
These banana pops do not feel like a diet food at all; they are a totally satisfying sweet treat. They are covered in a crunchy chocolate shell that my kids love to crack and then eat first. You can add other toppings to the chocolate–sprinkles, candy, crushed cereal, crushed nuts, etc.–or you can leave them with only the chocolate. It is fun to use holiday themed sprinkles to make a festive treat–red, white and blue sprinkles for the 4th of July, for example. And the chocolate is up to you too, whatever is your favorite–milk chocolate, dark, white. You can also adjust for your needs–make them a little less naughty by only dipping them half-way, or you could use banana quarters instead of halves for a smaller treat.
Your kids will love these and so will you!
Frozen Banana Pops
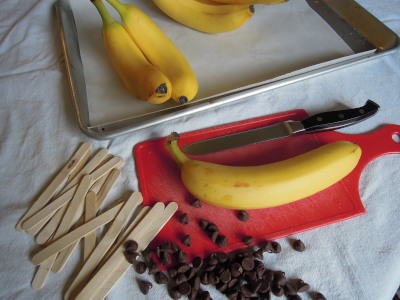
- bananas
- popsicle sticks/wooden craft sticks
- your choice of chocolate–dark, semi-sweet, milk, or white (I like to do a mix of half semi-sweet and half milk chocolate)
- vegetable shortening or canola oil to thin the chocolate–I use about a 1/2 tablespoon of Crisco per coffee cup full of chocolate chips
- optional: sprinkles, nuts, coconut, crushed cereal, crushed candy, etc. for topping
Directions:
- Peel the bananas and then cut them into the size you desire. I cut them in half, but you could also do quarters for a smaller treat. Insert a popsicle stick into each piece of banana. Be sure to put the stick in far enough to be stable.
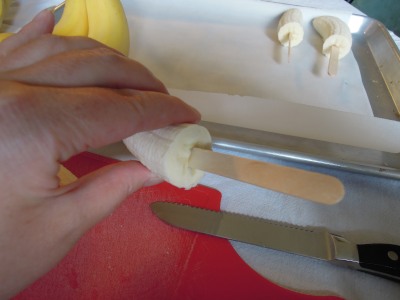
- Place the bananas (with sticks inserted) on a parchment lined baking sheet and then put in the freezer until solid.
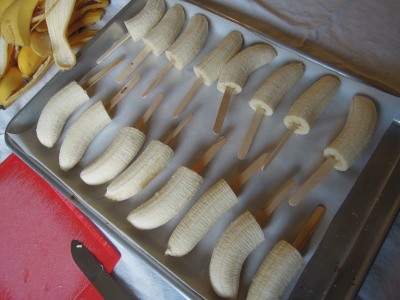
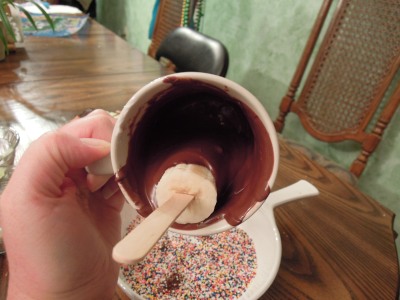
- When the bananas are frozen, melt the chocolate with a small amount of vegetable shortening or canola oil on low power in the microwave. (I melt the chocolate in a tall coffee cup, so that I can submerge the banana pop while using a minimum of chocolate.) You will need to melt more chocolate as you go. I made 16 pops this time, and I had to melt more chocolate three or four times. To prevent the undipped bananas from getting soft, you can place your pan back into the freezer between batches.
- Dip the banana into the chocolate, raising it up and down and twisting until coated. Once it is dipped, quickly flip the banana pop right side up and then immediately roll in or sprinkle with desired toppings. Because the banana is frozen, your chocolate will harden quite quickly and will need to be topped as soon as possible. Place the coated pop back onto the baking sheet. Repeat until all of your pops are coated. Kids enjoy adding the sprinkles if you want to let them help.
- Return the banana pops to the freezer until ready to eat. If you are not going to eat the pops soon, or you want to make a large batch to eat over a period of time, you can freeze the pops until the chocolate is set and then place them in a zip top bag or airtight container to keep in the freezer and eat as needed. We have kept frozen pops for several weeks.
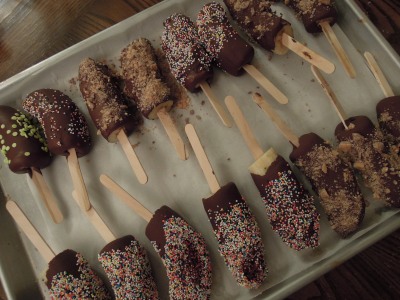
- When ready to eat, take the pops out and let them sit for a few minutes before eating. The pops, especially if they are halves rather than quarters, will be quite hard. On the other hand, if you let them sit too long, the banana will begin to get watery and the chocolate can slide off. You have to find the “sweet spot” for timing. My kids don’t mind at all and are perfectly happy to gnaw on the frozen pop while it thaws.
Source: I originally saw this idea at Skinnytaste.com
Share This:

Pingback: Labor Day Recipe Roundup | Christine's Taste of Heaven