
 Everyone can make Rice Krispie Bars, right? Rice Krispie Bars are one of those basic cooking staples that is often the first thing a young cook learns to make, right?
Um….not always. Not in my case.
I have previously only tried making regular Rice Krispie Bars a handful of times. I did not see what was so easy about them. It never seemed like I had enough butter to melt all those marshmallows. And the marshmallows were sooooooo sticky that I felt like fully half of the goo was left in the pot when I was done. I tried making them on the stove. I tried making them in the microwave. I felt like a failure. Kids can make Rice Krispie Bars for goodness sake! What was wrong with me?
I tried to cover my shame by making Scotcheroos instead. Scotcheroos never gave me such issues. They were basically Rice Krispie Bars taken up a notch with the peanut butter inside and the chocolate layer on top. No super sticky marshmallows. Surely people would rather have these than some dumb old Rice Krispie Bars anyway, right? These were my justifications.
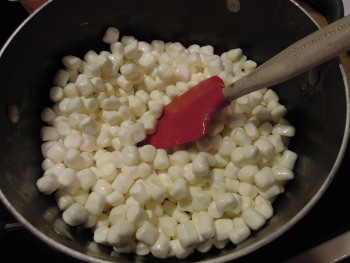
Last winter sometime when I was working in the church kitchen, the topic of Rice Krispie Bars came up, and I actually admitted that I couldn’t really make them and explained my issues with the stickiness. The main lady in the kitchen–Debbie–asked me what I make them in. I said, “a pot.” During the discussion she mentioned using a non-stick pot, and suddenly hope was stirred in me again. This may be totally obvious to all of you Rice Krispie experts out there, but this was a REVELATION to me. I don’t own any non-stick pots, so it had never occurred to me to use anything other than my metal soup pot–the biggest pot I have–or a glass bowl for my microwave attempts. I have a couple of non-stick frying pans but no pots. Then I remembered that my boyfriend Terry’s pots are almost all non-stick. I was inspired to try again.
In the spring I was hired to cater a brunch for a family, and they wanted dessert on the menu, but due to dairy and egg allergies, they did not want cake or other baked desserts. I decided to make these Rice Krispie treats from the Cookies and Cups blog. I have read this blog many times in the past and knew the writer was the Rice Krispie treat queen. She has made every possible variation and flavor you can imagine, so I thought she should know how to make the basic bar. I was not disappointed. I made this recipe of hers in a non-stick pot, and they were a RAVING SUCCESS. I did not have the sticky issue, and the bars tasted wonderful.
I think there are three things that take these bars over the top for me:
- The recipe calls for a tiny bit of salt which I love. I didn’t think it would make a difference or even be noticeable, but I can taste it, and it balances out the sweetness of the rest beautifully.
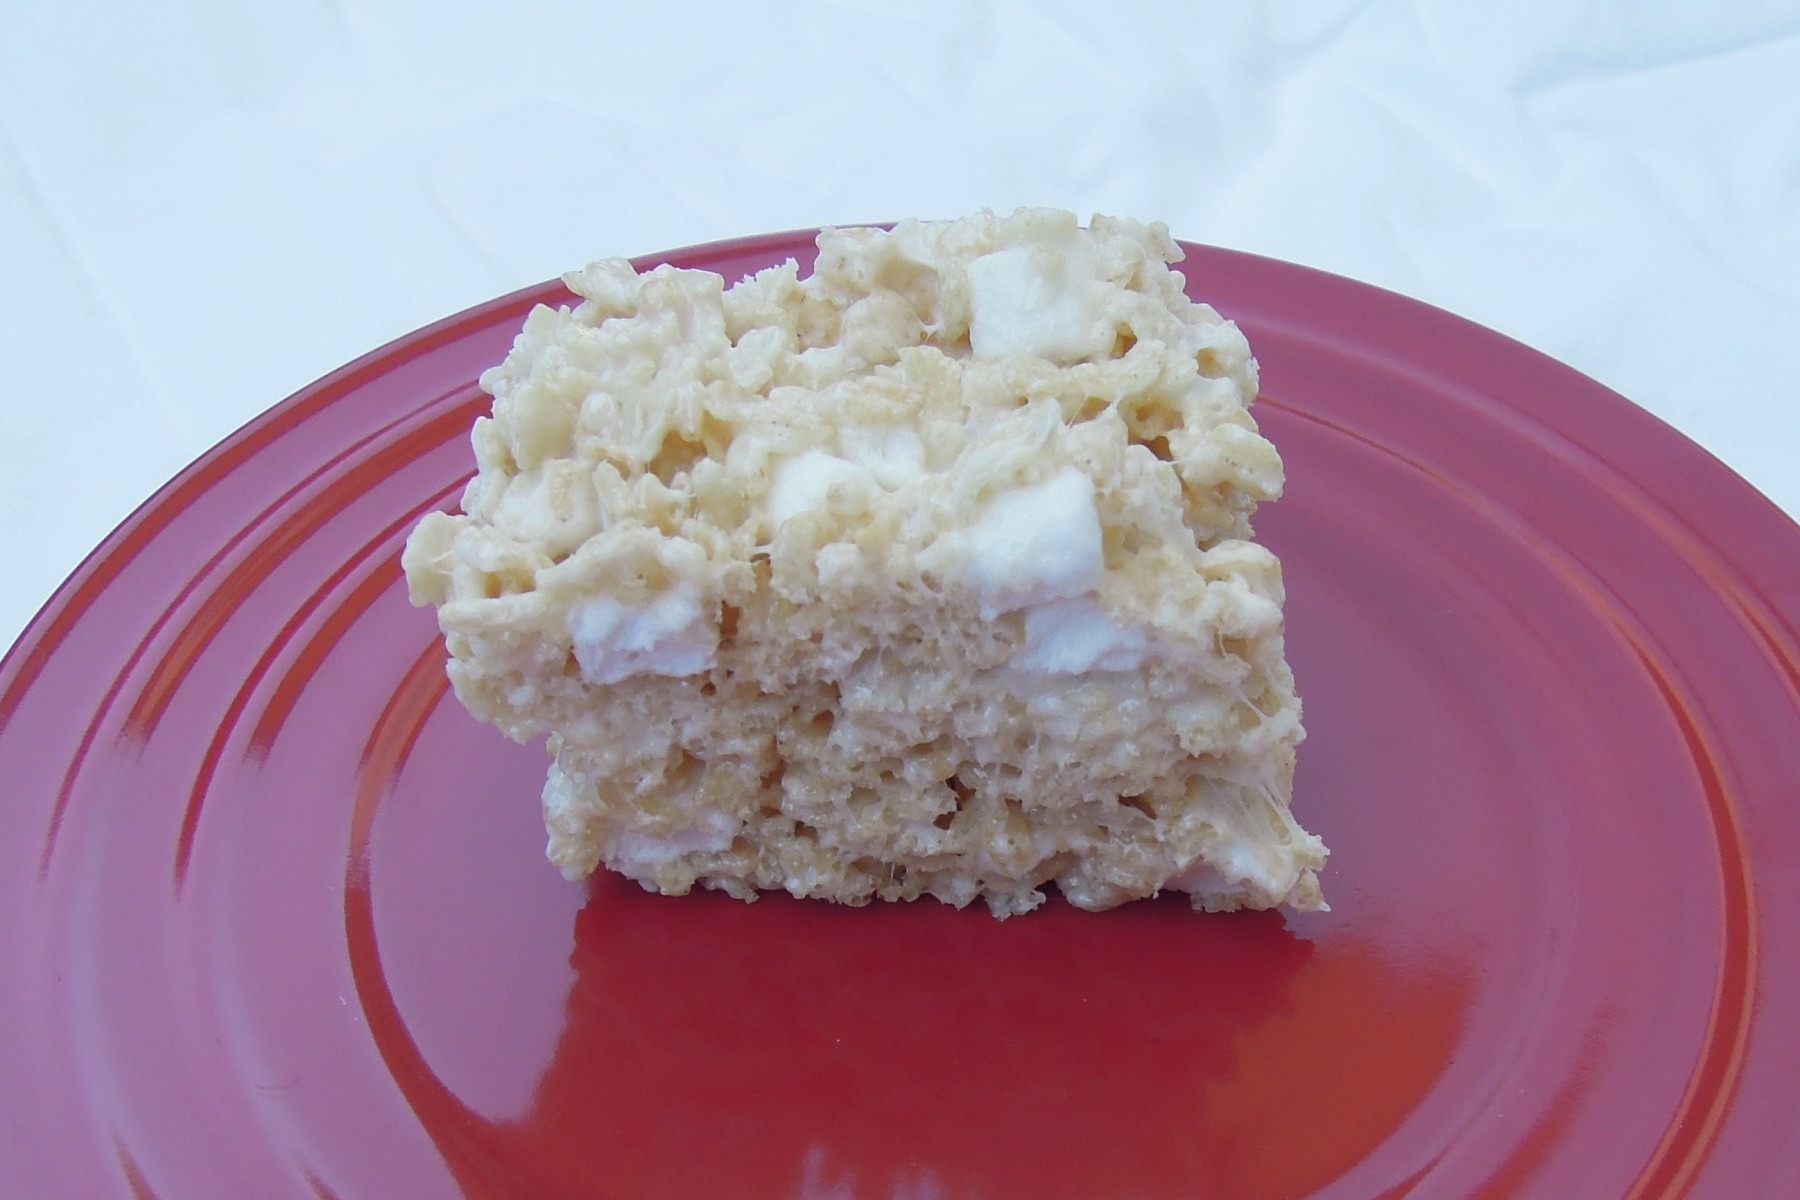
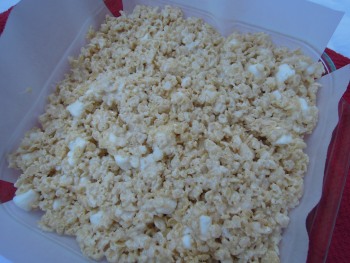
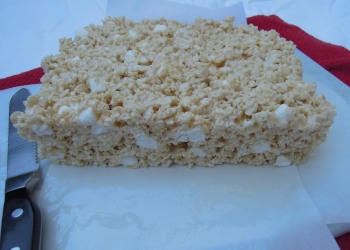
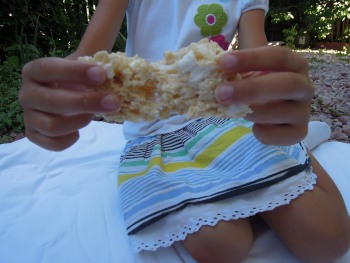
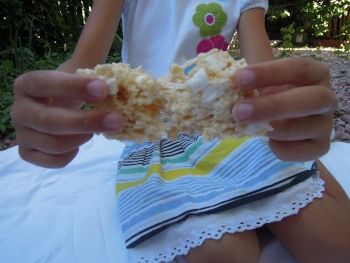
- The proportion of krispies, marshmallows, and butter really does seem perfect. The addition of some unmelted marshmallows at the end is really good. My kids especially love the extra marshmallows. The bars come out soft but still hold their shape.
- Using the non-stick pot. This is not part of the recipe specifically, but the non-stick pot really worked well for me–much better than any of my previous attempts. I know many people have been making Rice Krispie bars successfully in metal pots and glass bowls for decades, but if you struggle like I did, you may want to try a non-stick pot or even a large non-stick frying pan.
I used the Cookies and Cups recipe as is, so I will link you to the recipe on her site rather than posting it directly on here. Click on the title of the recipe below to go to the recipe. I will post a few of my pictures and other tips below the link.
Perfect Rice Krispie Bars
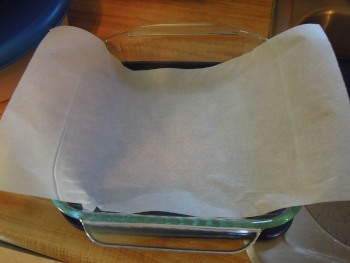
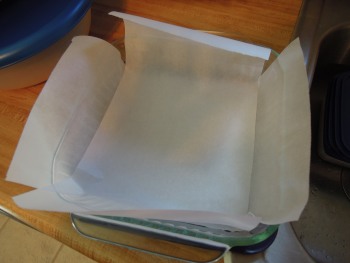
*The recipe directions say to line a pan with foil and spray it. The purpose of this is to make it easy to lift the whole pan of bars out of the pan for easier cutting–it is not a have-to step. If you have had trouble with smoothing the corners when you try to line a pan with foil, you might try this trick. I used parchment paper and just cut one piece to go in one direction and a second piece to go in the other direction.
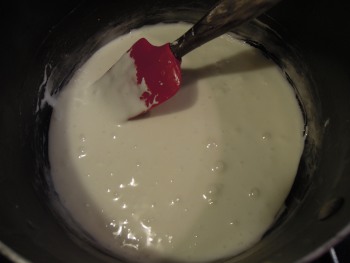
*Melt your butter and then stir in marshmallows until just melted and then add the cereal. If you choose your ingredients carefully, this can be a gluten-free recipe as well as egg and dairy free.
*The recipe calls for a 9 x 9 pan. I only have an 8 x 8, so my bars filled the pan right up to the top and made thick yummy bars. If you want thinner bars, you may use a bigger pan. When I made a double batch for the brunch I catered, I used a half-sheet pan.
*The pot is much cleaner at the end now than I ever remember it being in other attempts.
*The bars are gooey but without being a sticky mess.

Source: Cookies and Cups (Click the blog name or the recipe title to link to the recipe)
Has anyone else struggled with Rice Krispie Bars, or is it only I?
Share This:
One of my favorite treats & I can make them gluten free. I wondered after my divorce why the bars I made left so much “goo” in the pan. I had always made them in a Teflon dutch oven when my children were small, but my ex inherited that pan. I’ve made them successfully in a regular soup pot since, but I think I’m going to get a nonstick pot to increase my chances of success in the future. (And it only took me 30 years & your post to figure it all out.)
Thanks for your comment, Jan! I’m glad somebody learned something from my rambling. 🙂
Pingback: Happy Birthday Jesus Krispie Cake | Christine's Taste of Heaven