
Now that May is here, we are heading into a HUGE gift giving-party-celebration season. Graduations, confirmations, bridal showers, baby showers, weddings, teacher appreciation, Mother’s Day (Father’s Day close behind), end-of-year/season banquets–it all hits in the next few weeks it seems. Today I am going to share a craft idea that can cover all of those events and more. Now don’t run away scared just because I said the “C” word…
Even if you do not consider yourself a crafty person, stick with me for at least a little while. You CAN do this. I do not consider myself a super crafty person either, but when I came across this idea a few years ago, it seemed like something even I could do. No hot glue gun required! 🙂 I have made these cans several times now, and they have been a big hit every time.
What is it? Basically, the craft involves taking an empty tin can with a pop-top and re-purposing it into a gift container or party favor. You will fill the empty can with gifts or favors and then reseal it, decorate it, and gift it. The recipients are always intrigued by the can and confused about how you got the stuff inside. It’s fun!
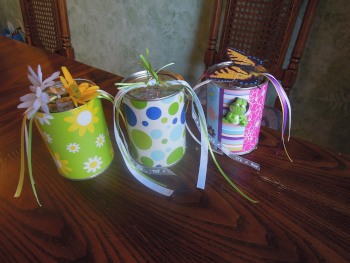
Examples:
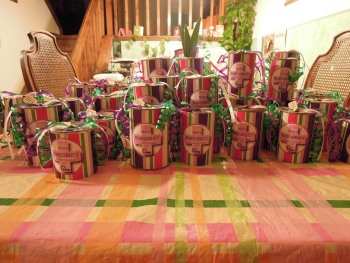

What can you do with them?
- Use them as party favors: Each guest gets a can at his or her spot at the table and opens it at a designated time during the party or takes it home as a gift. For extra fun with a group, you can secretly place a “prize” in one or more cans, in addition to the regular favors, and the guests open the cans to see who won the door prize.
- Use them as party favors/decorations: Take the party favor to another level by decorating the can in the theme of the party or by tying a helium balloon to the decorated can to add to the decor.
- Use them as a unique gift container: Fill the can with the recipient’s favorite candies, a gift card, a small photo, a bookmark, a printout of a favorite scripture, homemade goodies, a love note or note of appreciation or encouragement, small gifts such as a key chain, magnet, or jewelry–basically, whatever you could fit in a can.
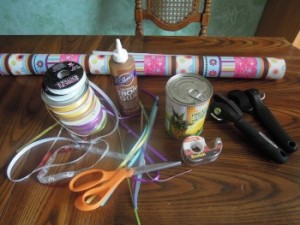

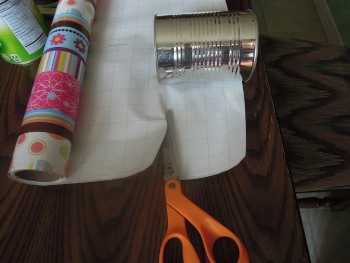
What supplies do I need? Wrapping paper (preferably with the cutting grid lines on the back), a safety can opener, tape, craft glue, scissors, ribbons or buttons and other small items for decorating, small gifts to insert in the cans, tissue paper, and of course, pop-top cans.
How do I do it?
- You need to get as many pop-top cans as you need for your project. The best cans are the ones used for canned pineapple and other fruits. Most of the cream soup cans have pop-tops, but the rounded bottoms on the can make them less ideal for this craft. If you need an excuse to get more pop-top cans, make the fruit salad I posted a few weeks ago, and you will be able to get several. Use a safety can opener (the kind that removes the lid without cutting the metal–it breaks the seal of the lid and removes the lid with the lip around it still in tact) to open the non-pop-top end (the bottom) of the can. Use the food in the can, remove the label, and then wash and dry the can and lid. (I now collect cans all year long as I come across pop-tops. I just throw them in the dish washer and then keep them in a box in the garage. When a project comes up, I have them all ready to go.) Note: You can do this project with a regular can opener if you are really skilled with a hot glue gun and can get the bottom lid to be secured in place, but I do not recommend it. It’s frustrating, and the end product is not nearly as amazing.
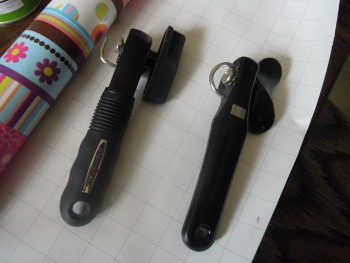
I have two safety can openers. You should be able to buy one at a Walmart for about $10. You can also get them at some grocery stores and Target, but they are more expensive there. - Once the can is clean and dry, fill the can with whatever gifts or favors you have selected. Remember to put the items in the can upside down, so that when the recipient opens the can right side up, the gifts will be as they are supposed to be. Depending on how you want the gifts to come out of the can, you may want to tuck a little piece of tissue paper in the bottom and/or the top.
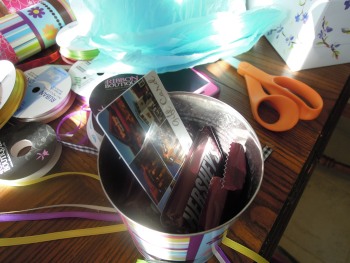
Snack size Hershey bars and a gift card. 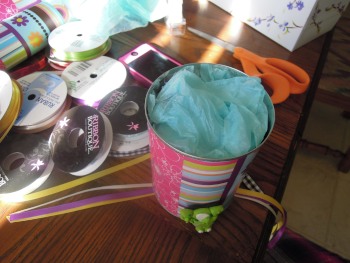
Add tissue paper to make it prettier. (Unlike you see in this picture, I recommend filling and sealing the can before decorating it.)
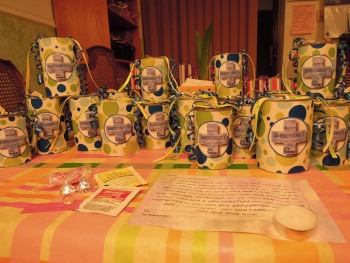
The MOPS stress relief kits included Tylenol, encouraging scripture, a candle, calming tea, a marble to replace any you may have lost, candy hugs and kisses, and ear plugs. - Use craft glue to run a bead of glue around the edge of the lid you removed and place it back on the bottom of the can. Wipe off any excess glue. Hold the lid tightly to the can until it seals. If you are making multiple cans or you just don’t have the time or patience to sit around watching glue dry, you can place the can on a hard surface and weigh it down with a heavy object. I will often use other canned goods, books, or other heavy items in the kitchen. *I recommend craft glue instead of school glue or hot glue. The craft glue is stronger than school glue for holding the can together, and my experience with the hot glue gun for this project was not good. The bead of hot glue was too big and too quickly hardened to fully replace the bottom of the can. As much as possible, you want to hide the evidence that the can was ever opened.
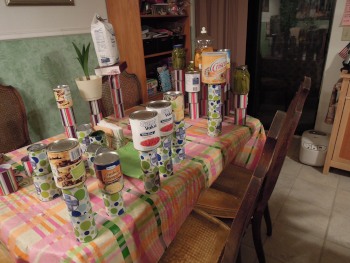
A ridiculous image of my process when I had a large number of cans to do. I used whatever I could find to hold the cans tight while the glue dried. - Decorate the can. Here’s where you can get as elaborate and creative as you want or just keep it simple. I have found wrapping
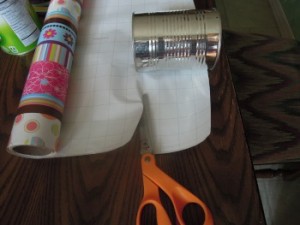 paper and good clear tape to work the best for covering the can. You can find wrapping paper for almost any occasion to fit your party or event. Craft papers or scrap booking papers are pretty, but I had a hard time getting them to stay taped because of their thickness, and I did not have the time to wait for glue to dry. This is where the grid lines on the back of the wrapping paper come in handy. You can easily place the can on the grid and determine how big to cut the paper and easily get it even. You can tie ribbons and/or bows onto the pop-top or add a label on the front or a tag of some kind. You can tie on artificial flowers or a key chain or whatever little things you can think of for decorations. The Dollar Store is a great place to look. For a party favor, I think it would be great to attach a helium balloon to some of the cans to add to the party decor.
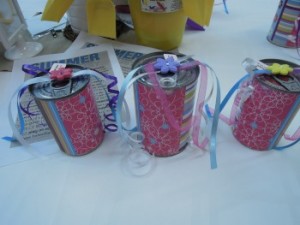
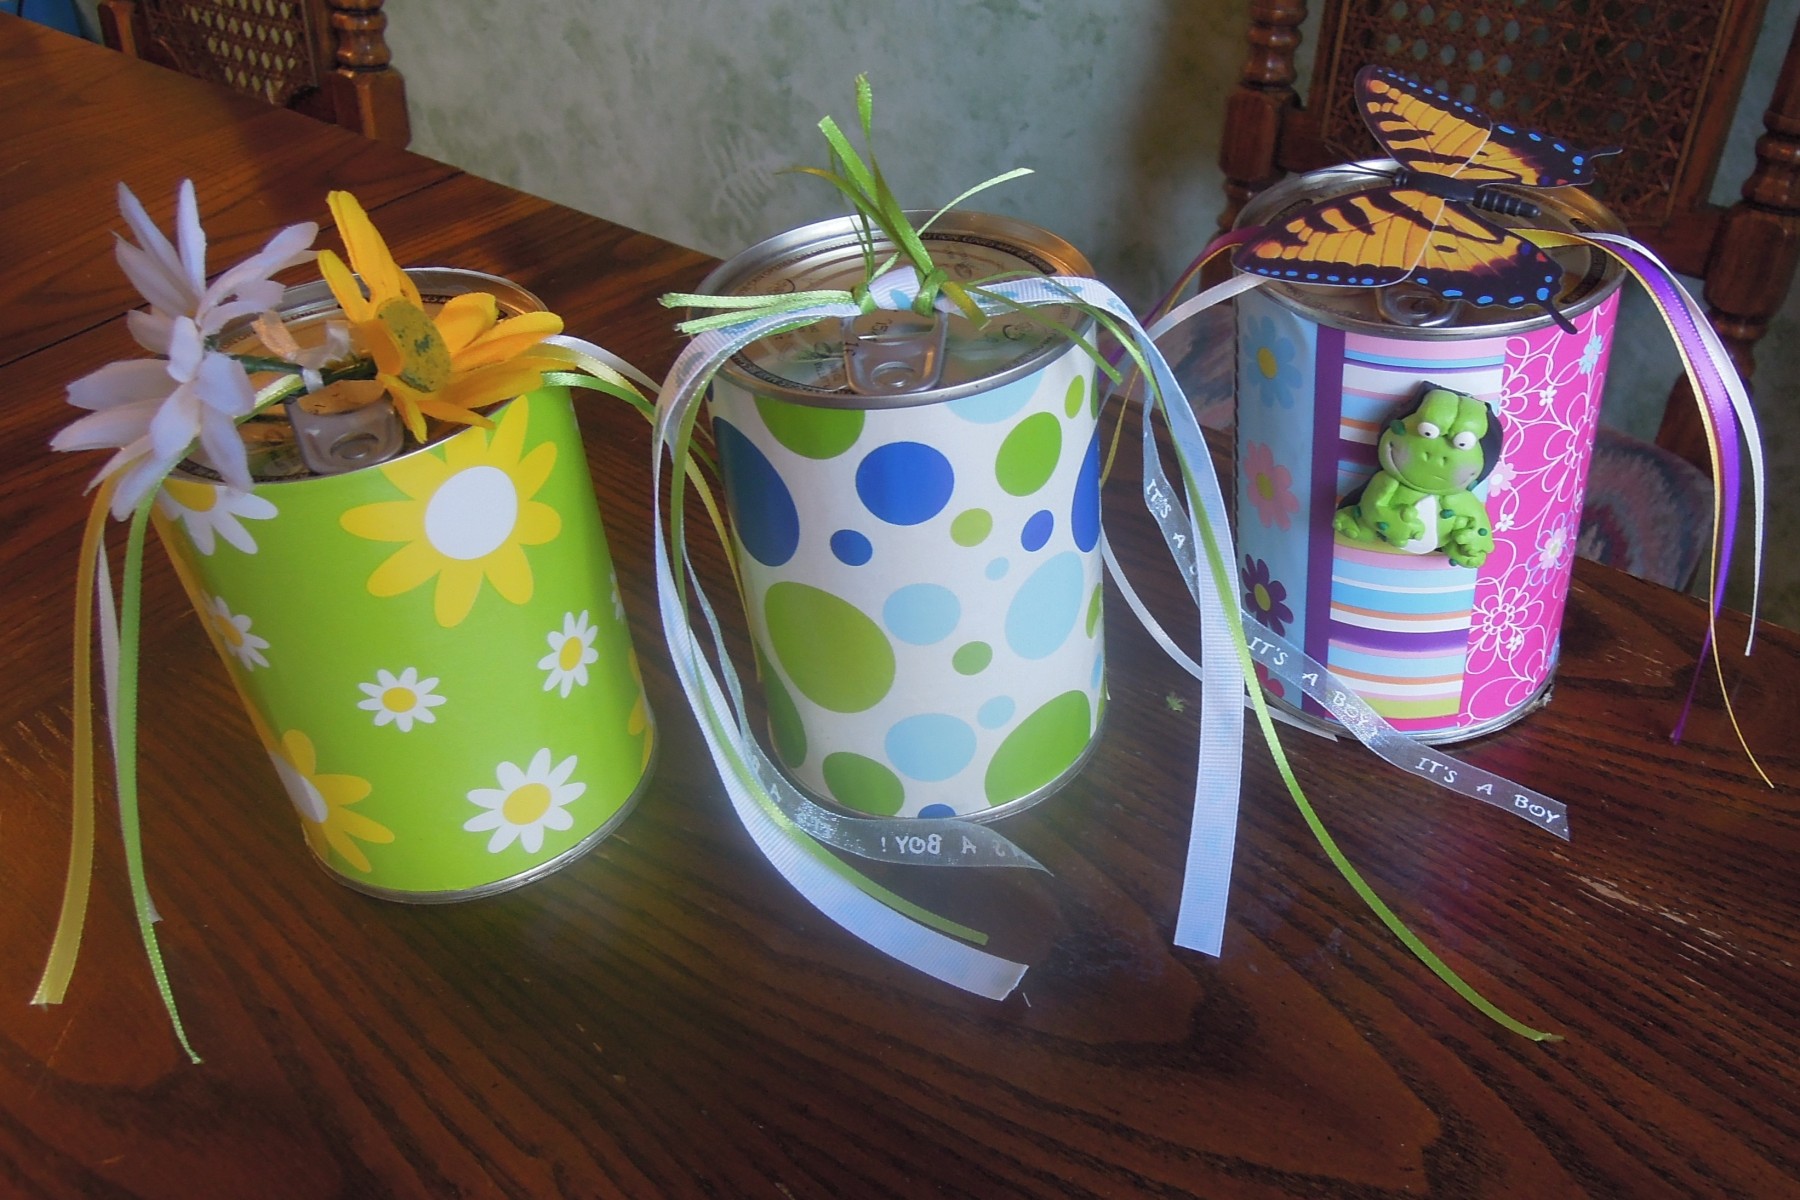
Here I used ribbons and flower shaped buttons for a beginning of the summer event. 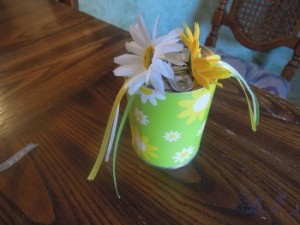
Artificial flowers on top in the same colors as the paper. 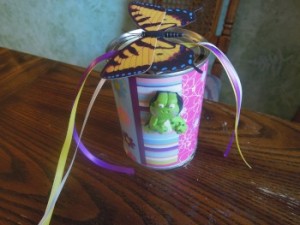
Ribbons, a butterfly decoration, and the frog is a magnet. 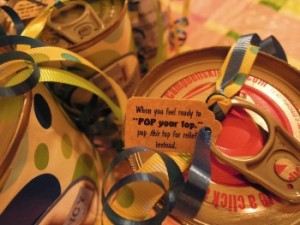
For the stress relief kits I made mini tags that I attached to the ribbons. The tag reads: “When you feel ready to ‘Pop your top,’ pop this top for relief instead.” 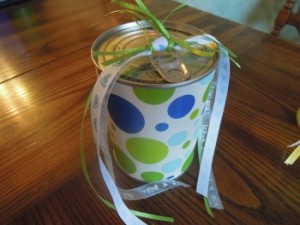
Only ribbons for decoration on this baby shower one, but I found one ribbon with blue baby footprints on it and another with “It’s a boy” on it. 
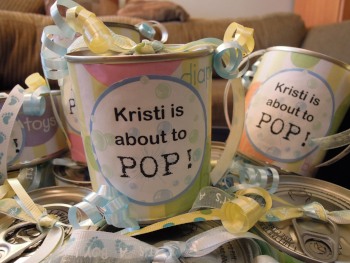
For a baby shower, I made a label on my computer that I printed out and glued to the can. - Amaze your friends, family, teachers, coaches, strangers, etc. with your cool can full of gifts. They will all wonder how you got the treats inside. 🙂
Can you help me brainstorm some more ideas? Yes!
For Mother’s Day gifting: Gifts might include gift certificates, favorite coffee or tea, gift cards, jewelry, a craft made by the kids or grandchildren, new photos of grand kids, candy, gum, a fountain pen, homemade treats in mini size, lotion, a favorite perfume or make-up item, a small kitchen gadget, a note of appreciation, packets of flower seeds.
For Teacher Appreciation gifts: You might make a label or tag for the can that reads something such as: “You taught me that I CAN,” “Thank you for teaching me that I CAN” or some other play on the word “can.” Gift ideas: gift cards, lotion, a note of appreciation or artwork from the student, office supplies, cute sticky notes, a key chain, a magnet, an inspirational book mark or small picture, candy.
For high school graduation gifts: Make a label or tag that reads something such as “I know you CAN do it” or some other play on the word “can.” Gift ideas: CASH, school supplies, gift cards, stamps, rolls of quarters (for those going off to the dorms or an apartment), a nice pen/pencil, CA$H, a letter of encouragement or advice, pictures, gum, favorite candies, a memory stick, jewelry, a new car (Matchbox style).
For a baby shower favor: I love the label idea of “_______ is about to POP” and then fill the can with something that pops such as popcorn, Pop Rocks candy, blow pops, bubbles, bubble wrap, party poppers.
For a kid’s birthday party favor: Use wrapping paper that matches the party theme if there is one. Favor ideas: punch balls, balloons, candy, little toys, snacks, tattoos, stickers, a small craft project to assemble, markers, costume jewelry, nail polish, age appropriate make-up items, packs of gum, bouncy balls, stamper sets, fun socks, a mini puzzle, matchbox cars, a mini LEGO set.
For Father’s Day Gifting: Make a label that plays off the word “pop” such as “You are a top pop,” or “You’re the best pop.” Gift ideas: gift cards, snacks such as popcorn, nuts, or beef jerky; small items related to a hobby such as fishing tackle or lures or a tool, duct tape, candy, tie, wallet, mini flashlight, a fishing license, crafts from the kids or grand kids.
Source: I originally saw this idea on Our Best Bites.
Love this idea, even though I am not usually a craft lover. Surprised that you didn’t use this idea for our book club gift exchange. Now one of us might do it for next time.
I have thought about doing the cans for book club a few different times, but my gifts are usually too big to fit in them. I am not a craft lover, but this is pretty easy even for the non-crafty.